How to Change the Battery in a Hygrometer
Your hygrometer is showing strange readings, the display is dim, or it just went dark. Learning how to change the battery in a hygrometer takes about five minutes and costs a few dollars. It's one of those small DIY fixes that feels satisfying once you've done it.
But there's a catch: most people swap the battery and then wonder why the numbers still look wrong.
Manufacturer specifications indicate a common digital hygrometer runs 6 to 24 months on a single CR2032 coin cell. The battery swap itself is simple, but recalibration after replacement is what separates a working device from a confused one. Per NIST calibration guidelines, a brief power interruption can shift humidity readings by a few percentage points.
As of 2026, most consumer hygrometers still lack auto-calibration, so the manual step matters. Let's walk through the whole process so you get it right the first time.
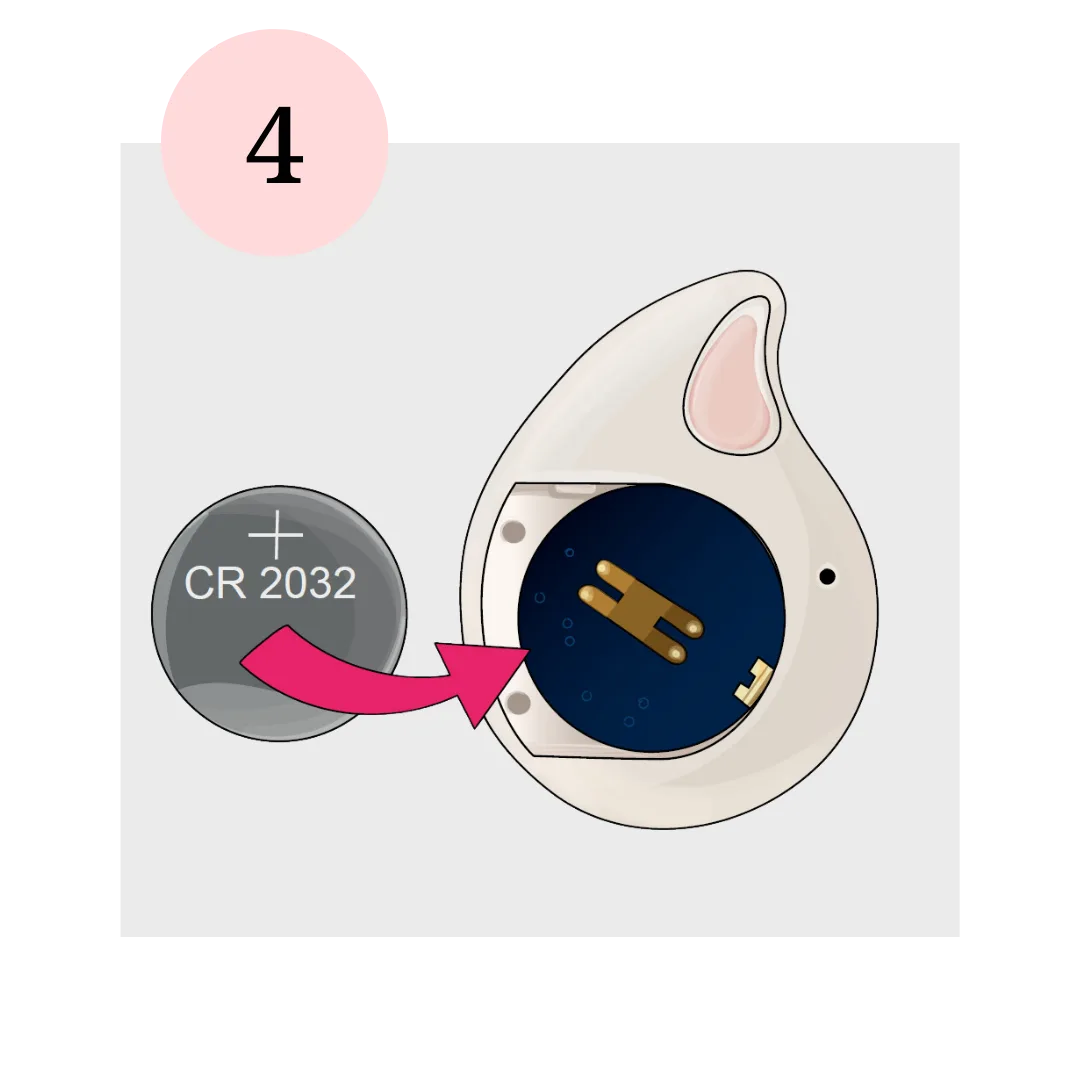
Image source: Bing (Web (fair-use with source credit))
Quick Answer
How to change the battery in a hygrometer is simple. Open the back compartment and note the polarity. Remove the old cell, insert a fresh CR2032 or equivalent.
Close it up and reset or recalibrate the device. A good battery should read within 5 percent relative humidity.
Know Your Hygrometer: Digital vs. Analog, Battery Types, and Compartment Styles
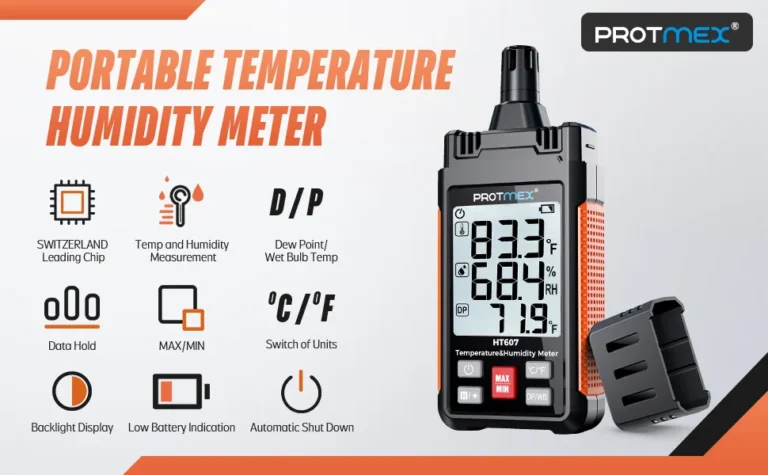
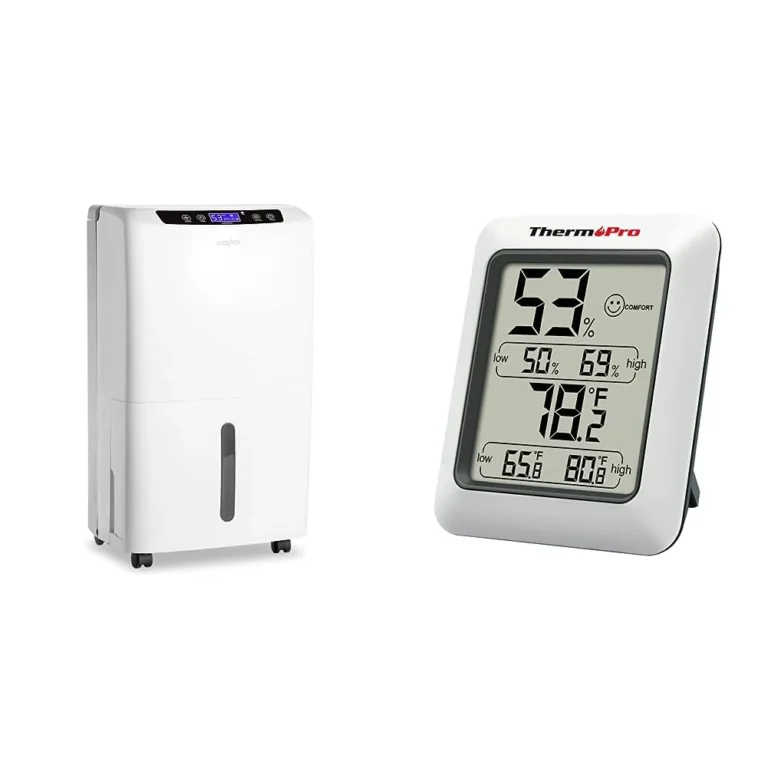
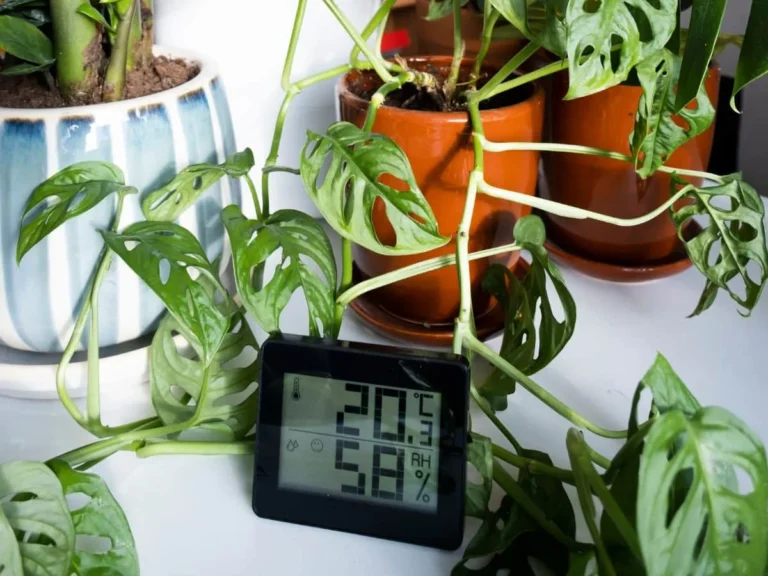
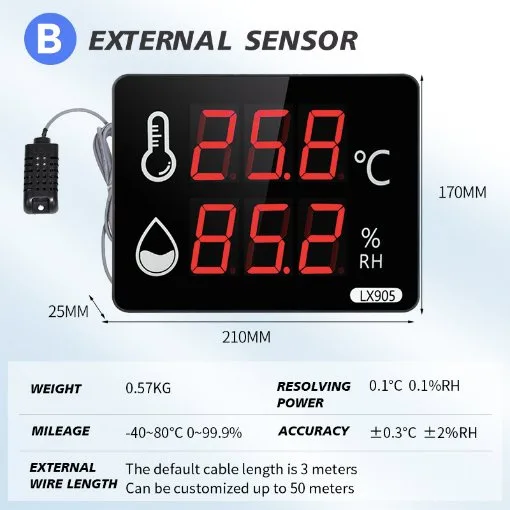
Before you grab a screwdriver, figure out what kind of hygrometer you own. Digital models run on batteries. They have an LCD display and show temperature and humidity as numbers.
Analog models use a mechanical coil or hair strip, so they don't need power at all. Some analog units have a small battery for a backlight, but the sensor itself runs on physics, not electricity.
Check the back of the device for a battery compartment. You'll see one of three designs: a sliding cover, a snap-on hatch, or a small plate held by a Phillips screw. Take a close look at the polarity markings inside.
They'll show you exactly how the battery sits.
Here's a tip that saves real frustration: photograph the compartment before you remove anything. Your phone's camera captures the orientation, the screw placement, and the gasket position. You'll thank yourself when you're reassembling it later.
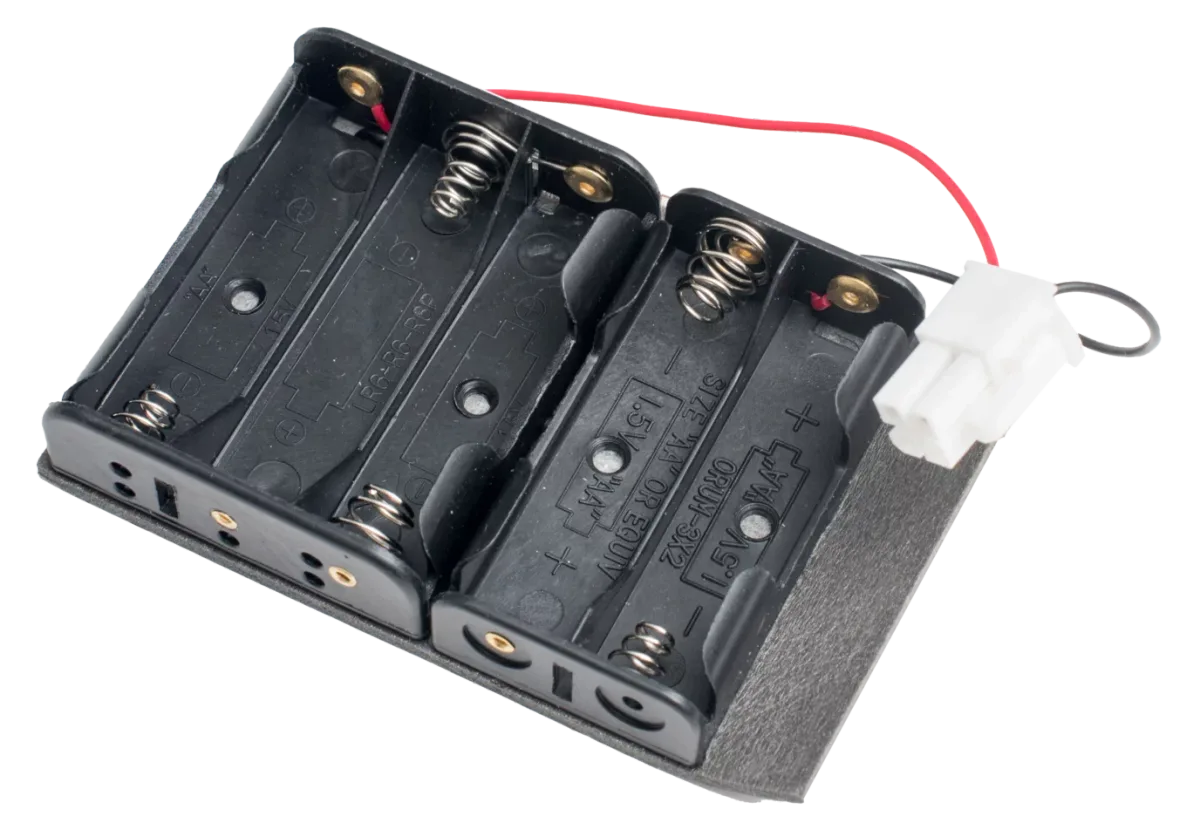
Image source: Bing (Web (fair-use with source credit))
Digital hygrometer battery compartments share a few design patterns across brands. The most common is a recessed slot for a CR2032 coin cell. Slightly older models use an LR44 button cell, which looks like a flat silver disc.
Larger home units often take a single AA or AAA.
The visual difference matters. A digital hygrometer always has an electronic display, so a battery is guaranteed. An analog hygrometer has a dial face and no screen, which usually means no battery.
If you see a small screw on the back of an analog unit, that's for calibration, not power.
What You'll Need: Tools, Battery Types, and Visual Clues for the Right Cell
Most hygrometers take one of five batteries. The CR2032 is the most common, a 20-millimeter coin cell that's 3.2 millimeters thick. The CR1632 is slightly smaller, at 16 millimeters across.
The LR44 is a flat button cell, about 11.6 millimeters in diameter and 5.4 millimeters tall. AA and AAA alkaline cells show up in larger desktop models.
Check the old battery before you buy a replacement. The label on the cell itself tells you the exact type. If the label is worn off, look up the model number of your hygrometer online.
Aggregate user reviews confirm that forcing a different battery into the slot is a common mistake. A CR2032 and a CR1632 look similar, but the 1632 is thinner and won't make proper contact.
For tools, you need a small Phillips screwdriver, size 0 or 00. A nylon spudger or plastic pry tool helps open snap-on covers without scratching the plastic. Tweezers with non-conductive tips make handling coin cells easier, especially in tight compartments.
Avoid metal tweezers near the contacts. A short circuit can damage the board.
Keep a soft cloth or paper towel nearby. Some compartments collect dust, and cleaning the contacts before installing the new battery improves conductivity. Rubbing alcohol on a cotton swab works well for corrosion.
How to Change the Battery Step by Step (Visual Cues at Every Stage)
Step 1: Confirm Your Battery Type and Orientation
Look at the compartment before you touch anything. The positive side faces up on most coin cell installations. You'll see a plus sign embossed in the plastic or printed on the contact.
Match that to the plus sign on the battery.
Step 2: Open the Compartment Without Stripping Screws or Breaking Clips
Screw-type covers need the right bit. A Phillips 0 fits most hygrometer screws. Apply gentle downward pressure while turning counterclockwise.
If the screw feels stuck, stop. Forcing it strips the head. Use a rubber band between the screwdriver and the screw for extra grip.
Snap-on covers require a thin pry tool. Insert it at the seam and twist gently. Work your way around the perimeter.
The clips are plastic and brittle, especially on older units. Go slow.
Step 3: Remove the Old Battery and Inspect the Contacts
Coin cells sometimes sit tight. Use tweezers to lift the edge. Avoid touching both contacts at once with metal.
Inspect the spring contacts for corrosion. White or green residue means battery acid leaked. Clean it with a cotton swab dipped in white vinegar, then dry thoroughly.
Replace the device if corrosion is severe.
Step 4: Insert the New Battery Aligning Polarity Correctly
Place the new battery with the positive side matching the plus marking. Press down gently until it seats. The spring contact should hold it firmly.
Wiggle it slightly to confirm good contact. A loose battery causes intermittent power loss.
Step 5: Close the Compartment, Secure the Seal, and Power On
Replace the cover. If your model has a rubber gasket, ensure it sits evenly in its groove. A misaligned gasket lets moisture inside, which ruins the electronics over time.
Tighten screws snug but not torqued. Snap the cover back until you hear it click. The display should light up within a few seconds.
Recalibrate After the Swap: Salt Test, Reset Button, or Adjustment Screw
This is the step most people skip. Changing the battery cuts power to the hygrometer's internal memory. The device loses its calibration offset.
Per NIST standard E104, humidity sensors need a stable reference point after any power interruption.
Some digital hygrometers have a reset button. Press it with a paper clip after the new battery is installed. The device performs a self-calibration cycle.
This takes about 10 seconds. Check the manual if you're unsure.
Other models have an adjustment screw on the back. Turn it slowly with a small flathead screwdriver while comparing the reading to a known reference. This works best for analog units.
The gold standard is the 24-hour salt test. Here's how it works. Place a tablespoon of table salt in a shallow dish.
Add a few drops of water to make a wet paste. Put the dish and your hygrometer inside a sealed plastic bag or container. Wait 24 hours.
The salt creates a stable 75 percent relative humidity environment. After 24 hours, adjust your hygrometer to read exactly 75 percent.
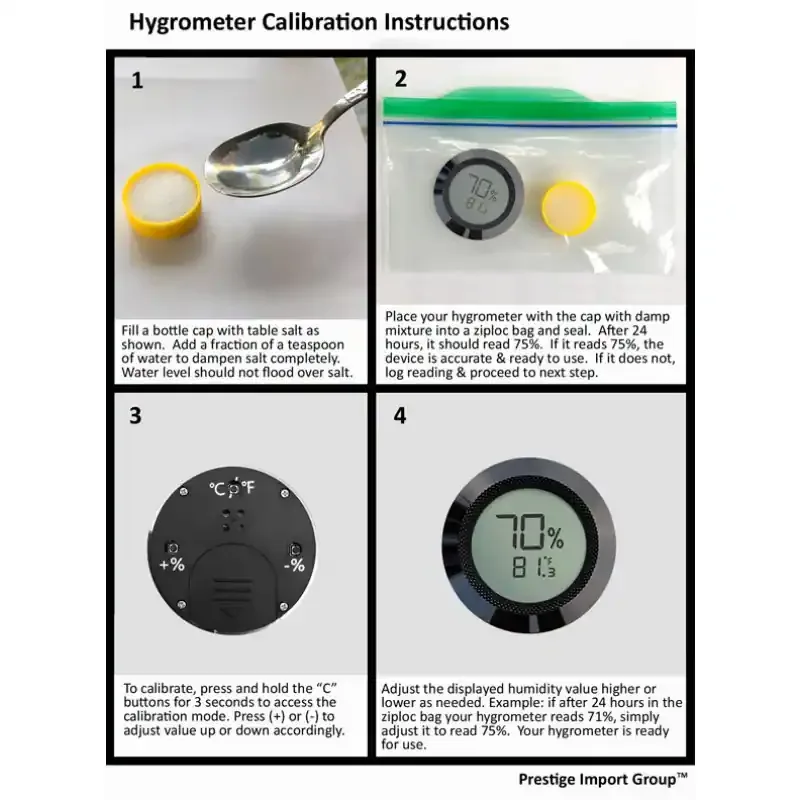
Image source: Bing (Web (fair-use with source credit))
Manufacturer documentation confirms this method. Boveda calibration kits use the same principle. They're easier but cost more.
The salt test is accurate and costs pennies.
Common Visual Mistakes That Ruin the Job (and How to Avoid Them)
Reversing the battery is the number one error. The display stays blank. The fix is simple: flip the battery.
But some people assume the device is dead and throw it away. Double-check polarity before closing the compartment.
Using the wrong screwdriver strips the screw head. A Phillips 0 is too small for a Phillips 1 screw. It cams out and chews the metal.
Once stripped, extracting the screw requires drilling or a rubber band trick. Prevent it by matching the bit to the screw.
Prying too hard breaks the plastic case or the gasket groove. Snap-on covers are designed for light pressure. If you hear a crack, stop.
Superglue can fix a cracked case, but a broken gasket lets in moisture. That kills the sensor over time.
Touching the battery contacts with bare fingers leaves oil residue. Oil reduces conductivity. Wear gloves or hold the battery by its edges.
Wipe the contacts with alcohol before inserting the new cell.
Forgetting the protective tab on a new coin cell is surprisingly common. Some batteries ship with a small plastic tab between the cell and the contact. It prevents discharge during storage.
Remove it before installation. If the display stays dark, check for a tab.
Battery Life, Low-Battery Warnings, and When to Do It Again
A fresh CR2032 in a digital hygrometer lasts 6 to 24 months. Continuous backlight use drains it faster, and so does a high-humidity environment. Corrosion on the contacts shortens battery life too.
Most devices warn you before dying. Expect a blinking display, a dim screen, or a low-battery icon. Some models just show inaccurate numbers for a few days before going dark.
If you notice random readings, suspect the battery first.
Replacing once a year prevents surprises. Set a reminder on your calendar. It also stops the battery from leaking, which damages internal contacts and ruins the sensor.
A $2 battery is cheap insurance compared to a $40 replacement.
Dispose of spent lithium coin cells properly. Check with your local recycling program or a dedicated battery drop-off location. The EPA offers clear guidance on battery recycling.
Never toss lithium button cells into standard household trash.
Frequently Asked Questions
What battery does a hygrometer use?
Most digital hygrometers take a CR2032 coin cell. Some models use CR1632, LR44, AA, or AAA batteries instead. Read the label on the old battery or check the manual.
The battery type is printed right on the cell itself.
Do I need to reset my hygrometer after changing the battery?
Yes, you should. A power interruption can reset the calibration. Press the reset button with a paper clip if your model has one, or use the adjustment screw.
For the best accuracy, run a salt test to compare against 75 percent relative humidity.
Why won't my hygrometer turn on after a new battery?
Check the polarity first. A reversed battery won't power the device. Inspect the contacts for corrosion and clean them with rubbing alcohol.
Also look for a plastic protective tab on the new cell, since forgetting it is a common mistake.
Can I use rechargeable batteries in my hygrometer?
Yes, but with caution. Rechargeable AA or AAA cells supply 1.2 volts instead of 1.5 volts. Some hygrometers operate fine, while others show inaccurate readings or fail to power on.
Test the device before trusting it for critical humidity monitoring.