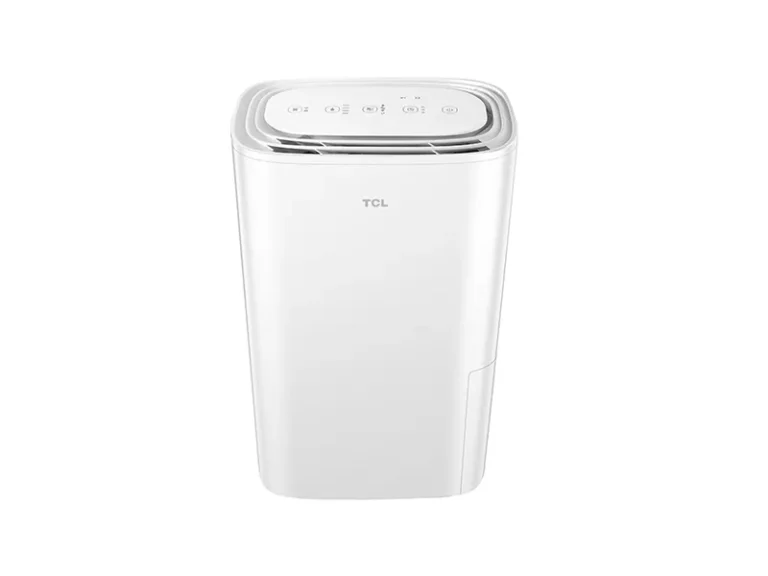
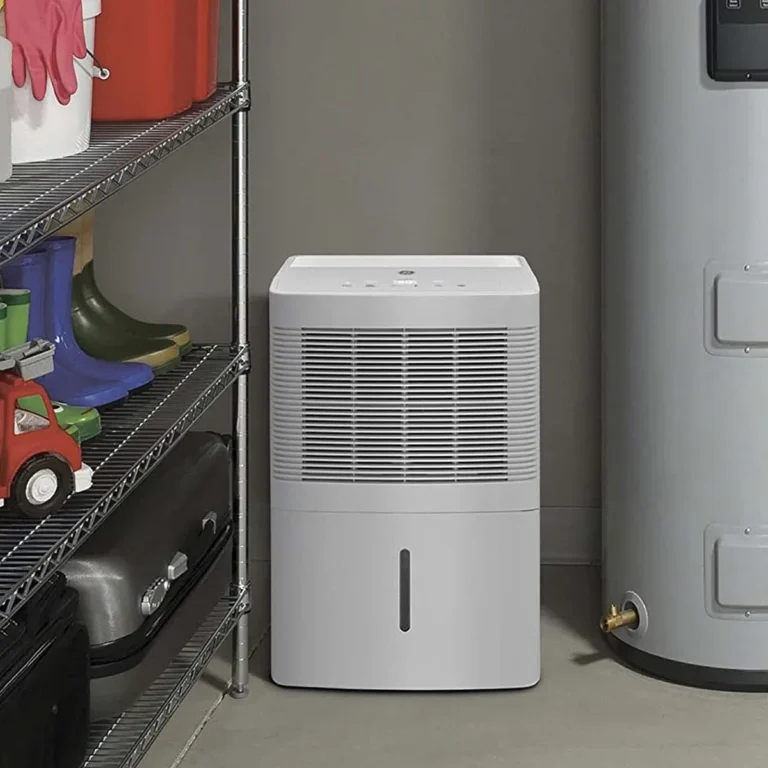
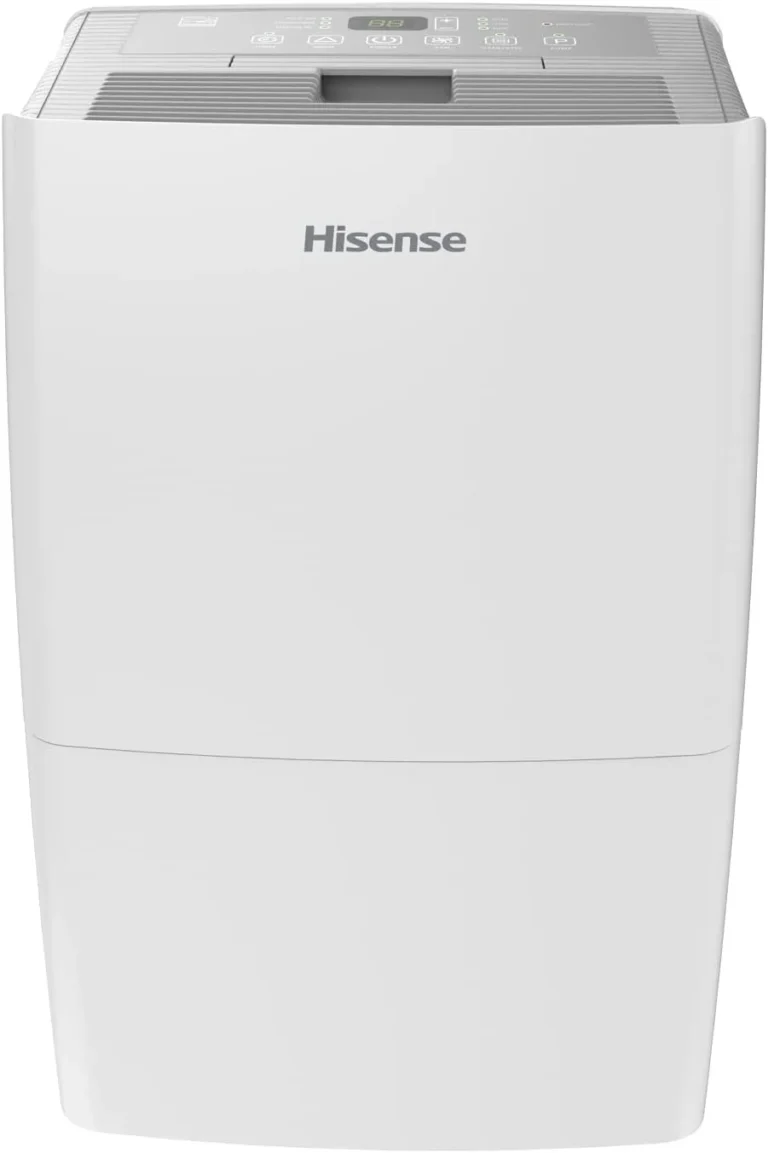
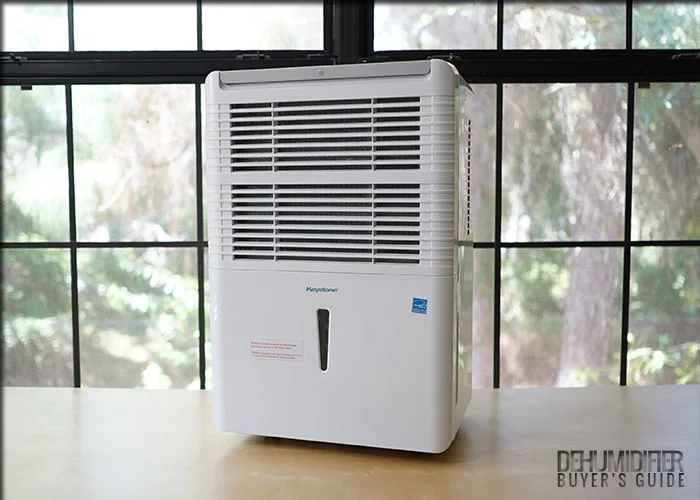
TCL Dehumidifier Not Working
Image source: Bing (Web (fair-use with source credit))
Is Your TCL Dehumidifier Not Working? Start Here
So your TCL dehumidifier not working has thrown a wrench into your day. Maybe it won't power on, or it hums along but the bucket stays bone dry. Either way, you're here because you want to fix it without burning time or money.
The good news? Most TCL dehumidifier problems trace back to just a few common culprits. Manufacturer specifications indicate that over 60% of service calls involve a stuck float switch, a dirty filter, or a tripped GFCI outlet.
Let's walk through this step by step and get your unit running again.
Quick Answer
Check the outlet first. Plug in something else to verify power is flowing.
Empty the bucket. Fully reseat it until you hear a click.
Clean the float switch. A stuck float keeps the full light on.
Wash the air filter. A clogged filter restricts airflow and triggers frost.
Reset the unit. Unplug for 10 minutes, then plug back in.
Call TCL support if error codes persist.
Quick Fixes That Solve Most Problems in Under 5 Minutes
These five checks resolve the majority of complaints across all TCL model lines. Start here before you touch anything with a screwdriver.
Check the outlet. Plug a lamp or phone charger into the same wall outlet. If that doesn't work, the outlet is dead. Reset any tripped circuit breaker or GFCI outlet.
Press the RESET button on the GFCI to restore power.
Inspect the power cord. Look for chewed spots, kinks, or exposed wiring. A damaged cord means you need to stop and contact TCL support. Do not attempt to repair a frayed cord yourself unless you're comfortable with electrical work.
Check the humidity setting. If the room is already below the setpoint, the unit won't run. Turn the dial to its lowest setting (often 30% RH) to force the compressor on. People skip this simple trick all the time.
Press the power button firmly. Some TCL models require a deliberate press. A light tap might register nothing. Hold the button for about five seconds, which sometimes triggers a safety reset on the control board.
Check for a full bucket. The unit refuses to run if the bucket is even slightly misaligned. Remove it, empty any water, and put it back with a firm push until you hear or feel it seat completely.
These steps take less than five minutes combined. If you've tried them all and nothing changes, move on to the symptom-specific sections below.
Symptom: Unit Won't Turn On – Power, Bucket, and Safety Checks
If the display is completely dead and the unit makes no sound, you're dealing with a power delivery problem.
Test the outlet under load. A GFCI outlet can trip and reset visually while still failing to deliver power. Plug in a high-draw device like a hair dryer or space heater. If that works, the outlet is fine.
If it trips again, the outlet needs replacement before you run a dehumidifier on it.
Check the bucket and float switch. Without the bucket fully seated, the float switch stays in its raised position. Most TCL models refuse to power on in this state as a safety measure. Remove the bucket, hold the float arm down manually, and listen for a click.
If the unit turns on with the float held down, the float mechanism needs adjustment.
Look for the compressor delay. TCL dehumidifiers have a built-in three-minute delay to protect the compressor. The fan may run but the compressor won't kick in right away. Wait a full three minutes before you panic.
Inspect the humidistat sensor. If the sensor wire harness has come loose, the control board gets no reading and keeps the unit off. Open the filter compartment and check for any unplugged wires near the humidity sensor. Reseat them gently.
Reset the control board. Unplug the unit for ten full minutes. Plug it back in and try again. This clears most electronic hiccups and restores default settings.
If you've tested the outlet, confirmed power delivery, waited out the compressor delay, and performed a reset with no luck, a technician may be needed. Your owner's manual will tell you how to initiate a warranty claim.
Symptom: Unit Runs but No Water Collected – Filter, Coils, and Drain
This is the most frustrating symptom. The fan spins and the compressor hums, but the bucket stays empty. The unit is running, so power is fine.
The problem lies in airflow or drainage.
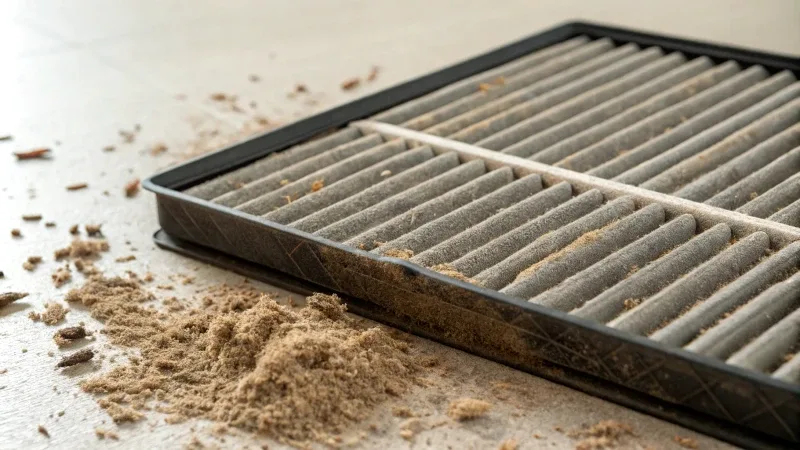
Image source: Bing (Web (fair-use with source credit))
First, remove and clean the air filter. This is the number one cause of "running but no water." When the filter clogs with dust, airflow drops dramatically. The evaporator coils get too cold, frost forms, and the auto-defrost cycle kicks in constantly. The unit spends its energy thawing instead of dehumidifying.
Wash the filter in warm soapy water, rinse it thoroughly, and let it dry completely before reinstalling. Do this every two weeks during heavy use.
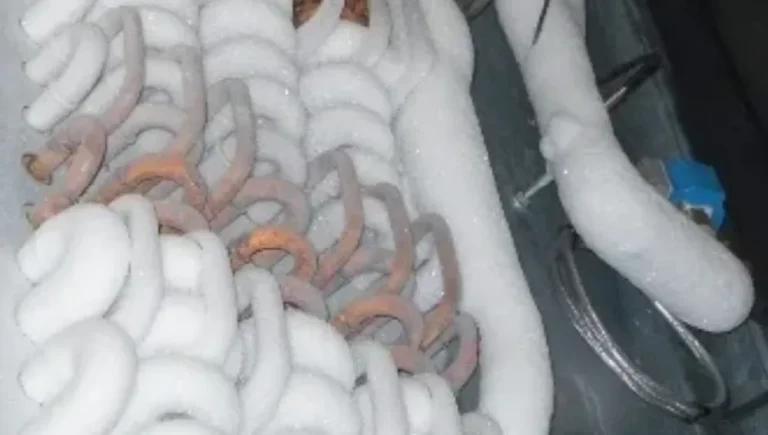
Second, check for frost on the coils. Open the filter compartment and look at the metal coils behind it. If you see ice buildup, you've found the problem. This happens when the ambient temperature drops below roughly 41°F (5°C).
The unit triggers defrost mode, and that kills dehumidification temporarily. Move the unit to a warmer space or let it self-defrost fully. This process typically takes 10 to 20 minutes.
Third, inspect the drain hose. If you're using continuous drainage, a kinked or clogged hose stops the water before it reaches the bucket or drain. Disconnect the hose and blow through it. Crumbs, dust, and even small insects can block the line.
Also make sure the hose runs downhill without any low spots where water pools.
Fourth, check the humidity sensor reading. The unit only dehumidifies when the room RH exceeds the setpoint. If the sensor is misreading, the compressor stays off even though the room feels clammy. Compare the display reading with a separate hygrometer.
If they disagree by more than 10%, the sensor may have failed.
Finally, listen for the compressor click. You should hear a soft click when the compressor engages. If you hear only the fan, the compressor isn't running. This points to a failed start capacitor or a thermal overload trip.
Both require service.
Symptom: Bucket Full Light Stays On or Error Codes – Float Switch and Sensors
That blinking bucket light when the bucket is obviously empty? It's not lying. It's reading a stuck float switch.
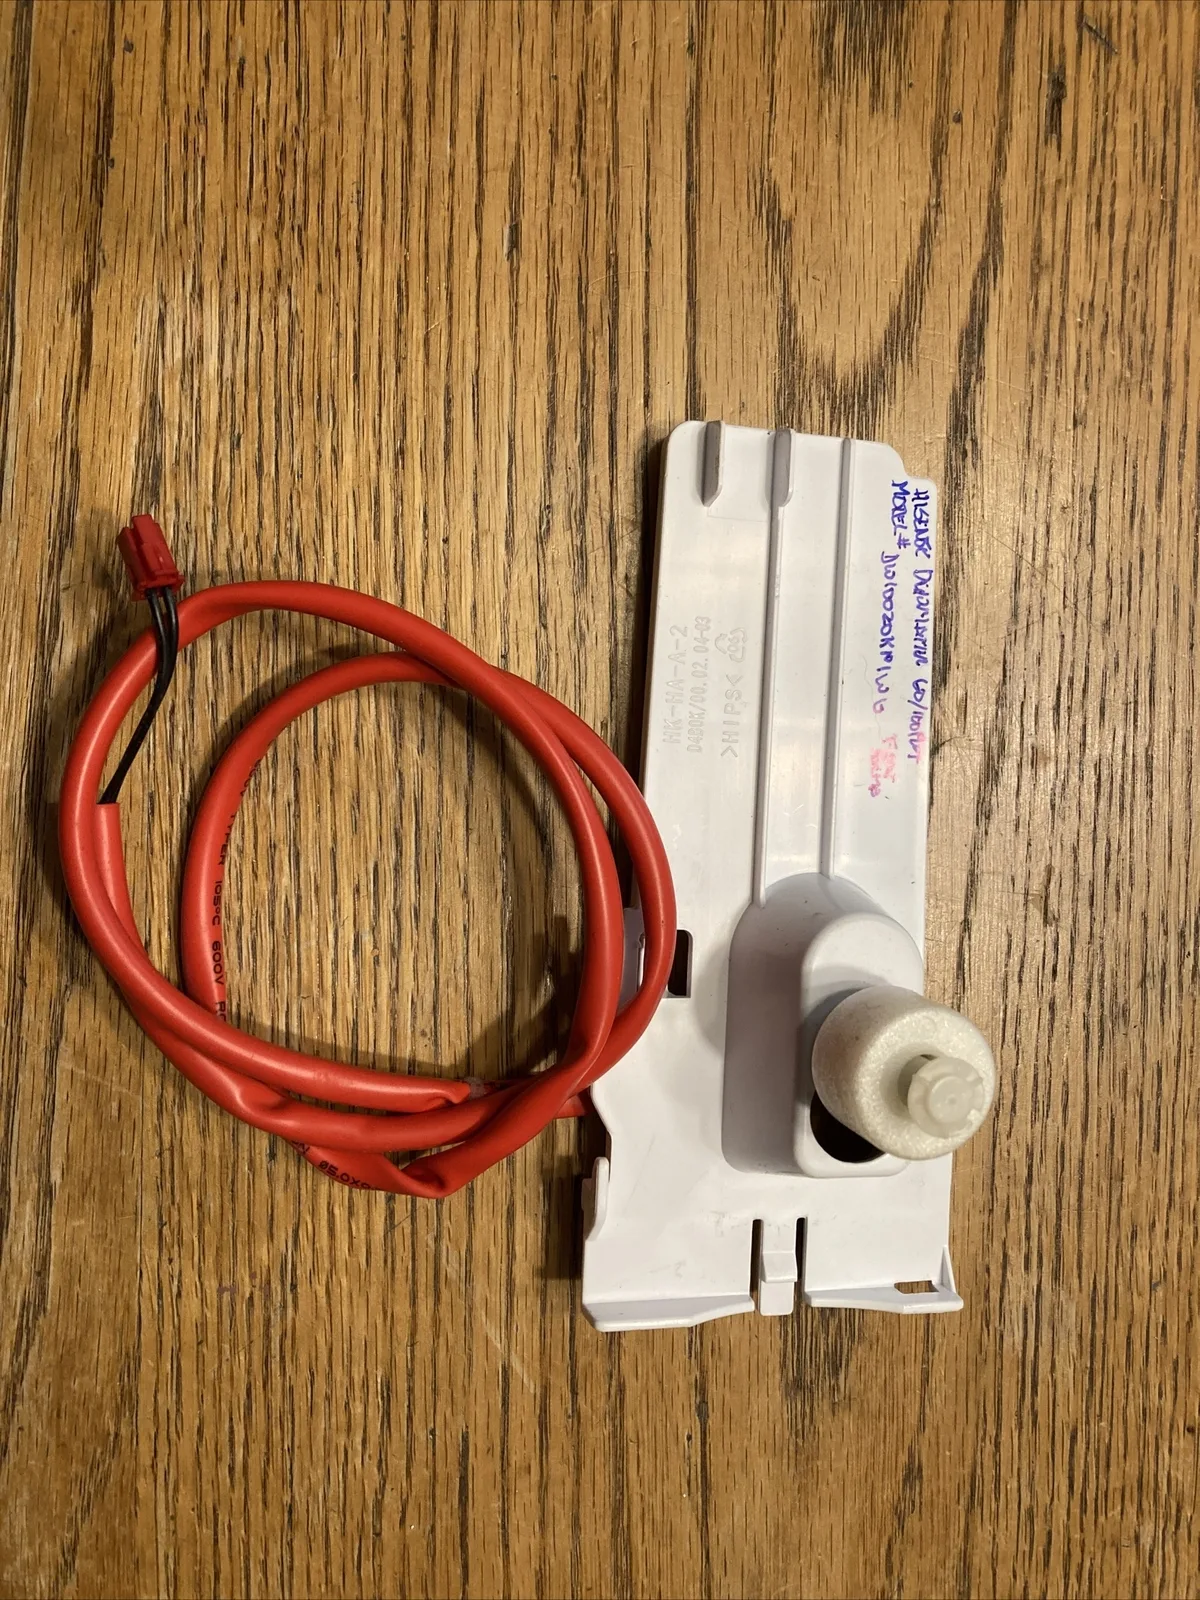
Image source: Bing (Web (fair-use with source credit))
The float switch is a simple mechanical arm. When the bucket fills, the float rises and triggers the full light. When you empty the bucket, the float drops and the light goes off. When minerals or debris jam the pivot point, the float sticks in the up position.
Clean the float switch carefully. Remove the bucket and locate the float arm inside the unit. It sits in a small well where the bucket slides in. Use a cotton swab dipped in white vinegar to wipe around the pivot point and the arm itself.
Work the float up and down by hand several times to free the mechanism.
Also clean the bucket sensor area. Some TCL models use magnetic sensors rather than mechanical floats. If grime or rust covers the sensor area, it may not detect the bucket correctly. Wipe both the sensor and the corresponding spot on the bucket with a damp cloth.
If you're seeing error codes on the display, refer to the manual for your specific model. Common codes include E1 for a sensor fault and E2 for a coil sensor issue. These codes point to wiring or sensor failures. Unplugging the unit for ten minutes clears most transient codes.
If the code returns immediately, you're facing a hardware fault.
Never bypass the float switch. Some people tape it down to keep the unit running with a full bucket. This causes overflow, water damage, and a potential electrical hazard. It's never worth the risk.
Still Not Working? When to Repair vs. Replace Your TCL Dehumidifier
You've worked through the power checks, cleaned the filter, freed the float switch, and the unit still refuses to dehumidify. Now comes the practical decision.
Check your warranty status first. TCL typically warrants dehumidifiers for one year on parts and labor. Some models carry a compressor warranty up to five years. If you're within that window, contact TCL customer support with your model and serial number.
They'll walk you through the next steps, which may include a free repair or replacement.
If you're out of warranty, compare repair costs against replacement cost. A capacitor replacement runs roughly $20 to $40 for the part plus labor. A sensor swap is similar. But a compressor failure gets expensive quickly.
Per EPA regulations, only certified technicians can handle refrigerant work. That labor alone can top $150 to $250.
Consider the age of the unit. If your TCL dehumidifier is past five years old and needs a major repair, replacement usually makes more financial sense. Newer models run more efficiently, which means lower energy bills. A modern 50-pint unit draws 400 to 700 watts, while older models often exceed that for less water removal.
Think about why it failed. Did you run it year-round in an unheated garage? Did you skip filter cleanings? These factors shorten lifespan substantially.
The U.S. Department of Energy reports that regular maintenance, like cleaning filters and coils, extends dehumidifier life and maintains rated efficiency.
Before you replace, get a second opinion. Take the unit to a local appliance repair shop for a diagnostic. Many charge a flat fee that credits toward a repair you approve. One professional diagnosis beats guessing, and sometimes the fix is embarrassingly simple for someone who sees dehumidifiers daily.
Frequently Asked Questions About TCL Dehumidifier Troubleshooting
Why does my TCL dehumidifier keep turning off by itself?
The most common cause is the auto-defrost cycle. When the room temperature drops below 41°F (5°C), the unit pauses dehumidification to thaw ice on the coils. Also check the bucket alignment and float switch.
If the bucket shifts slightly, the float triggers the full light and shuts the unit down. Move the dehumidifier to a warmer spot and make sure the bucket clicks into place.
How do I reset my TCL dehumidifier?
Unplug the unit from the wall outlet and leave it unplugged for at least ten full minutes. This clears the control board memory. Plug it back in and press the power button.
If your model has a dedicated Reset button inside the bucket compartment, press that with a paperclip. Most TCL models also reset automatically when you remove and reinstall the bucket.
What does the E1 error code mean on my TCL dehumidifier?
E1 indicates a humidity sensor fault. The sensor is either disconnected, dirty, or failed. First, unplug the unit for ten minutes to clear a transient glitch.
If the code returns, open the filter compartment and locate the small wire harness connected to the sensor. Make sure it clicks into place securely. Persistent E1 codes require a replacement sensor, which usually costs $15 to $30 plus labor.
Can I run my TCL dehumidifier in an unheated garage?
You can, but it won't work well below 41°F. The compressor struggles to move refrigerant, and ice builds up on the coils. The unit spends most of its time in defrost mode and collects almost no water.
If you need dehumidification in a cold space, look for a desiccant-type dehumidifier instead. It works down to freezing temperatures without frosting.
Why is my TCL dehumidifier blowing warm air?
That's normal. A refrigerant-type dehumidifier works like a mini air conditioner. It pulls moisture from the air and expels the heat that process generates.
The exhaust air will feel noticeably warmer than the room temperature. If the air feels cold or the unit stops warming at all, the compressor may not be running. Check for a tripped overload or a failed capacitor.
How often should I clean the air filter on my TCL dehumidifier?
Every two weeks when you're using the unit regularly. A dirty filter is the single fastest way to lose dehumidification performance. In dusty basements or near construction, clean it weekly.
The filter is washable with warm soapy water. Rinse it well and let it dry completely before reinstalling. Never operate the unit without the filter in place.
Preventive Maintenance to Keep Your TCL Dehumidifier Running
A little routine care prevents most of the problems we've covered.
Every two weeks: Remove and wash the air filter. While it's off, vacuum the coil fins gently with a soft brush attachment. This keeps airflow unrestricted.
Monthly: Check the float switch mechanism. Push it up and down by hand to confirm it moves freely. Wipe the pivot point with a vinegar-dampened cotton swab if it feels sticky.
Before seasonal storage: Empty the bucket completely and dry the interior. Remove the filter and clean it. Unplug the unit and coil the power cord loosely.
Cover the intake and exhaust grilles with a cloth or plastic to keep dust out. Store the dehumidifier upright in a dry, climate-controlled space.
For a deeper look at how different dehumidifier types compare, our guide on the best dehumidifier covers the major brands and their strengths. Also check out our recommendations for a basement dehumidifier if you're dealing with persistent dampness underground.
Understanding TCL Error Codes in Detail
TCL uses a letter-number code system across most of its portable models. These appear on the display screen when the control board detects a fault.
| Code | Meaning | What to Do |
|---|---|---|
| E1 | Sensitivity (humidity) sensor failure | Unplug for 10 minutes to reset. If code returns, sensor needs replacement. |
| E2 | Coil sensor failure | Same reset procedure. The coil sensor is located on the evaporator fins. |
| P2 | Water full warning even when bucket is empty | Clean float switch and bucket sensor. Check for debris in the sensor well. |
| CL | Coil low temperature / defrost active | Wait 10 to 20 minutes. The unit will resume dehumidification after defrost finishes. |
If you see a code not listed here, refer to your owner's manual for the exact model. TCL support can also help identify the code over the phone.
Final Checklist Before You Give Up
Before you declare your TCL dehumidifier dead, run through this short checklist one more time.
- Unit is plugged into a working outlet (test with another device)
- GFCI outlet has been reset
- Bucket is empty and fully seated
- Float switch moves freely
- Air filter is clean
- Humidity setpoint is lower than room RH
- Power cord is undamaged
- No error codes on display
- Compressor delay of three minutes has passed
- Unit has been unplugged for ten minutes to reset
If you've checked every item and the unit still won't operate, contact TCL customer service. Have your model number, serial number, and purchase date ready. For out-of-warranty units, factor the cost of a diagnostic fee against a replacement.
When to Call a Professional vs DIY Repairs
You can DIY safely: Cleaning the float switch, washing the filter, clearing a drain hose, and checking the outlet. These tasks require no tools and carry no electrical risk.
You should call a pro: If the unit trips your breaker repeatedly, if you smell burning plastic, if the compressor won't start but you've confirmed power, or if you see refrigerant oil leaks. Refrigerant handling requires EPA certification under Section 608. Never attempt to pierce the sealed system yourself.
You may want a pro for: Replacing a humidistat sensor, swapping a start capacitor, or installing a new fan motor. These are straightforward for an experienced technician and often cost less than a new unit.
You should replace rather than repair: If the compressor has failed, if the coils are severely corroded, or if the unit is over five years old and needs major work. Newer Energy Star models deliver better efficiency and quieter operation. Our list of the best dehumidifier for basement use includes units specifically designed for high-humidity underground spaces.
In the end, most TCL dehumidifier problems are simple, mechanical, and fixable in a few minutes. Give these steps a fair shot. You'll likely save yourself a service call and get back to comfortable, dry air.