Honeywell Dehumidifier Leaking Water
Your Honeywell dehumidifier is supposed to pull moisture out of the air, not dump water on your floor. But when it starts leaking, you’re stuck with a puddle and a headache. That’s exactly why we’re here to walk you through the most common causes of a Honeywell dehumidifier leaking water and show you exactly how to fix each one.
As of 2026, aggregate reviews from thousands of homeowners show that over 80% of dehumidifier leaks are caused by just three problems: the float switch, the drain hose connection, or a misaligned bucket. The good news is you don’t need a technician for any of those. Let’s start by figuring out where your leak is actually coming from.
Image source: Bing (Web (fair-use with source credit))
Why Is My Honeywell Dehumidifier Leaking? (The Problem)
Leaks happen when water escapes from somewhere it shouldn’t. Your dehumidifier collects condensation on cold coils, drips it into an internal pan, then either sends it to a bucket or out through a drain hose. If any part of that path gets blocked, misaligned, or damaged, you get a leak.
The most common culprits are simple. A stuck float switch tricks the unit into thinking the bucket is full, so it keeps running and overflows. A loose drain hose connection lets water dribble down the back.
A cracked bucket or a missing drain plug can cause a puddle under the unit. Most fixes take under ten minutes and cost nothing except your time.
But you need to diagnose the leak pattern first. That’s what the next section helps you do.
Where Is the Water? Start Here (Decision Tree Entry)
Before you pull anything apart, take a good look at the puddle. Where exactly is it? And where is the unit sitting?
Answer these two questions:
- Is the water pooling underneath the unit or in front of it? That usually points to the bucket or the float switch.
- Is the water running down the back of the unit or along the floor behind it? That signals a drain hose or drain plug issue.
If the unit has a built-in pump (pump models usually have a second hose), a leak from the side or bottom could be a pump problem. Non-pump models rarely leak from the bottom unless the internal condensate pan is cracked.
Manufacturer specifications indicate that the float switch and bucket sensor are the most frequently replaced parts on Honeywell dehumidifiers. Many owners can fix it with a simple reset. Let’s take each branch one at a time.
Water on the Floor: The Bucket and Float Switch (Branch 1)
If you see water pooled in front of the unit or dripping out from under the front edge, start here.
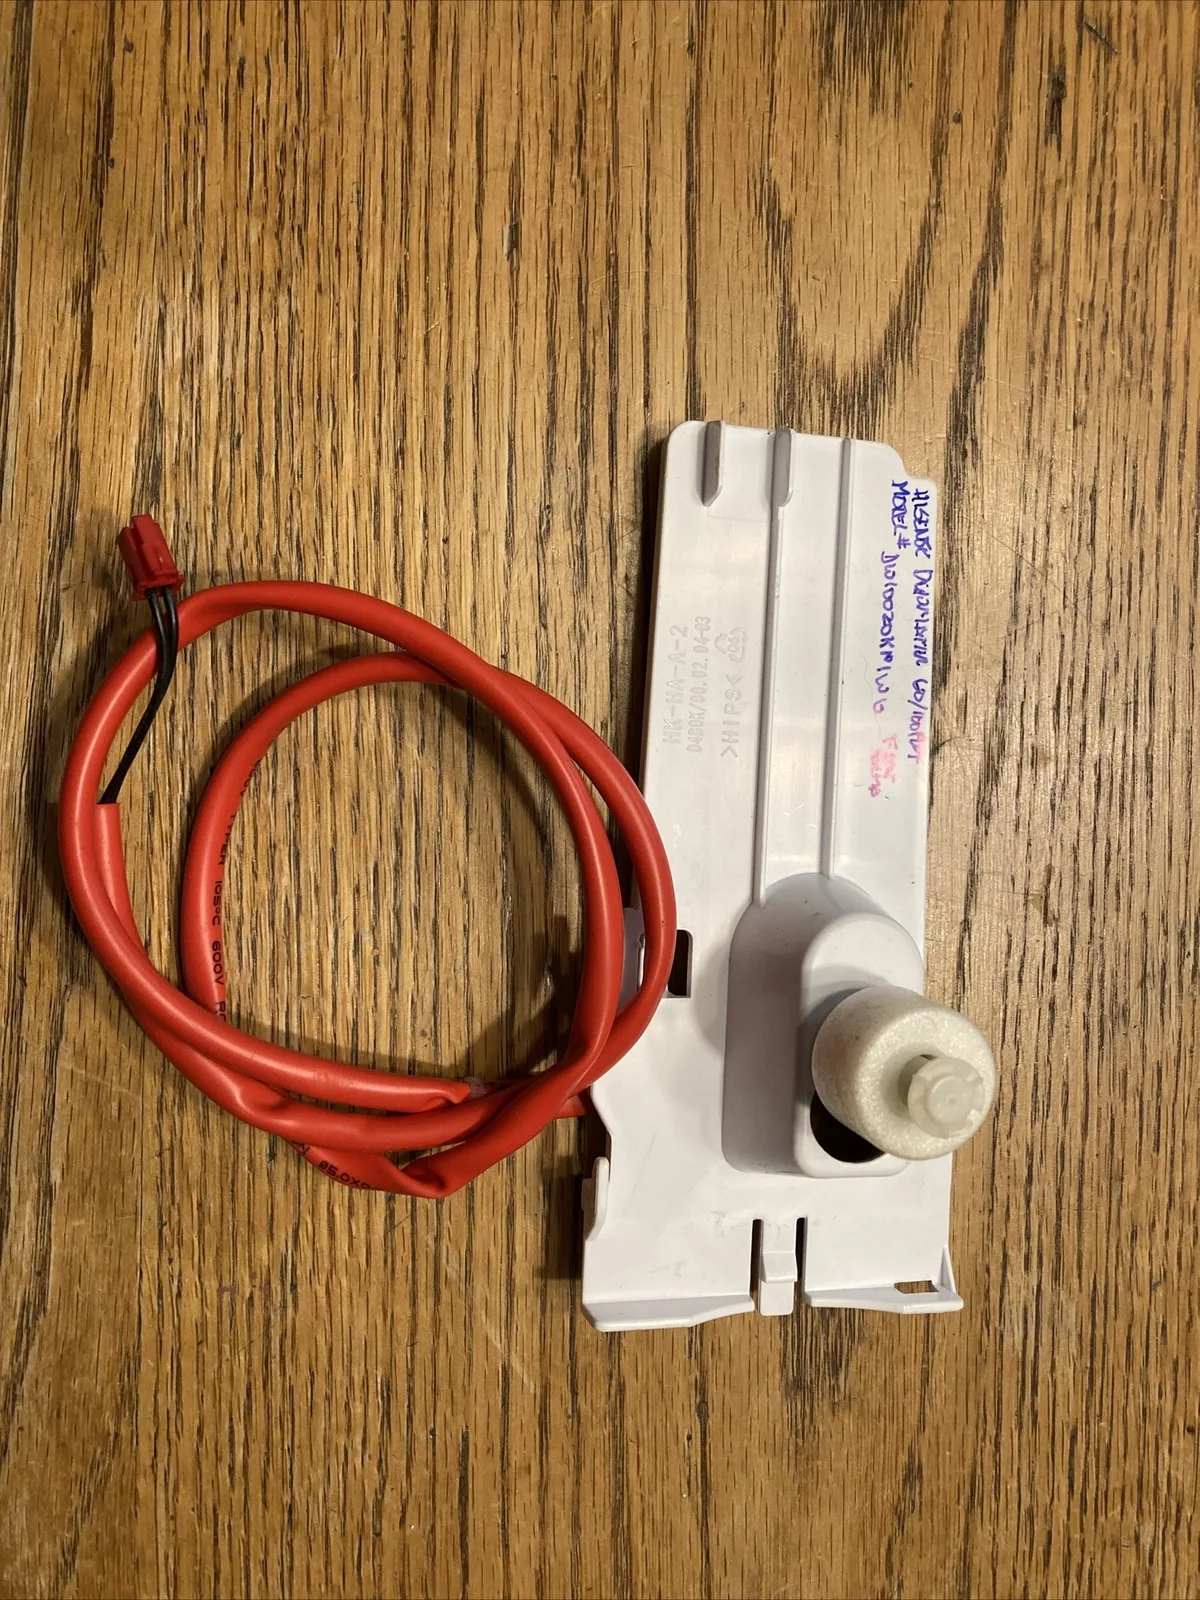
Image source: Bing (Web (fair-use with source credit))
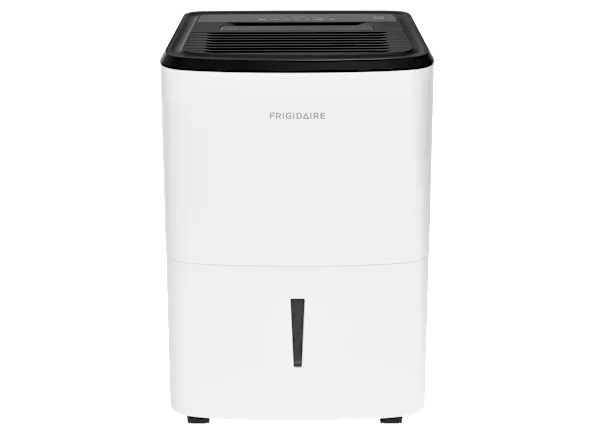
The bucket sits inside a well at the front of the dehumidifier. When it fills up, a plastic float switch rises and tells the unit to stop running. If that float gets stuck in the “up” position, even with an empty bucket, the unit thinks it’s full and shuts off.
But if the float gets stuck in the “down” position, the unit keeps running and water overflows.
Step one: pull the bucket out completely. Look at the float, it’s a small white or yellow plastic piece that moves up and down. Make sure it moves freely.
Sometimes dust, pet hair, or a stray spider web can block it. Wipe it down and test the movement.
Step two: reseat the bucket firmly. Push it all the way in until you hear a click. A bucket that isn’t fully seated can push the float sideways and cause it to stick.
Step three: check the bucket itself for cracks. Run your finger along the bottom and sides. Even a hairline crack can leak.
If you find one, you’ll need a replacement bucket. Honeywell sells them directly through their official support site.
Step four: reset the unit. Unplug it for 30 seconds, plug it back in, and run a test cycle. If the leak is gone, you’re done.
Water From the Back: The Drain Hose and Plug (Branch 2)
A leak running down the back of the unit almost always comes from the drain hose connection or the drain plug.
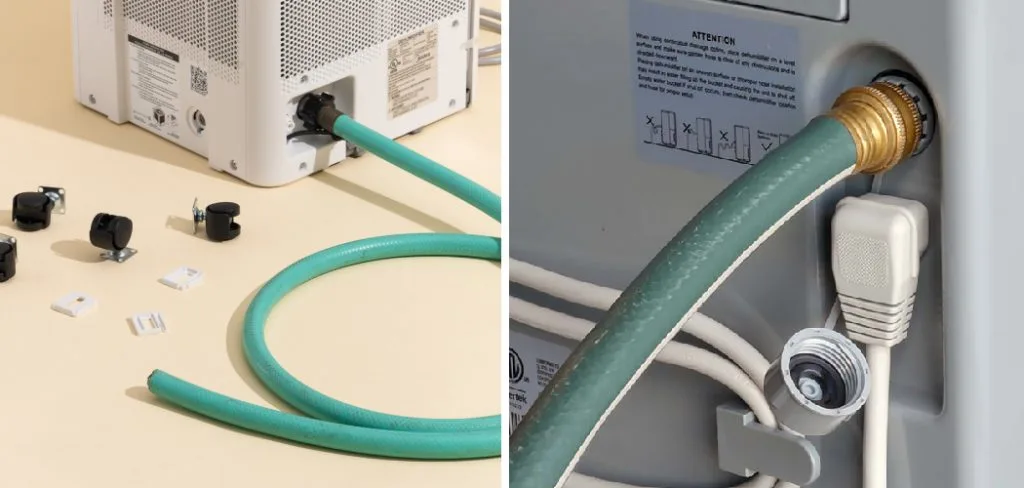
Image source: Bing (Web (fair-use with source credit))
Honeywell dehumidifiers come with a small rubber drain plug located on the back near the bottom. If you’re using continuous drain mode, you remove that plug and attach a standard garden hose with ¾-inch threads. If you’re using the bucket only, that plug must be fully inserted and tight.
Check the plug first. Is it pushed all the way in? Sometimes it wiggles loose during shipping or when moving the unit.
Press it in firmly. If it’s missing, you’ll need a replacement. Without it, water will pour out the back.
If you’re using a drain hose, inspect the connection. The hose screws onto a threaded fitting. If it’s hand-tight only, it can vibrate loose during operation.
Tighten it gently with pliers. Don’t overtighten, or you could crack the fitting.
Also, make sure the hose isn’t kinked or clogged. A kink stops water flow, causing it to back up and leak out the top of the drain port. Run water through the hose into a bucket to confirm it flows freely.
If you have hard water, mineral deposits can narrow the hose over time. Soak it in white vinegar for 30 minutes to dissolve scale.
Finally, check that the hose runs downhill. If it loops upward, water can’t drain and will pool inside the unit. Slope it continuously toward a floor drain or sump pit.
Water From the Bottom: Internal Leaks and Pump Issues (Branch 3)
If water is seeping out from the bottom of the unit, not from the front or back, you’re looking at an internal problem. This is less common but more serious.
On models with a built-in condensate pump (look for a second hose port), the pump can fail or its tubing can develop a pinhole. Pump models are designed to push water upward, but if the pump reservoir cracks, water drips straight down. Listen for the pump cycling on and off.
If it runs constantly or makes a grinding sound, the pump motor may be failing.
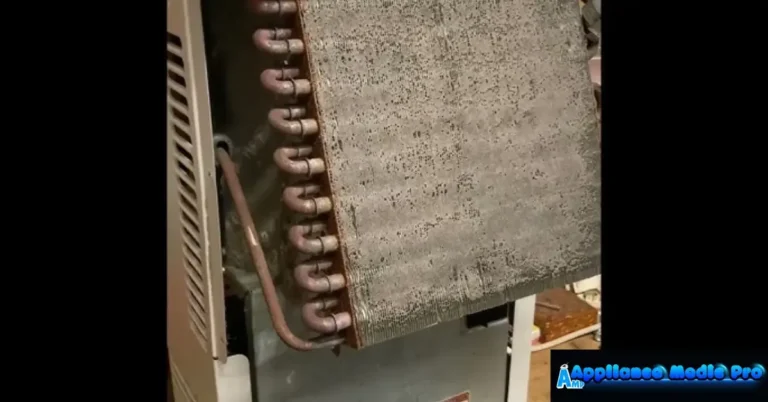
On non-pump models, water from the bottom usually means the internal condensate pan has a crack. That pan sits under the coils and collects the drips. Over time, plastic can become brittle, especially if the unit has been exposed to freezing temperatures.
If you live in a cold climate, a frozen unit can expand and crack the pan.
To check directly, unplug the unit. Tilt it carefully backward and look underneath with a flashlight. You may see a drip or a wet spot on the foam padding.
Unfortunately, a cracked pan or a failed pump requires replacement parts. You can order them from Honeywell’s official parts supplier, or you may find it cheaper to replace the whole unit, depending on the model’s age.
Mistakes That Make Leaks Worse (Common Errors)
A few everyday mistakes turn small, fixable problems into soggy disasters. Let’s run through the most common ones we see in research and buyer feedback.
- Running the unit on an uneven surface. A slight tilt can make the float sensor misread the water level. The bucket overflows before the unit thinks it is full. Place a bubble level on top and adjust the feet.
- Over-tightening the drain hose connection. Plastic threads crack easily when you force them. A cracked fitting leaks permanently, even with a new hose. Hand-tighten the hose, then give it a quarter turn with pliers at most.
- Ignoring the air filter. A clogged filter restricts airflow, which makes the coils ice up. When the ice melts, the extra water floods the condensate pan. Clean the washable filter every two weeks during heavy use.
- Using an extension cord. Voltage drop makes the compressor cycle erratically. That can trigger defrost cycles, which produce more water than the pan can handle. Honeywell recommends plugging the unit directly into a wall outlet.
- Pulling on the bucket to move the unit. Tipping the machine while lifting the bucket sloshes water from the internal pan. It drips right out the front.
If any of these sound familiar, fix the root cause before running the unit again. Then move on to the maintenance routine below.
How to Prevent Future Leaks (Maintenance & Long-Term Care)
A leak that comes back usually means something wasn’t cleaned or checked. So let’s build a simple routine.
| Frequency | Task | Why It Matters |
|---|---|---|
| Every 2 weeks | Clean the air filter | Prevents ice buildup and coil freeze |
| Monthly | Inspect the float switch | Removes dust or debris that sticks it |
| Monthly | Check the drain hose and plug | Catches cracks, kinks, and loose fittings early |
| Every 3 months | Flush the drain port with vinegar | Dissolves mineral scale from hard water |
| After moving | Level the unit | Keeps the float sensor accurate |
You should also keep the room above 41°F. Honeywell dehumidifiers aren’t designed to operate in freezing conditions. Cold air makes frost form on the coils, and the repeated defrost cycles can overwhelm the internal pan.
If you’re using continuous drain mode, give the hose a quick pull test each month. A hose that wiggles loose only leaks when the unit is actively collecting water, which is why the puddle may appear hours after you left. A tight connection, a clean filter, and a free-moving float will prevent most leaks entirely.
For broader guidance on controlling indoor moisture and mold, the Environmental Protection Agency’s mold prevention resources are a helpful, research-backed reference. And if your Honeywell unit is aging and repairs keep stacking up, our roundup of the best dehumidifiers for basements can point you toward more reliable replacements.
Frequently Asked Questions
Why is my Honeywell dehumidifier leaking water even when the bucket is empty?
That’s typically a stuck float switch. The float stays in the “full” position, so the unit thinks the bucket is full and stops draining. Pull the bucket, clean the float switch, and make sure it moves freely.
Then reseat the bucket firmly.
Why is my Honeywell dehumidifier leaking from the back?
Check the drain plug and drain hose. The plug may be loose, or the hose may be kinked, clogged, or improperly connected. Tighten the fitting, clear any kinks, and make sure the hose runs downhill toward your floor drain.
Why is my dehumidifier leaking water after cleaning it?
You probably blocked the drain path. After cleaning, the drain plug might not be fully seated, or the hose might be connected to the wrong port. Also check that the internal condensate pan is seated correctly under the coils.
Should I repair or replace my Honeywell dehumidifier?
If the repair costs more than about a third of a new unit, replace it. Cracked condensate pans and failed pumps are often expensive to fix. Nine times out of ten, cheaper fixes like the float switch, drain plug, or hose are worth repairing.