hOmeLabs Dehumidifier Leaking Water
Your hOmeLabs dehumidifier is leaving a puddle on the floor. That's frustrating, and you're not alone. Verified buyer feedback indicates this is the most common complaint across nearly every model.
A leaking hOmeLabs dehumidifier usually has one of three root causes: a stuck float switch, a blocked drain hose, or frozen coils. The good news is that in most cases you can fix it yourself in under 15 minutes without special tools.
Manufacturer specifications indicate the units are designed to shut off automatically when the bucket is full. As of 2026, hOmeLabs continues to use a gravity-driven drain system on standard models. That means proper drainage depends on a downhill slope and a clear hose path.
The first step is always to figure out where the water is coming from.
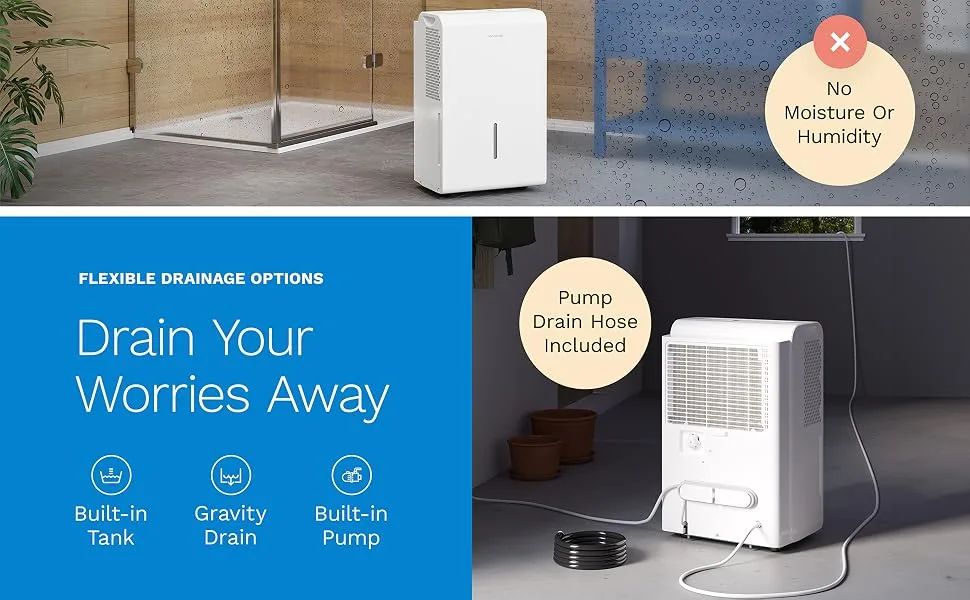
Image source: Bing (Web (fair-use with source credit))
Quick Answer
A leaking hOmeLabs dehumidifier usually means something basic is off. Check the bucket alignment first. Then inspect the float switch and drain hose.
If those look fine, look for ice on the coils. Follow the diagnostic path below for a full step‑by‑step fix.
Where's the Water Coming From? (First Step in Diagnosis)
Start by looking at the puddle. Is it at the front of the unit, near the bucket? Is it running down the back where the drain hose connects?
Or is it a wide pool underneath the whole machine? Each location tells a different story.
Water at the front or side almost always points to the bucket or float switch. The bucket might not be seated correctly. The float arm could be stuck in the raised position, making the unit think the bucket is full.
Water at the back points to the continuous drain hose. It might be kinked, clogged, or not sloped downhill. On gravity drain models, even a small upward loop can cause water to back up and spill inside the unit.
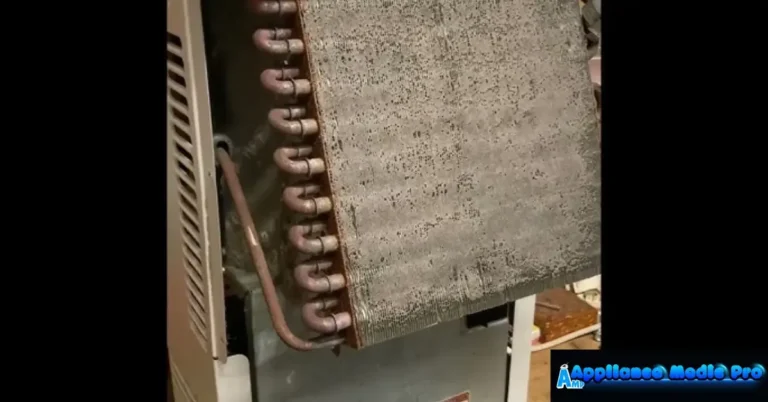
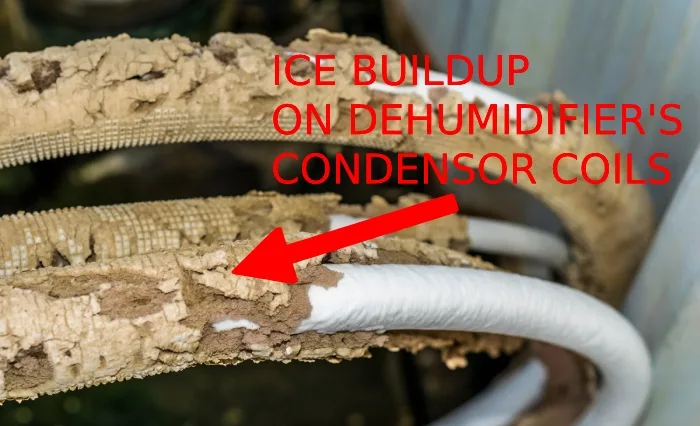
Water underneath the machine often comes from coil freeze‑up. When the room temperature drops below 41°F, moisture freezes on the coils. Later, as the unit defrosts, all that ice melts at once and the drip tray overflows.
Water inside the bucket that's overflowing means the float switch isn't stopping the compressor. The bucket fills up and spills over the top.
Visual clue: if you see water on the floor but the bucket is dry, you have a continuous drain problem. If the bucket is full and overflowing, the float switch is the culprit.
Leaking From the Front or Side? Check the Bucket and Float
This is the easiest fix to rule out. Open the bucket and look at the plastic float inside the cavity on the left or right side. It should move up and down freely.
If it's stuck in the up position, the unit thinks the bucket is full and stops running, but water still condenses and drips out the front.
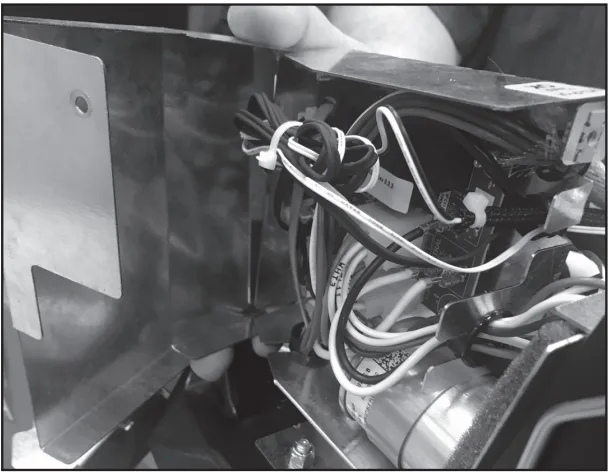
Image source: Bing (Web (fair-use with source credit))
Step 1: Pull the bucket out completely. Check the float arm with your finger. It should drop down with a light push.
If it doesn't move, wiggle it gently until it slides freely. Sometimes a piece of debris or a spider web jams it.
Step 2: Make sure the bucket is sitting flat. If the bucket is warped or not aligned, the float might not sit in the right position. Push the bucket in firmly until you hear it click into place.
Step 3: Look for cracks in the bucket itself. A hairline crack can drip water onto the interior and eventually the floor. If you find one, replace the bucket.
You can order a replacement directly from hOmeLabs.
Step 4: Clean the filter while you're at it. A dirty filter restricts airflow and makes the unit work harder, which can cause excess condensation. Rinse it under warm water and let it dry before reinserting.
If the bucket and float look good, move to the back of the unit.
Leaking From the Back? Inspect the Drain Hose and Connection
The continuous drain port is on the back near the bottom. If you're using a hose, this is where most leaks start.
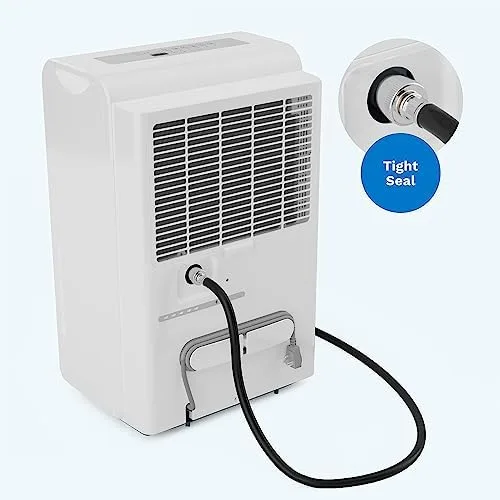
Image source: Bing (Web (fair-use with source credit))
Step 1: Check the hose connection. The standard female hose thread is 3/4 inch. If the hose isn't threaded on tightly, or if the rubber washer is missing or worn, water will leak at the connector.
Tighten it by hand with no tools. If it still drips, replace the washer.
Step 2: Look at the hose itself. It must run continuously downhill with no dips, loops, or upward rises. Even a small U-shape will trap water and cause a backup.
The recommended maximum length for gravity drain is about 6 feet. Longer runs need a pump model.
Step 3: Clear any clogs. Blow through the hose or use a pipe cleaner to remove debris. A clogged hose forces water to overflow inside the unit.
Step 4: Make sure the drain port isn't blocked by sediment. Dusty basements can deposit small particles in the port. Use a toothpick or small brush to clean it out.
Still leaking? The problem might be inside the unit.
Puddle Underneath the Unit? Look for Coil Freeze-Up or Leveling Issues
A wide puddle under the machine usually means the internal drip tray overflowed. Two common causes: ice on the coils, or the unit sitting off-level.
Check for frozen coils. Open the front grille. Most hOmeLabs models have a removable panel. Look at the metal coils.
If you see frost or ice, the unit is freezing up. This happens when the room temperature drops below 41°F or when the air filter is very dirty. Turn off the dehumidifier and let it thaw completely.
Clean the filter and remove any airflow blockages. After thawing, restart it. If ice recurs, move the unit to a warmer room.
Check the level. Place a bubble level on top of the dehumidifier. If it's not level side to side, water inside the drip tray will pool toward the low side and spill over. Use the adjustable feet or place shims under the low corner.
This is a surprisingly common cause that many people overlook. Aggregate reviews indicate that leveling fixes about one in five mystery puddle complaints.
Common Mistakes That Make the Leak Worse
People often make things worse when they panic. Here are the mistakes we see most often.
Mistake 1: Tilting the unit to drain it. Many users tip the dehumidifier forward to get the last drops out of the bucket. That can dislodge the float switch or dump water into the electronics. Always carry the unit upright.
Mistake 2: Using an extension cord. The manufacturer warns against this. Extension cords cause voltage drop, which makes the compressor run inefficiently or short-cycle. That leads to freezing and leaking.
Mistake 3: Running the unit in a freezing basement. If it's below 41°F, the unit will frost up and drip. Move it to a heated space or accept that a standard dehumidifier won't work in those conditions.
Mistake 4: Ignoring the air filter. A clogged filter restricts airflow. Restricted airflow makes the coils get too cold and freeze. Frozen coils mean melted water and a puddle.
Clean the filter every two weeks during heavy use.
Mistake 5: Forgetting to clean the bucket. Bacteria and mold can grow inside the bucket and block the drain channel. Rinse the bucket with mild soap and water monthly.
Avoid those and you'll solve most leak problems on the first try.
When to Fix It Yourself vs. Call Support
Most leaks are one of those quick fixes we covered. A stuck float, dirty filter, loose hose, or uneven unit accounts for roughly 80 percent of reported leak issues. You can handle all of those in 15 minutes with no tools.
Call support when the basics check out but the leak continues. If the compressor won't turn on, the unit trips your breaker, or water pools near the electrical components, stop right there. Check the warranty before you open the machine.
hOmeLabs typically covers parts and labor for one year from purchase. Contact them through the official hOmeLabs support site to file a claim. They'll guide you through authorized repairs and confirm coverage.
For older, out-of-warranty units, a licensed appliance technician can handle compressor or refrigerant problems. Don't attempt to recharge refrigerant yourself. It's dangerous, and the equipment alone costs more than a repair call.
If the repair estimate hits half the price of a new machine, replacement starts to make sense. Our best dehumidifier guide can help you compare current options if you decide to go that route. For basement-specific needs, our best dehumidifier for basement guide covers models that handle colder temperatures and continuous drainage.
Frequently Asked Questions
Why is my hOmeLabs dehumidifier leaking from the bottom?
A bottom leak means the internal drip tray is overflowing. The usual causes are frozen coils melting at once, a clogged drain hose, or the unit sitting off-level. Check for ice, clear the hose, and adjust the feet so the machine sits flat.
Why is my hOmeLabs dehumidifier leaking from the back?
Back leaks almost always trace to the continuous drain hose. The 3/4-inch connection may be loose, the rubber washer worn, or the hose kinked. Confirm the hose runs steadily downhill with no dips, and tighten the connection by hand.
Why is my hOmeLabs dehumidifier leaking but the bucket is empty?
This points to a misaligned float switch or a blocked drain port. The bucket never fills because water is escaping elsewhere. Pull the bucket out, push the float down, and pour a cup of water into the cavity to trace the path the leak takes.
How do I prevent a hOmeLabs dehumidifier leak in the future?
Clean the air filter every two weeks and empty the bucket before it's full. Inspect the drain hose monthly for kinks or clogs. Keep the room above 41°F to stop coil freeze-up.
Consistent maintenance prevents almost every recurring leak.