How to Fix a Hygrometer That Is Not Accurate
If your hygrometer has been giving you readings that don't match reality, you're not alone. Here's how to fix a hygrometer that is not accurate in a few straightforward steps that don't require a lab or expensive tools.
As of 2026, the most trusted home calibration method uses the saturated salt test, which creates a stable 75% relative humidity reference. This method is widely accepted by hobbyists and professionals alike. Let's walk through exactly what's going wrong and how to set it straight.
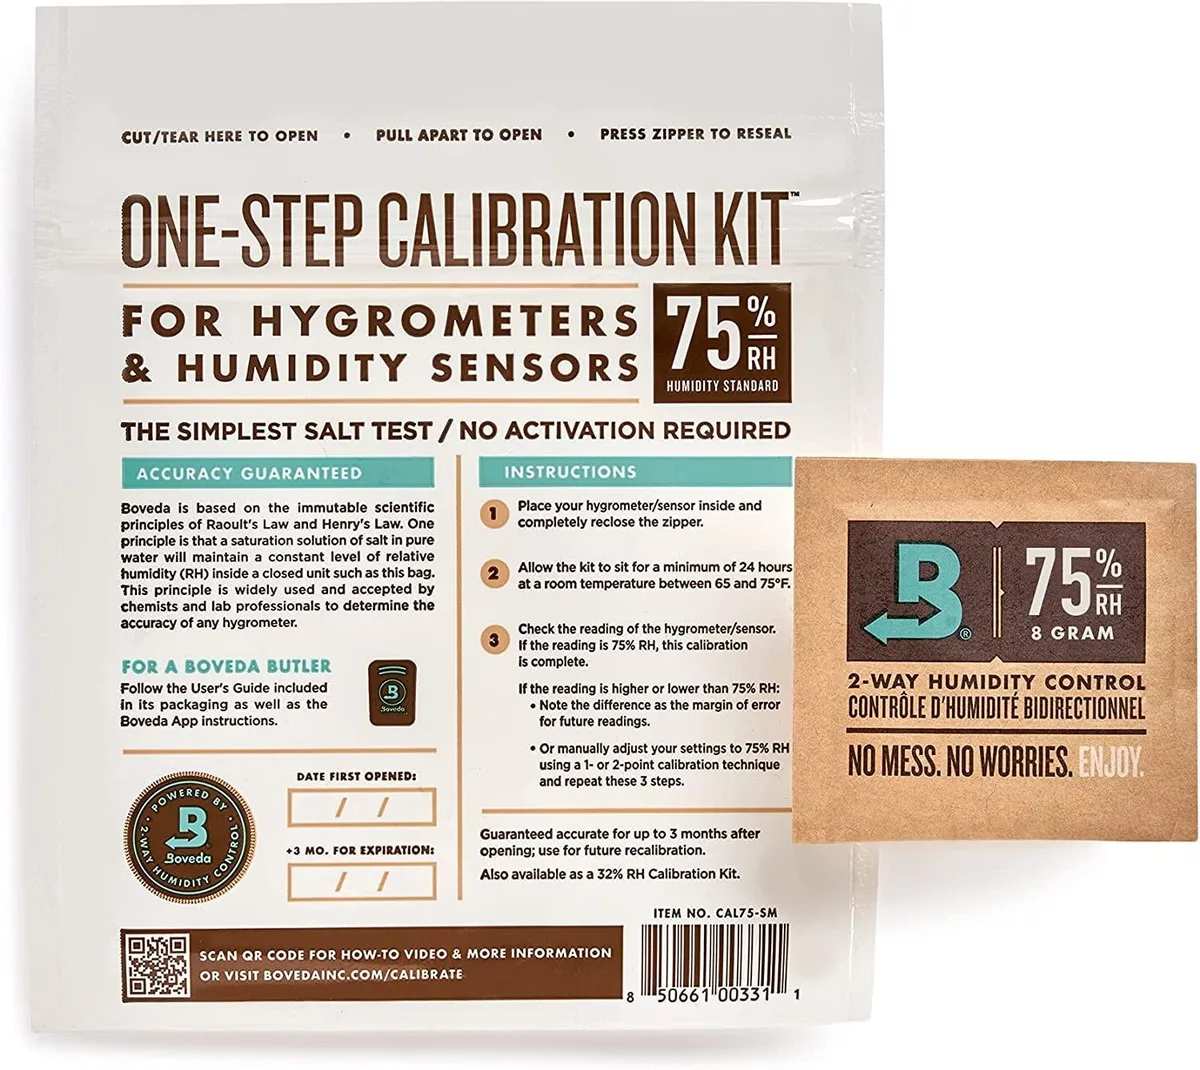
Image source: Bing (Web (fair-use with source credit))
Why Your Hygrometer Is Lying to You
Quick answer: Check the battery. Check the placement. Then run a salt test to recalibrate.
Most accuracy problems come from a dead battery, sensor drift, or poor placement near a draft or heat source. Fix those three things and you'll solve 90% of the issues.
So what causes the other 10%? Sensor drift is the main culprit. Digital hygrometers use a capacitive sensor that naturally drifts over time.
The capacitor inside gradually changes its electrical properties. This happens faster with cheap sensors and slower with quality ones. Analog hygrometers use a coiled metal spring or a strand of human hair.
These expand and contract with humidity, but they get "lazy" after a few years. The metal or hair loses its elasticity.
Placement plays a huge role too. Put a hygrometer near a window, a heat vent, or a humidifier, and it will read whatever microclimate is around it. Not the room average.
The manufacturer specification for most consumer hygrometers is ±3% to ±5% after calibration. That's acceptable. But a unit that's off by 10% or more needs fixing.
Quick Checks First: Battery, Placement, and a Stuck Dial
Before you break out the salt, run these three quick checks. They take five minutes and can save you an hour of troubleshooting.
Check the battery
A low battery causes erratic readings. Digital hygrometers draw very little power, but as the battery voltage drops, the sensor starts reporting wrong numbers. Replace the battery with a fresh alkaline one.
Do not use rechargeables unless you know the device is designed for a lower voltage. For analog units, there is no battery. But if the dial is stuck, the mechanism may be jammed.
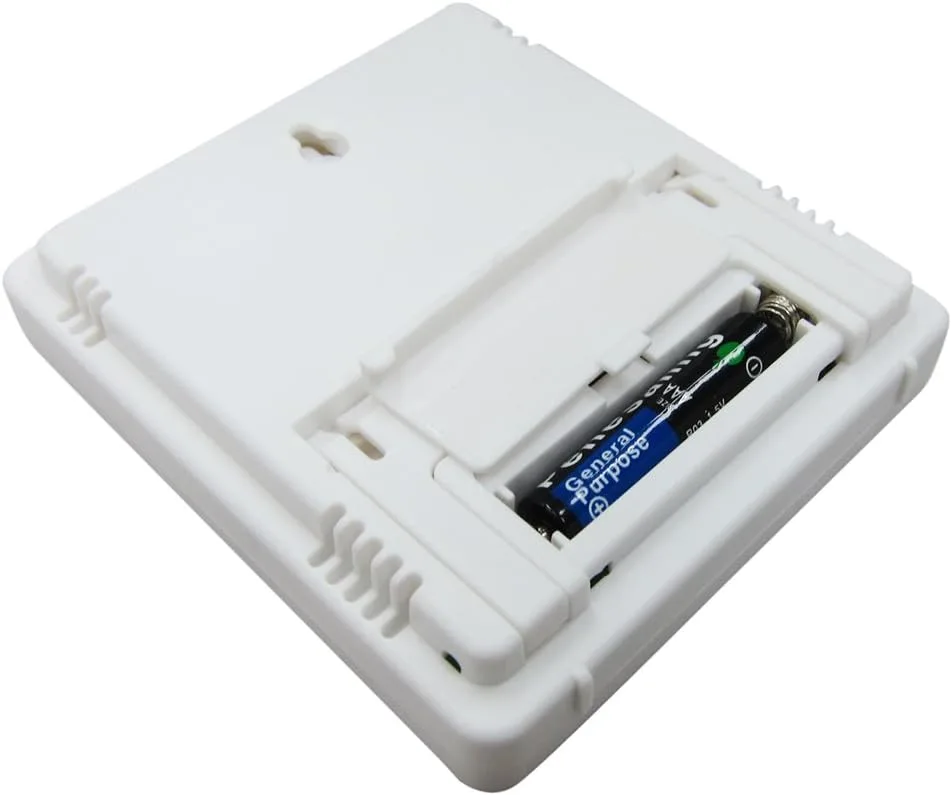
Image source: Bing (Web (fair-use with source credit))
Check the placement
Move the hygrometer to a spot away from direct sunlight, vents, doors, and windows. Place it at eye level in the center of the room. Wait 30 minutes.
If the reading stabilizes, placement was the problem. If it still jumps around wildly, you have a sensor issue.
Check for a stuck dial on analog models
Gently tap the face of the hygrometer. The dial should move freely. If it stays frozen, the mechanism is likely jammed.
Sometimes a tiny puff of compressed air around the spindle helps. If not, you may need to replace the unit. Analog hygrometers are cheap and not worth intensive repair.
How Hygrometers Work: Why Sensor Drift Happens
Understanding the sensor helps you know when to trust it and when to fix it.
Digital hygrometers use a capacitive sensor. A thin polymer layer absorbs water vapor from the air. As it absorbs moisture, the dielectric constant of the polymer changes.
This change alters the capacitance of the circuit. The electronics translate that capacitance change into a humidity reading. Over time, the polymer degrades.
It absorbs dust, oils, or other contaminants. It may also dry out or swell unevenly. This causes the sensor to lose its factory calibration.
The drift is usually gradual, about 0.5% to 2% per year for a budget sensor.
Analog hygrometers use a single strand of hair or a coiled metal spring. Hair expands when humidity is high and contracts when it is low. The physical movement moves a needle on a dial.
The problem is hysteresis. The hair does not return to exactly the same position after a dry cycle. It gets "stretched out" over time.
The metal spring corrodes or loses temper. The result is a permanent offset.
Per NIST standards, humidity sensors should be recalibrated annually to maintain reliable data. Most home users never do this. That is why your hygrometer is probably off.
The Fix-It Decision Tree: Match the Symptom to the Solution
Here is a decision tree. Identify your symptom and follow the branch.
If the Display Is Frozen or Stuck
Digital: Remove the battery. Press and hold the power button for 10 seconds to discharge any residual charge. Reinsert a fresh battery.
If the display is still frozen, the circuit board is likely dead. Replace the unit.
Analog: Tap the face gently. If the needle does not move, the mechanism is seized. Apply a tiny drop of lightweight machine oil to the pivot point.
Wait 15 minutes. If it still does not move, replace the hygrometer.
If It Reads Consistently Wrong (The Salt Test Confirms)
Digital: Most digital hygrometers have a calibration button. Press and hold the "Set" or "Cal" button until the display flashes. Some models require you to press a paperclip into a pinhole.
Check your manual. Once you are in calibration mode, enter the reference value (75% for salt test). Confirm the setting.
Analog: Locate the calibration screw on the back. Turn it with a small screwdriver until the needle lines up with the reference value. Do this slowly.
Small adjustments make a big difference.
If It Fluctuates Wildly With No Pattern
Digital: This is usually a low battery or a defective sensor. Replace the battery first. If the problem persists, the sensor is failing.
There is no reliable fix for a failing capacitive sensor. Replace the unit.
Analog: The hair or spring may be snapping. If the needle swings wildly or sticks at one end, the internal mechanism is broken. Replace it.
How to Recalibrate: The Salt Test vs. Boveda Packs
You have two reliable methods for recalibration at home. Each has a specific use case.
| Method | Accuracy | Setup Time | Cost | Best For |
|---|---|---|---|---|
| Salt test | ±1% if done correctly | 10 minutes prep + 6 to 12 hours wait | Pennies (table salt + water) | Single unit recalibration on a budget |
| Boveda calibration pack | ±1% guaranteed | 2 minutes prep + 24 hours wait | $10 to $30 per pack | Multiple units at once, or high accuracy |

Image source: Web (Bing) / blogionik.org (Web image (fair-use with source credit))
The salt test method
The saturated salt test creates a stable 75% relative humidity environment. Here is the process:
- Get a small airtight container. A zip-lock bag works but a rigid container is better.
- Put a tablespoon of table salt in a small dish or bottle cap.
- Add a few drops of distilled water. Stir until the salt is wet but not swimming. It should look like wet sand.
- Place the salt dish and your hygrometer in the container. Seal it tight.
- Wait 6 to 12 hours. Do not open it.
- After the wait, check the reading. It should be 75% RH at room temperature.
If your hygrometer reads 75% exactly, it is calibrated. If it reads 71%, you have a 4% offset. Adjust the calibration screw or use the digital calibration button to bring it to 75%.
The Boveda method
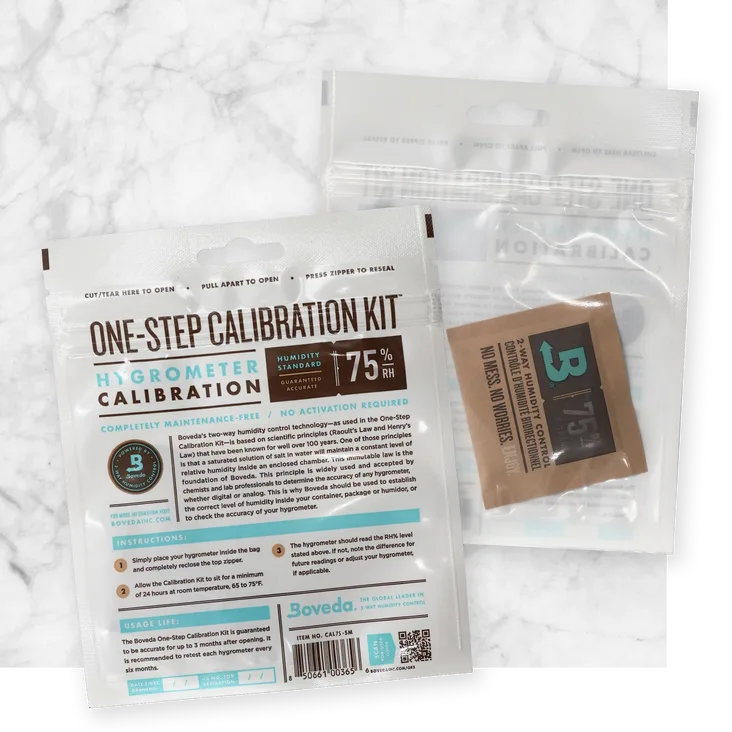
Boveda calibration packs are sealed pouches that maintain a specific humidity level. The 69% and 75% packs are the most common for testing. The process is simpler:
- Place the hygrometer and a Boveda pack in a sealed zip-lock bag.
- Wait 24 hours.
- Check the reading. It should match the pack's stated humidity.
The Boveda method is more expensive but removes the margin for error in the salt test. If you get the salt mixture wrong, your reference is off. The Boveda pack is consistent every time.
Per the manufacturer's specifications, the packs are accurate to ±1% and are used by many cigar shops and instrument builders for calibration.
Calibration Mistakes That Ruin the Whole Process
You can follow every step perfectly and still get a bad result. Here are the errors that trip up most people.
Using too much water in the salt test. The salt should be wet but not swimming. If there is standing water, the humidity inside the container rises above 75%. You get a false reference.
The correct consistency is damp sand. Add water one drop at a time.
Opening the container too early. The salt needs time to reach equilibrium. Opening the bag or container after two hours resets the clock. Wait a full 6 to 12 hours.
Overnight is best. Patience is the only thing that makes this work.
Using a non-airtight container. A zip-lock bag works if it seals completely. A rigid plastic container with a gasket is better. Even a tiny leak lets outside air mix in.
The reference becomes unreliable. Test the seal by squeezing the bag before you start.
Not accounting for temperature. The salt test is calibrated for room temperature. If your room is below 60°F or above 80°F, the reference humidity shifts. Per the NIST standard, the saturated salt solution creates 75% RH only within a specific temperature range.
Keep the test in a stable indoor environment.
Adjusting the hygrometer before the test finishes. You need a stable baseline before you touch the calibration screw. If you adjust while the reading is still moving, you lock in the wrong offset. Wait for the full 12 hours.
Then adjust.
How to Keep Your Hygrometer Accurate for Years
Recalibration is not a one-time fix. Sensors drift. You need to maintain them.
Recalibrate every 6 to 12 months. Mark your calendar. If you use the hygrometer for critical purposes like cigar storage or reptile enclosures, do it every 6 months. For general home use, once a year is enough.
Keep it away from direct sunlight and heat. UV light degrades the polymer sensor in digital units. Heat accelerates the drift. Place it on an interior wall away from windows and radiators.
Avoid extreme humidity spikes. Digital sensors can handle high humidity, but repeated condensation inside the sensor damages it permanently. If you live in a very humid climate, consider a weatherproof housing.
Clean the sensor gently. Dust and oils build up on the sensor surface over time. Use a soft brush or a puff of compressed air. Do not use liquids or cleaning solvents.
They can damage the polymer.
Check the battery regularly. As we covered earlier, low voltage causes erratic readings. Replace the battery at the same time you recalibrate. That way you never forget.
Store it properly if you remove it. If you take the hygrometer out of service, store it in a sealed bag with a desiccant pack. This prevents the sensor from absorbing moisture and drifting while it sits.
Frequently Asked Questions
Why does my hygrometer read 99% humidity all the time?
A stuck reading at 99% usually means the sensor is saturated or damaged. It could be condensation inside the sensor housing. Try drying it out by placing it in a sealed bag with a desiccant pack for 24 hours.
If it still reads 99%, the sensor is dead.
Can I fix a digital hygrometer that will not power on?
Check the battery first. If a fresh battery does not work, try removing the battery and holding the power button for 30 seconds to discharge the circuit. If that fails, the circuit board is likely dead.
Digital hygrometers under $30 are not worth repairing.
How accurate do consumer hygrometers need to be?
For general home use, ±3% to ±5% is acceptable. For cigar humidors or reptile enclosures, aim for ±2% or better. A unit that is off by 10% or more needs recalibration or replacement.
Is the salt test really accurate enough?
Yes, if you do it correctly. The saturated salt solution creates a stable 75% RH reference that is accurate to within ±1% at room temperature. It is the same method used by many calibration labs for field checks.
Can I calibrate a hygrometer without a reference?
No. You need a known reference point to adjust the reading. The salt test and Boveda packs are the only reliable home methods.
Guessing or comparing to a second uncalibrated hygrometer will not work.
How do I know if my hygrometer is beyond repair?
If the reading is frozen at one extreme, jumps wildly, or cannot be adjusted after two calibration attempts, replace it. Cheap hygrometers have a useful life of about 2 to 3 years. Good ones last 5 to 10 years with regular recalibration.