How to Calibrate a Hygrometer
Your hygrometer is probably lying to you. If it's been more than six months since the last check, the humidity reading can drift by several percent without notice. If you've ever wondered how to calibrate a hygrometer, the process is simple and takes less than a day.
The best part is that it costs almost nothing.
Manufacturer specifications often rate consumer hygrometers at ±3% relative humidity, and even that accuracy fades as sensors age. The salt test, a standard calibration method, uses a saturated sodium chloride slurry to create a fixed 75% RH reference at room temperature. Boveda's pre-made calibration kit does the same job with less mess.
We'll walk you through both.
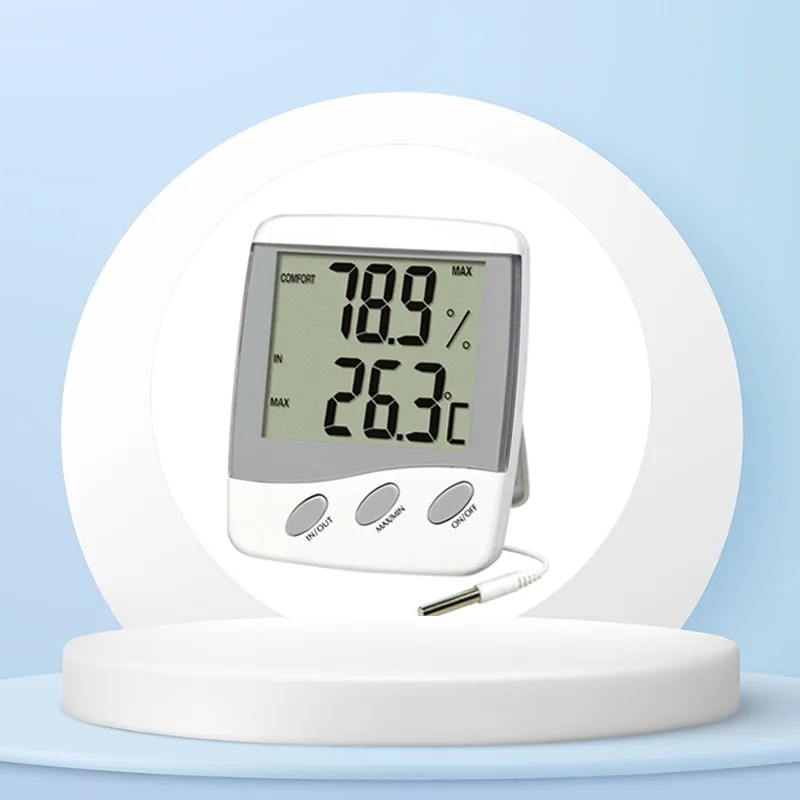
Image source: Bing (Web (fair-use with source credit))
Quick Answer
Calibrate a hygrometer with the salt test. Use 75% relative humidity as your reference. Seal it in an airtight container.
Wait 12 hours. Adjust the reading to 75% RH.
Why Bother Calibrating? (And How Often You Really Need To)
A hygrometer doesn't stay accurate forever. The sensors inside digital models drift over time. Analog units with metal coils or hair fibers can stretch, corrode, or settle.
Aggregate reviews of popular hygrometers show that a brand-new unit can read 5% to 10% off right out of the box. That's common, not a defect.
Here's why the numbers matter. Cigars need a humidor around 70% RH. Guitars need 45% to 55% to keep wood from cracking.
Mushroom growers target 85% to 95% inside fruiting chambers. Gun owners stay below 50% to prevent corrosion. A single wrong percentage can ruin expensive items.
How often should you calibrate? Every six to twelve months is the practical window. Calibrate sooner if the unit gets dropped, if you live in a humid climate, or if readings feel inconsistent with the room.
And always calibrate a brand-new hygrometer before you trust it. As of 2026, most consumer models still ship with no guarantee of factory accuracy.
This method is straightforward. The salt test costs pennies. A Boveda kit costs about $10.
The process is documented by the National Institute of Standards and Technology NIST, so you're not relying on an internet rumor. It's real science, simplified for home use.
Think of calibration like changing your smoke detector batteries. Do it on a schedule, not after a failure. If you're about to rely on a humidity reading for something expensive, calibrate first.
Ten minutes of setup can save you months of regret.
The Two Calibration Methods: Salt Test vs. Boveda Kit
Both methods work on the same principle. You create a known, stable relative humidity in a sealed space. Then you compare what your hygrometer reads against that reference.
The difference is the tool and the convenience.
The salt test is the classic method. You mix plain table salt with a little distilled water until it forms a wet slurry. Then you seal it in a container with your hygrometer.
Saturated salt solutions hold a fixed relative humidity at a given temperature. For sodium chloride, that's 75% RH at room temperature. This has been a standard reference for decades.
The Boveda One-Step Calibration Kit is the short cut. It's a small pouch pre-filled with salt solution, already set to 75% RH. You toss it in a zip-lock bag with your hygrometer and wait.
No measuring. No mixing. No cleanup.
It costs more, but it's dead simple.
| Method | Cost | Setup Time | Wait Time | Accuracy Reference |
|---|---|---|---|---|
| Salt Test | ~$0.50 | 5 minutes | 12 to 24 hours | 75% RH at 70°F |
| Boveda Kit | ~$10 | 2 minutes | 6 to 12 hours | 75% RH ±1% |
Which should you pick? If you're calibrating several hygrometers at once, use the salt test. A single container can hold multiple units.
If you're doing one hygrometer and want minimal fuss, grab the Boveda kit. It also finishes faster.
Keep the container away from sunlight and temperature swings. The reference works best between 65°F and 75°F. If your room is much hotter or colder, the salt test's 75% target shifts slightly.
That's fine for home use, but it's worth knowing.

Image source: Bing (Web (fair-use with source credit))
Step 1: Figure Out What Kind of Hygrometer You Have
Before the test, know what you're working with. The next step depends on your unit type, and guessing wrong wastes time. Look at the back or the display.
Digital hygrometers show numbers on an LCD screen. They run on batteries and usually have a reset button or menu settings. Analog hygrometers have a dial and a needle.
They don't need power. That's the first fork in the road.
Digital units split into two categories. Some let you adjust the reading directly. You press and hold a button or enter calibration mode.
Others have no adjustment at all. They just display what the sensor sees. Look for a reset button, arrow keys, or a calibration function in the manual.
If you can't find one, it's probably not adjustable.
Analog hygrometers are easier. Most have a small screw or knob on the back, near the center. Some have it on the front, just under the needle.
Look for a tiny hole that reveals a screw head. That's your calibration point.
Here's the decision tree. If your digital hygrometer has calibration buttons, you'll use those after the test. If it doesn't, you'll write down the offset and subtract it from every reading.
If your analog hygrometer has a screw, you'll turn it to move the needle. If there's no screw, the unit is basically decorative. Replace it.
Not sure which you have? Check the manual online. Search the model number plus the word "calibration." Manufacturer specifications will tell you what's adjustable.
Don't skip this. Too many people run the salt test, then realize they can't adjust the reading, and they're stuck.
Step 2: Run the Calibration Test (Salt or Boveda)
This is where the work happens. The setup is simple, but the details matter. Choose one branch below.
Salt test method.
- Get a small container. A plastic cup or bottle cap works.
- Add two tablespoons of plain table salt. Iodized salt is fine. Salt substitutes are not.
- Add a teaspoon of distilled water. The texture should be wet sand, not swimming.
- Place the container in a zip-lock bag or an airtight plastic box.
- Set your hygrometer next to the salt, not touching it. They share air but should not make direct contact.
- Seal the bag, squeezing out as much air as possible.
- Move it somewhere with a stable room temperature, ideally 70°F to 75°F.
- Wait at least 12 hours. Twenty-four is better. Do not open the bag during the wait.
The saturated salt solution creates a pocket of air at 75% RH. Your hygrometer needs time to reach equilibrium. Twelve hours is the minimum.
If you can leave it overnight, do that.
Boveda kit method.
- Open the Boveda pouch. It looks like a flat package of moisture.
- Place the pouch and your hygrometer in a zip-lock bag.
- Seal the bag and keep it at room temperature, away from sunlight.
- Wait 6 to 12 hours. Boveda's instructions say at least 6, but a longer wait won't hurt.
The Boveda pouch holds the bag's air at exactly 75% RH. It's the same idea as the salt test, just cleaner.
Watch the temperature. If your room is far from 70°F, the humidity reference shifts slightly. That's acceptable for home calibration.
If you want maximum accuracy, aim for the 70°F to 75°F zone. Also, don't let the bag sit under a vent or near a heat source.
While you wait, do nothing. Don't crack the seal to peek. Don't "quickly check" halfway through.
Every time you open the bag, you reset the clock. Let it sit.
Step 3: Read the Results and Decide Your Next Move
After the wait time, look at the reading through the transparent bag if you can. If not, open it, take a quick reading, and write it down. Then decide your next move.
If it reads 75% RH. You're done. This is rare, so enjoy it. Replace the battery, put it back, and mark your calendar for the next check.
If it reads between 72% and 78% RH. That's within a typical ±3% tolerance for consumer hygrometers. You can adjust it to exactly 75% if the option exists. For most uses, a three-point error is acceptable.
If you need tighter accuracy, do the adjustment.
If it's off by more than ±3% RH. Now you take action. The right fix depends on your hygrometer type.
For digital units with adjustment controls, press and hold the reset button or enter calibration mode. Set the display to exactly 75% RH. Save the setting.
Then leave the unit in the bag for another hour to confirm it stays at 75%.
For digital units without adjustment, you have two options. You can live with a known offset. If the display shows 68% RH in a 75% reference, your real humidity is always displayed reading plus 7%.
Label the back of the unit so you remember. Or replace it.
For analog hygrometers, use the calibration screw. Turn it gently, a tiny fraction at a time. The needle should move.
Adjust it until it points at 75% RH. Do not force it. If the screw is seized, try a drop of rubbing alcohol on the adjustment point.
If it won't budge, replace the unit.
After any adjustment, run the test again. This verification cycle takes another 12 hours. It tells you whether the fix worked.
If the second test reads 75% RH, you're done. If it's still off, your reference was bad, your bag leaked, or the sensor has failed.
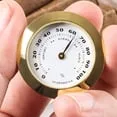
Image source: Bing (Web (fair-use with source credit))
Common Calibration Mistakes That Ruin the Results
Calibration looks easy, but small errors create big failures. Here are the mistakes we see most often.
Opening the container early. Peeking resets the equilibrium clock. The salt solution needs hours to saturate the air. If you open the bag at hour three, the humidity drops instantly, and your reading means nothing.
Using too much water. The salt slurry should be wet sand, not a puddle. Excess water creates a different humidity level than the 75% standard. That low-sodium saltwater pool throws the whole test off.
Using the wrong salt. Table salt works. Sea salt can work. Salt substitutes, which contain potassium chloride, do not produce exactly 75% RH.
Stick with plain sodium chloride.
Ignoring temperature swings. If the bag sits in direct sunlight or near a heat vent, the reference drifts. A warm pocket of air holds more moisture, and your hygrometer might read higher than 75% RH. Keep the test setup stable.
Forcing the analog screw. These mechanisms are delicate. A hard twist can break the needle, bend the coil, or strip the adjustment. Gentle turns only.
If it doesn't move, stop.
Skipping the verification test. One test isn't proof. After you adjust the hygrometer, run the full cycle again. The second test confirms the calibration held.
This is the step that separates careful owners from impatient ones.
Assuming expensive means accurate. A $50 hygrometer can drift just like a $10 one. Price affects build quality, not calibration status. Test everything, regardless of cost.
FAQs: Quick Answers on Calibration Accuracy
How long does it take to calibrate a hygrometer?
Plan for 6 to 24 hours. The Boveda kit takes about 6 to 12 hours. The salt test takes 12 to 24 hours.
The longer the wait, the more stable the reading. Don't rush the minimum.
What percentage should a hygrometer read?
In the salt test or Boveda kit, the correct reading is 75% RH at room temperature. That's the standard reference for sodium chloride. If your hygrometer reads below or above that, it needs adjustment.
Do I need to calibrate a brand-new hygrometer?
Yes. New hygrometers can be off by 5% to 10% right out of the box. Factory tolerances vary, and shipping can shift the sensor.
Calibrate before you trust any reading.
Can I calibrate a hygrometer without a Boveda kit?
Absolutely. The salt test works with items you already have. All you need is table salt, distilled water, and an airtight container.
It takes a bit longer but costs almost nothing.
How often should I calibrate a hygrometer?
Every six to twelve months is the recommended schedule. Calibrate sooner if the unit gets dropped, if the humidity in your area changes drastically, or if readings seem inconsistent. Regular calibration keeps your stored items safe.