Why Is My Dehumidifier Leaking Water
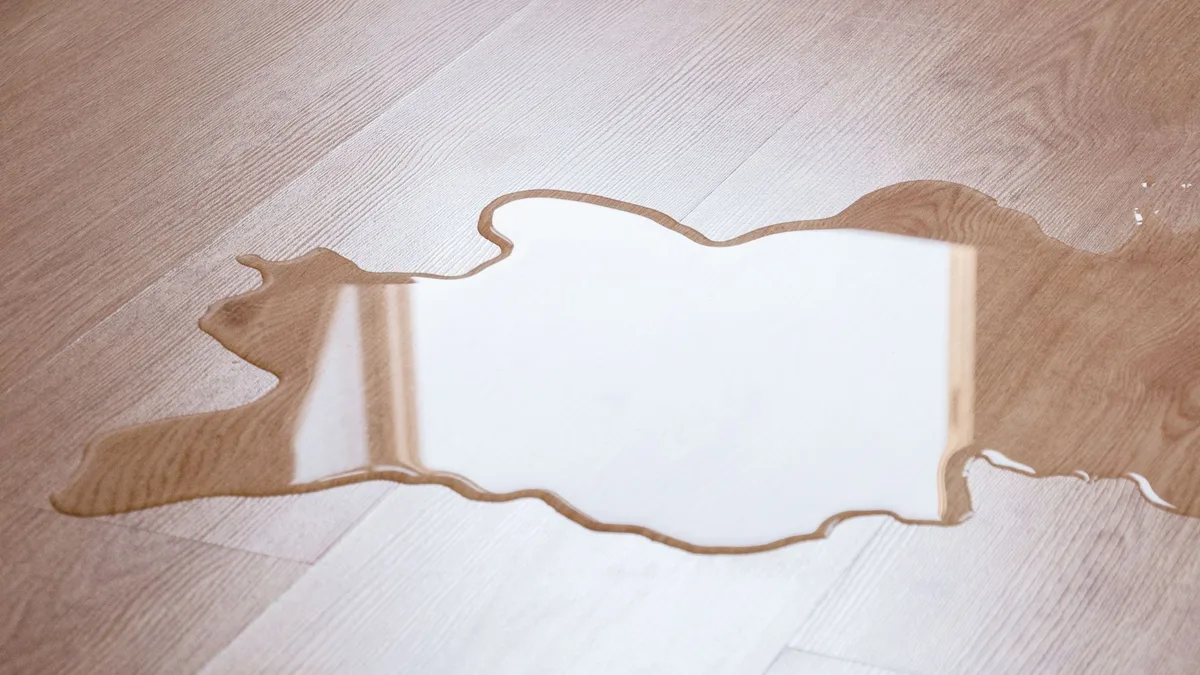
Image source: Bing (Web (fair-use with source credit))
If you're wondering why is my dehumidifier leaking water, you're not alone. It's one of the most common frustrations with these machines. It usually has a simple fix.
A puddle on your basement floor doesn't mean your unit is broken. It just means something is blocking the water from getting where it's supposed to go.
Manufacturer specifications indicate that most dehumidifiers are designed to operate in temperatures between 65°F and 80°F (18°C to 27°C). Operating outside that range is one of the top causes of leaks. Let's walk through what's happening inside your machine.
Then we'll track down the leak together.
Quick Answer
Your dehumidifier is leaking because water escapes before it reaches the bucket or drain. The most common causes are a stuck float switch, a clogged drain hose, ice on the coils, or a cracked bucket. Check the leak location first.
Front leaks usually mean bucket or float problems. Back leaks often mean coil icing or defrost issues. Bottom leaks point to a cracked drain pan or bucket.
How a Dehumidifier Collects Water (and Why It Can Leak)
A dehumidifier works like a mini air conditioner. It pulls humid air in and passes it over cold coils. The moisture condenses into water.
That water drips down into a collection bucket or out through a continuous drain hose. The whole system is gravity-fed. Any blockage or tilt sends water where it should not go.
Here is where leaks usually start. The float switch is a plastic piece that rises with the water level in the bucket. When the bucket is full, the float triggers the auto-shutoff.
If that float gets stuck down, the unit keeps running and water overflows. The drain hose is another common culprit. A kink or algae clog stops the flow.
Water backs up and spills. The coils can ice over if the room is too cold. When they defrost, that meltwater has nowhere to go but the floor.
The Leak Location Workflow – Diagnose in 5 Minutes
The fastest way to fix a leak is to figure out where the water is coming from. Unplug the unit first. Then grab a towel and a flashlight.
Look at the floor around the dehumidifier. Is the water pooling at the front, the back, or underneath? That single observation tells you exactly which system to check.
Here is the decision tree:
- Water at the front of the unit, bucket or float switch issue
- Water at the back, coil frosting or defrost drain problem
- Water underneath the center, cracked drain pan or bucket
- Water near the drain hose connection, kinked or clogged hose
- Water everywhere with no obvious pattern, unit is not level
We will walk through each one below.
Leaking from the Front: Bucket or Float Switch Issues
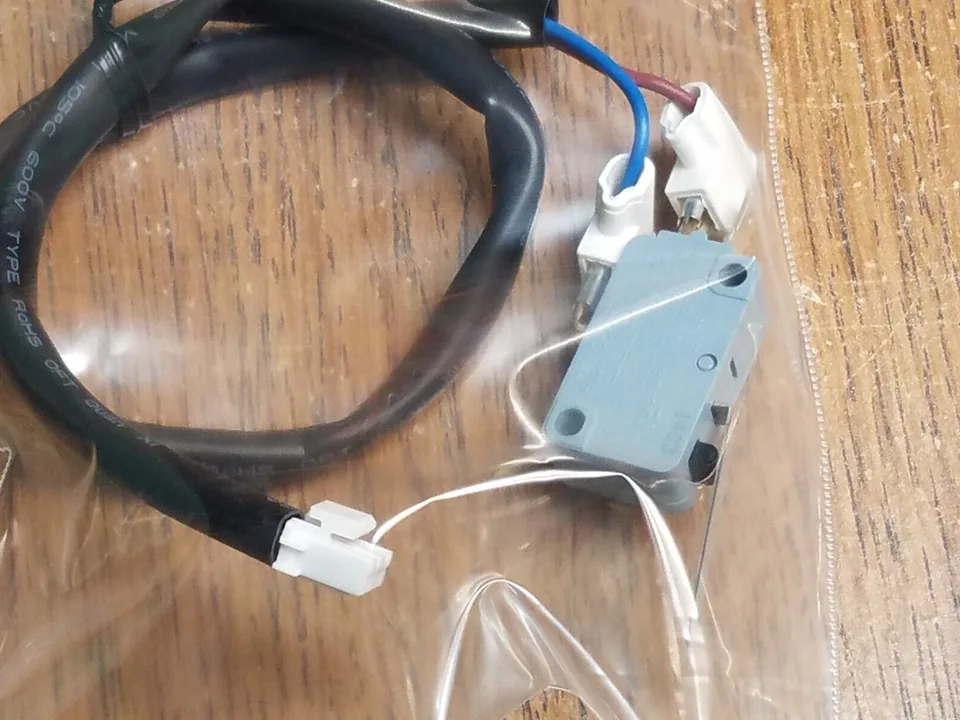
Image source: Bing (Web (fair-use with source credit))
If the puddle is at the front of the unit, the problem is almost certainly the bucket or the float switch. Pull the bucket out and empty it. Look at the float switch.
It is the small plastic piece that sits inside the bucket cavity. Gently press it up and down. It should move freely.
If it feels sticky or stuck, that is your culprit.
The float switch gets jammed by debris, mineral deposits, or simple misalignment. Clean the cavity with a damp cloth. Run your finger around the switch track to dislodge anything stuck.
Reinsert the bucket and make sure it clicks into place. A bucket that is not fully seated will not trigger the float correctly.
Aggregate user reviews report that this is the single most common fix for dehumidifier leaks. It takes about two minutes and costs nothing.
Leaking from the Back: Coil Frosting and Defrost Problems

Image source: Bing (Web (fair-use with source credit))
Water leaking from the back of the unit usually means the coils are freezing up. This happens when the room temperature drops below 65°F. The cold coils get too cold.
Moisture freezes on them instead of dripping down. Ice builds up. When the unit cycles into defrost mode, all that ice melts at once.
The drain pan cannot handle the sudden flood. Water spills out the back.
Check the coils by removing the front grille or air filter. If you see ice, that is your problem. The fix is simple.
Turn the unit off and let it thaw completely. This can take 2 to 4 hours. Once thawed, move the dehumidifier to a warmer room.
Or run it on a lower humidity setting so it cycles less aggressively.
Per Energy Star guidelines, dehumidifiers are rated for operation between 65°F and 80°F. Running them in cooler basements during winter is a common cause of this issue.
Leaking from the Bottom: Cracked Drain Pan or Bucket
If the puddle is under the center of the unit and the bucket is dry, the internal drain pan or the bucket itself is likely cracked. The drain pan sits under the coils and catches the drip. Over time, plastic can crack from temperature changes or simple wear.
A cracked pan is hard to see without disassembling the unit. You can test it though.
Remove the bucket. Shine a flashlight into the empty cavity. Look for cracks or standing water.
If you see water pooling in the bottom of the unit, the pan is probably cracked. Run your hand along the bottom and sides of the bucket. A hairline crack is easy to miss.
For a cracked bucket, replacement is straightforward. Check your model number and order a new one. For a cracked drain pan, the repair is more involved.
Many users find it cheaper to replace the whole unit, especially if it is out of warranty.
Leaking from the Drain Hose: Kinks, Clogs, and Connections
Continuous drain setups are convenient, but they fail in predictable ways. The hose gets kinked behind the unit. The connection at the back of the dehumidifier is loose.
Or the hose itself is clogged with algae or mineral buildup.
Disconnect the hose and blow through it. If air does not pass easily, it is clogged. Flush it with a mixture of white vinegar and water to dissolve the buildup.
Check the connection point at the back of the unit. The hose should fit snugly with no gaps. If it is a threaded connection, use plumber's tape to seal it.
As of 2026, many newer dehumidifiers use a push-fit hose connector. It is easier to install, but also easier to knock loose. Make sure the hose is routed downhill with no dips where water can pool.
What Most People Get Wrong When Trying to Fix a Leak
The biggest mistake is assuming the unit is broken and needs replacing. Most leaks are caused by something simple. A stuck float switch.
A dirty filter. A kinked hose. Replacing a perfectly good dehumidifier because of a thirty-second fix is a waste of money.
The second mistake is ignoring the air filter. A clogged filter restricts airflow across the coils. Less airflow means the coils get too cold.
That causes ice buildup. The ice then leads to defrost flooding. Clean the filter every two weeks during heavy use.
It is the easiest maintenance task, and it prevents most leaks.
The third mistake is forcing the bucket. If the bucket does not slide in smoothly, do not push it. You can crack the bucket or break the float switch.
Check for obstructions. Make sure the bucket is aligned with the rails. A gentle push is all it should take.
The fourth mistake is running the unit in a room that is too cold. Dehumidifiers are not designed for temperatures below 60°F. If your basement is cold in winter, consider a desiccant dehumidifier.
Or simply stop using the compressor unit until spring.
How to Stop Leaks for Good (Maintenance That Works)
Preventive maintenance is the only way to keep leaks from coming back. Here is a simple routine that takes about five minutes every two weeks.
Clean the air filter. Remove it, rinse it with warm water, and let it dry completely before reinstalling. A dirty filter is the number one cause of coil icing.
Check the drain hose. Disconnect it and flush it with vinegar every three months. This prevents algae buildup that clogs the line.
Inspect the float switch. Open the bucket cavity and press the float up and down. Make sure it moves freely. Clean the track with a damp cloth.
Level the unit. Use a bubble level on top of the dehumidifier. Adjust the feet until the bubble is centered. An unlevel unit tilts the bucket and the drain pan.
That causes water to spill over the edges.
Vacuum the coils. Once a year, use a soft brush attachment to gently clean the coils. Dust buildup insulates the coils and reduces efficiency.
Monitor room temperature. If the room is consistently below 65°F, consider moving the dehumidifier. Or use a model rated for low temperatures.
Frequently Asked Questions
Why is my dehumidifier leaking water from the top?
Water escaping from the top usually means the bucket is overfilled or the float switch is stuck. The bucket should never be filled past the max fill line. If the float is jammed, the unit will not shut off in time.
Empty the bucket, clean the float, and reseat it.
Why is my dehumidifier leaking water after defrost?
That is the normal melt cycle. Ice builds on the coils and then thaws all at once. The drain pan overflows if the unit is unlevel or the drain hose is clogged.
Level the unit and flush the hose with vinegar. If the room is below 65°F, the defrost cycle will keep happening.
Why is my dehumidifier bucket full light on but not full?
The float switch is likely stuck in the raised position. Debris or mineral buildup can hold it up. That makes the unit think the bucket is full.
Clean the float track with a damp cloth. Press the float down manually and release it. It should drop freely when empty.
Why is my dehumidifier leaking water when the bucket is empty?
This points to a cracked drain pan or a blocked drain hose. The water collects inside the unit and escapes through the bottom instead of the bucket. Remove the bucket and shine a flashlight inside.
Look for cracks or standing water. A cracked pan usually means it is time for a new unit.
How do I know if my dehumidifier needs replacing?
If the compressor is loud, the unit is over 8 years old, and the leak persists after basic maintenance, replacement is the better call. Repair costs for cracked drain pans or failed compressors often run 50 percent of a new unit. Check warranty coverage before spending anything.
When to Fix vs. Replace – The Decision Guide
Some leaks are a five-minute fix. Others are a sign that your unit has lived its life. Here is the decision logic we use when helping people decide.
Fix it if the problem is simple. A stuck float switch, a dirty filter, a kinked hose, or a loose drain connection all take under 15 minutes to resolve. None of these require tools beyond a screwdriver and a damp cloth. If the unit is under 5 years old, fixing is almost always worth it.
Replace it if the repair costs more than half of a new unit. A cracked drain pan is a deeper repair. A failed compressor or a refrigerant leak is even worse. When the condenser coils lose their charge, the unit cannot dehumidify at all.
Professional repair for these issues runs anywhere from $150 to $300. A new dehumidifier in the same pint class costs roughly the same.
Replace it if the unit is older than 8 years. The Department of Energy reports that newer models meet stricter energy efficiency standards. An older unit draws more power and struggles to keep up. If you have already fixed one leak this year, the next one is likely coming soon.
This is especially true in basement environments where dust and humidity work against the internals.
Replace it if it leaks from the back and the room is consistently cold. Low-temperature operation will keep freezing and defrosting the coils. If you cannot move the unit to a warmer space, look for a model rated for low temperatures instead. For larger basement spaces, our research suggests checking out the best dehumidifier for basement options that handle cold conditions better.
Replace it if the corrosion is visible. Look at the coils. If they are covered in rust or white crusty buildup, the unit is done. Corrosion means the refrigerant lines are compromised.
No amount of cleaning will bring those coils back.
A leaking dehumidifier is rarely a mystery. It is either a blocked path, a stuck switch, or a unit that has reached the end of its lifespan. Work through the leak location workflow first.
Most times, you will save yourself a few hundred dollars and a trip to the store. If you do need a replacement, check the newest best dehumidifier recommendations to find a model that will not leave you mopping the floor again.