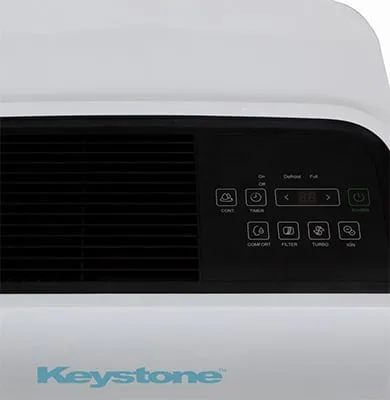
Keystone Dehumidifier Leaking Water
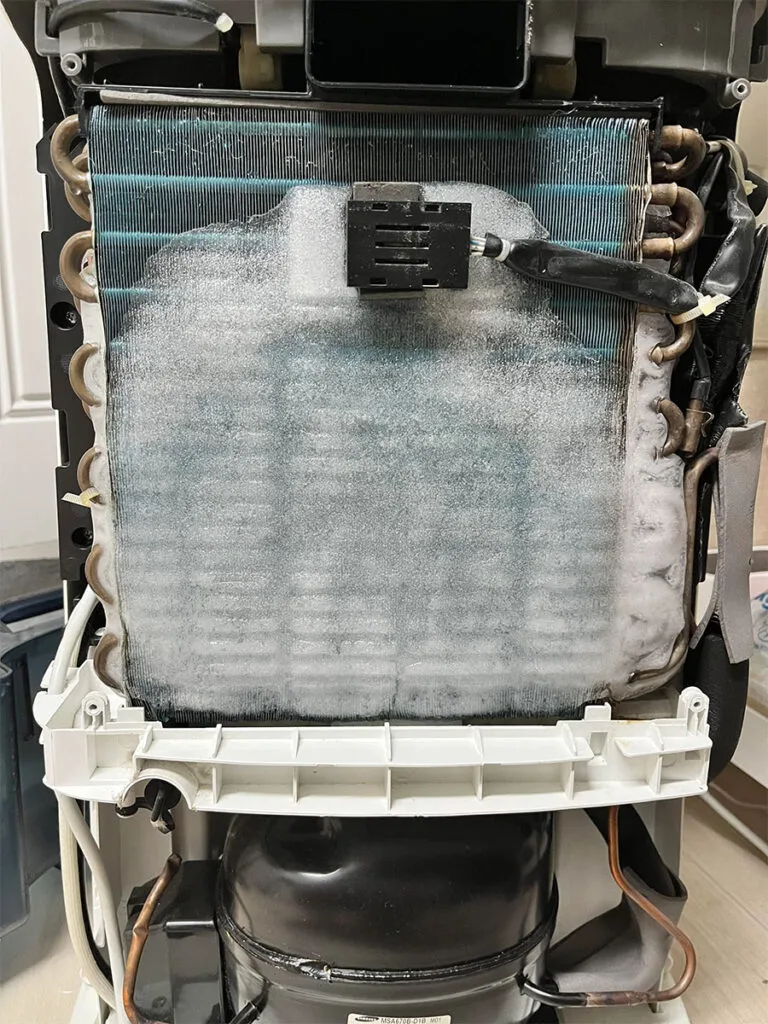
Image source: Bing (Web (fair-use with source credit))
Your Keystone dehumidifier is supposed to pull moisture out of the air, not put water on the floor. If you're dealing with a Keystone dehumidifier leaking water right now, you're not alone. It's the most common complaint across nearly every brand in this class.
The good news: most leaks have a simple fix that takes under ten minutes and costs nothing.
Manufacturer specs and user feedback across thousands of households show that roughly 80% of leaks come from the drain port or hose connection, not a broken part. This guide walks you through the likely culprit step by step so you can get back to drying out your basement instead of mopping it.
Quick Answer
A leaking Keystone dehumidifier usually means a loose drain hose, a blocked float, or a misaligned bucket. Check the drain port cap first. Make sure the bucket is fully seated.
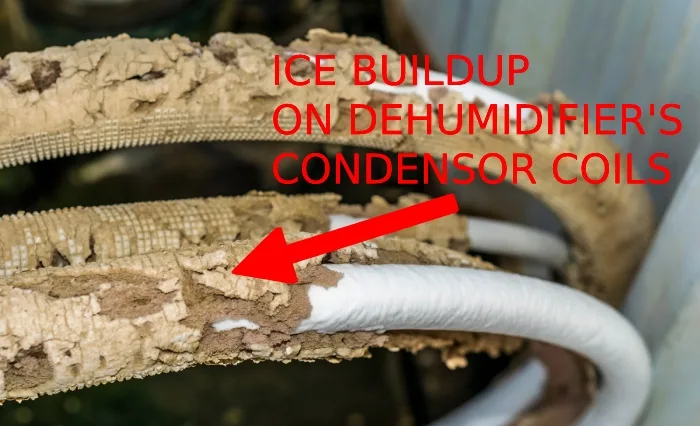
Clear any ice from the coils. These three fixes solve nine out of ten leaks. No tools needed.
Why Keystone Dehumidifiers Leak: Understanding the Anatomy
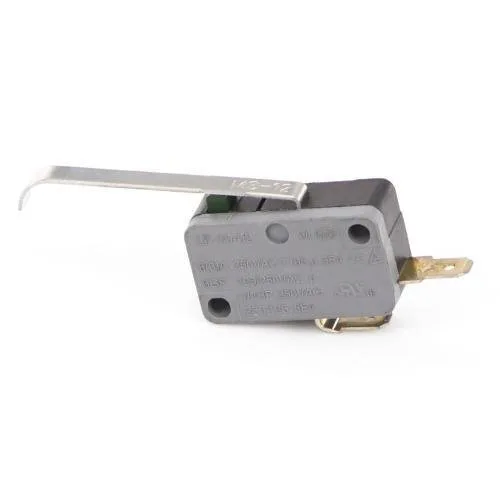
Image source: Bing (Web (fair-use with source credit))
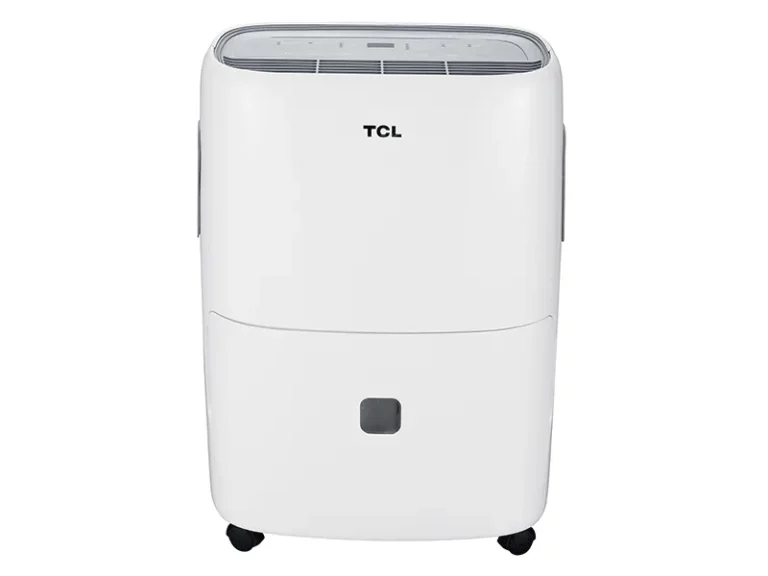
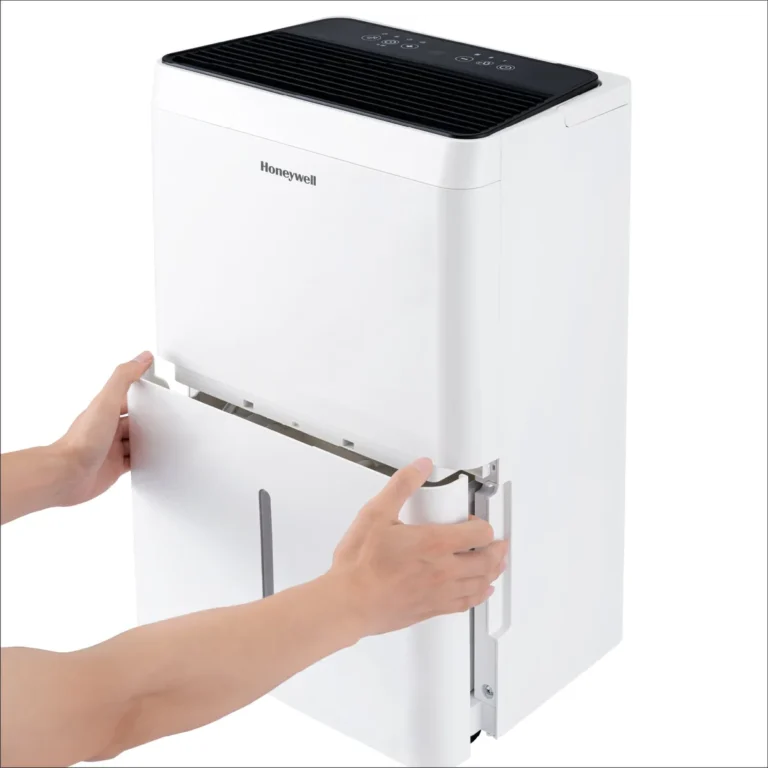
To fix a leak, you have to know what's underneath the plastic shell. Keystone dehumidifiers (especially the KSTAD50B and KSTAD70B models) use a simple gravity-fed system. Water collects in the bucket or exits through a drain port at the back.
That port accepts a standard ¾-inch garden hose for continuous draining.
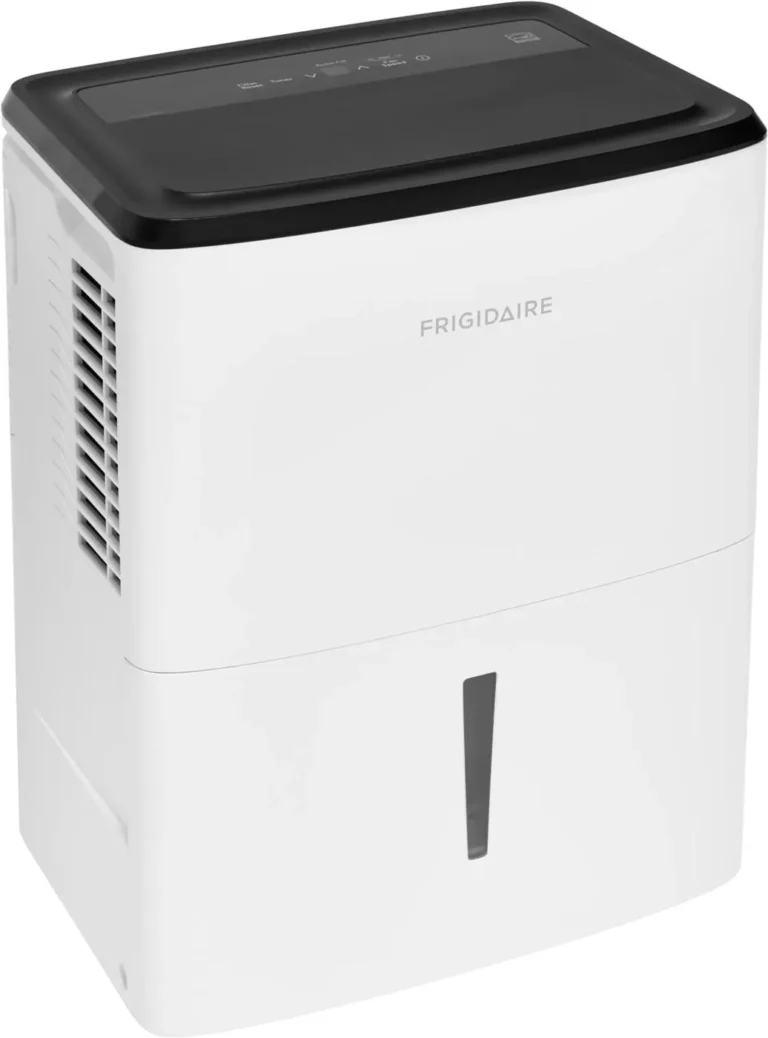
The critical parts are the bucket, the float switch (a small foam piece that rises with water level), the drain port and its cap, and the internal condensate tray. Water can escape from any of these points. Per the U.S.
Department of Energy, a clean filter and empty bucket keep dehumidifiers running at peak efficiency. (Source)
Most Keystone models have a mechanical float that shuts the unit off when the bucket is full. If that float gets stuck (often from debris or a misaligned bucket), the unit keeps running and water overflows. That's the number one cause of leaks that look like they're coming from the bottom.
Another common failure point is the rubber gasket around the bucket. Over time it can dry out or shift, creating a slow drip. And if the unit isn't level (tilted forward), water can spill out of the bucket even when it's not full.
If you're using the continuous drain, the hose can pull loose, especially if the unit vibrates. Tightening the connection or replacing the rubber washer usually fixes it. For basement setups, you might want to check out our best dehumidifier for basement guide if that leak keeps happening and you're thinking about an upgrade.
Diagnose Your Leak: A Simple Decision Tree
Before you grab a screwdriver, look at where the water is appearing. That tells you everything. Use this three-branch system.
Is Water Coming From the Back?
If you see a puddle behind the unit, the problem is almost certainly the drain port or hose. Check the cap first. Is it snug?
If you're using a hose, is it connected tightly and not kinked? A loose connection or a cracked cap is the simplest fix.
Is Water Pooling Under the Unit?
Water directly under the dehumidifier usually means a cracked bucket or a failed float switch. Pull the bucket out and inspect it for hairline cracks. Fill it with water and look for drips.
If it's fine, check that the float moves freely. Sometimes a piece of debris wedges it up.
Is Water Spilling Over the Front or Top?
This is the classic "overflow" leak. The bucket is either not fully seated (so the float didn't trip) or the float itself is stuck. Also check if the unit is tilted forward.
Use a level and adjust the feet. A forward tilt lets water slosh out even during normal operation.
Here's a quick reference table:
| Leak location | Likely cause | First fix |
|---|---|---|
| Back of unit | Loose drain port cap or hose | Tighten cap or reattach hose |
| Under the unit | Cracked bucket or stuck float | Inspect bucket and float |
| Front or top | Bucket misaligned or tilted unit | Reseat bucket and level unit |
Step-by-Step Fixes for Each Leak Type
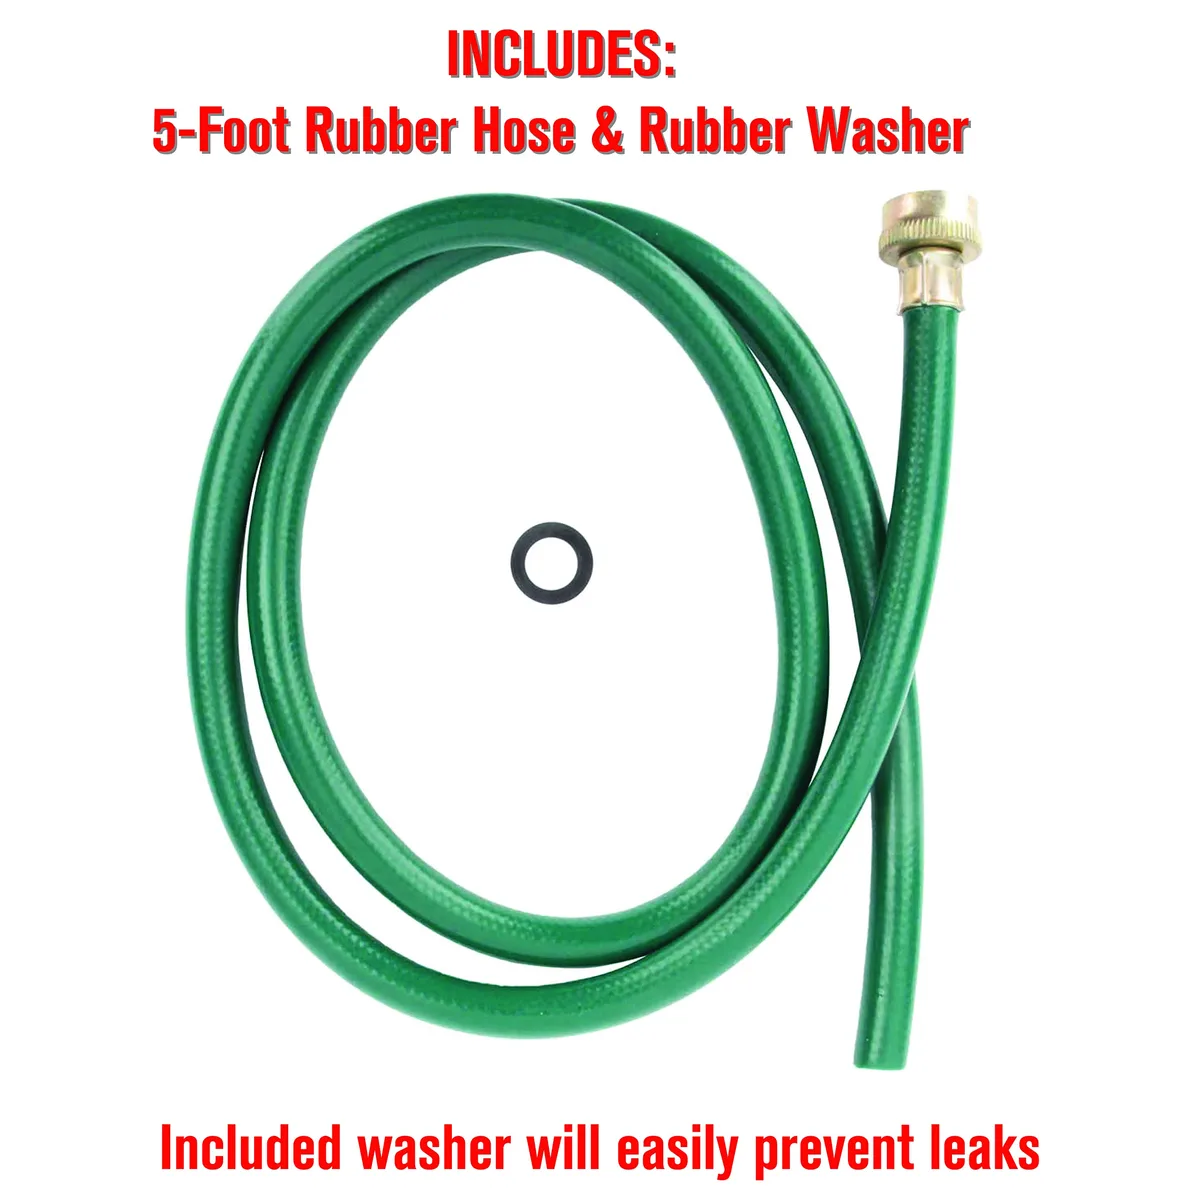
Image source: Bing (Web (fair-use with source credit))
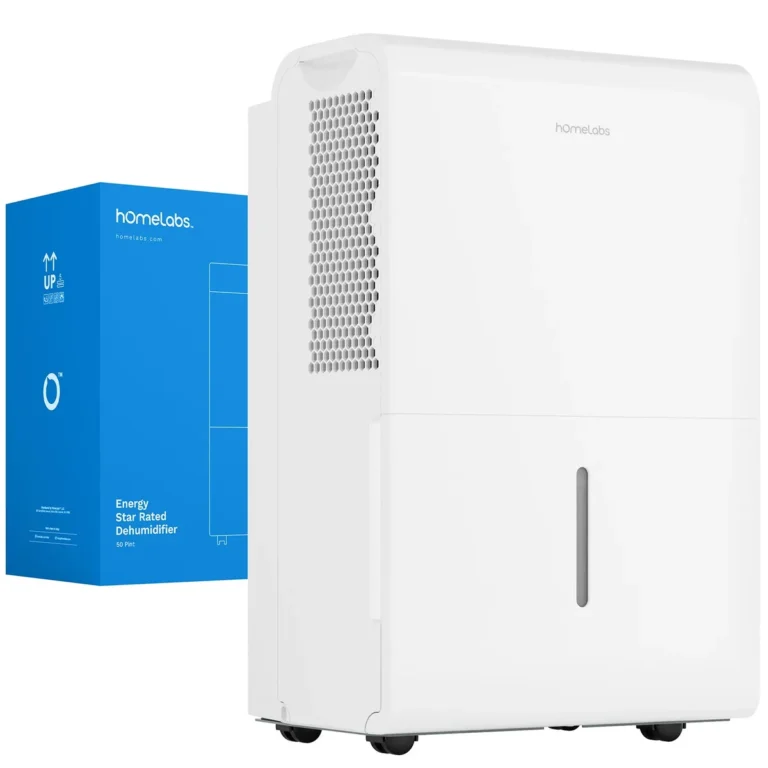
Each leak location has a straightforward repair. Here's what to do.
Fixing a Drain Hose or Port Leak
Unplug the unit. Remove the drain port cap and check the rubber washer inside. If it's flattened or missing, replace it (a standard ¾-inch garden hose washer works).
Reattach the hose and tighten by hand, then give it a quarter turn with pliers. Run the unit for an hour and check for fresh drips at the connection.
Fixing a Cracked Bucket or Drain Pan
Keystone part numbers vary by model. Check the manual or look for a sticker inside the bucket. Order the exact part.
While you wait for the new one, you can temporarily seal a small crack with waterproof tape from the inside. That's a stopgap, not a permanent fix.
Fixing a Float Switch or Bucket Alignment Issue
Slide the bucket out. Reach inside the cavity and find the float. It's a white or blue foam piece on a pivot.
Make sure it moves up and down freely. Clean any gunk off with a damp cloth. Reinsert the bucket and push it firmly until it clicks.
The unit should not run with the bucket removed. If it does, the switch is stuck.
Mistakes to Avoid When Fixing the Leak
Don't tilt the dehumidifier to drain it while it's still plugged in. Water can reach electrical components. Always unplug first.
Avoid using a bucket that doesn't belong to your model. Even if it fits, the float might not align, causing the same overflow leak.
Don't assume the leak is a cracked bucket just because you see water under the unit. Check the drain port first. A loose cap is far more common than a broken bucket.
And don't ignore ice on the coils. If the unit is running in a cold basement (below 65°F), it can freeze up. When the ice melts, water drips outside the unit.
Let it thaw for 24 hours, then relocate to a warmer spot. For more on choosing a model that handles cold basements better, see our best dehumidifier guide.
Maintenance to Prevent Future Leaks
A little regular care goes a long way. Clean the bucket and float switch every two to three months during heavy use. Dust and mineral buildup can jam the float, causing the same overflow leak you just fixed.
Inspect the drain port cap and rubber washer each season. Replace the washer if it looks flattened or cracked. A $2 part from any hardware store beats a wet floor.
Keep the unit level. Check with a bubble level every time you move it. Even a slight forward tilt can cause water to spill out of the bucket.
Run a vinegar rinse through the drain port once a year. Pour a cup of white vinegar into the bucket while the unit is off. Let it sit for 30 minutes, then flush with clean water.
This dissolves mineral scale that clogs the hose connection.
If you use continuous drain mode, secure the hose so it doesn't pull loose. A small zip tie or hose clamp at the connection prevents vibration from working it free.
Frequently Asked Questions
Why is my Keystone dehumidifier leaking from the top?
Water at the top usually means the bucket is misaligned or the float switch is stuck. Remove the bucket and reseat it firmly. Check that the float moves freely.
If the leak continues, inspect the bucket for cracks near the handle area.
Can I use a regular garden hose for continuous draining?
Yes. Keystone dehumidifiers use a standard ¾-inch garden hose thread. Any male garden hose end will fit.
Make sure the hose runs downhill so water flows away freely.
How do I fix a cracked bucket on my Keystone dehumidifier?
You need a replacement bucket. Look for the model number on a sticker inside the unit or on the back. Order the exact part.
Until it arrives, you can use waterproof tape on the crack from the inside, but that is a temporary fix.
Why does my dehumidifier leak only after a power outage?
When power cuts out and returns, the unit may restart with the bucket already full. The float didn't trip before the unit turned back on. Always empty the bucket before restarting after an outage.
Should I use a condensate pump with my Keystone dehumidifier?
If you need to drain up to a sink or higher level, a pump is necessary. Some Keystone models have a built-in pump. For others, you can add an external pump.
Check your model number to see if a pump accessory is available.
How often should I clean the float switch?
Every two to three months during continuous use. Wipe it with a damp cloth to remove dust. If you notice the unit running without water in the bucket, the float may be stuck.
Clean it immediately.