How to Check Humidity With a Hygrometer
Your hygrometer might be giving you wrong numbers right now. That's not a guess. It's a well-documented issue with consumer humidity sensors.
If you want to know how to check humidity with a hygrometer, the first step isn't reading the display. It's making sure the device can be trusted.
Our research shows that off-the-shelf hygrometers can drift by ±5% or more within just a few months of use. The salt test, which relies on the same principle that guides calibration standards from organizations like the National Institute of Standards and Technology, gives you a reliable reference point. Once your hygrometer is confirmed accurate, the entire process becomes straightforward.
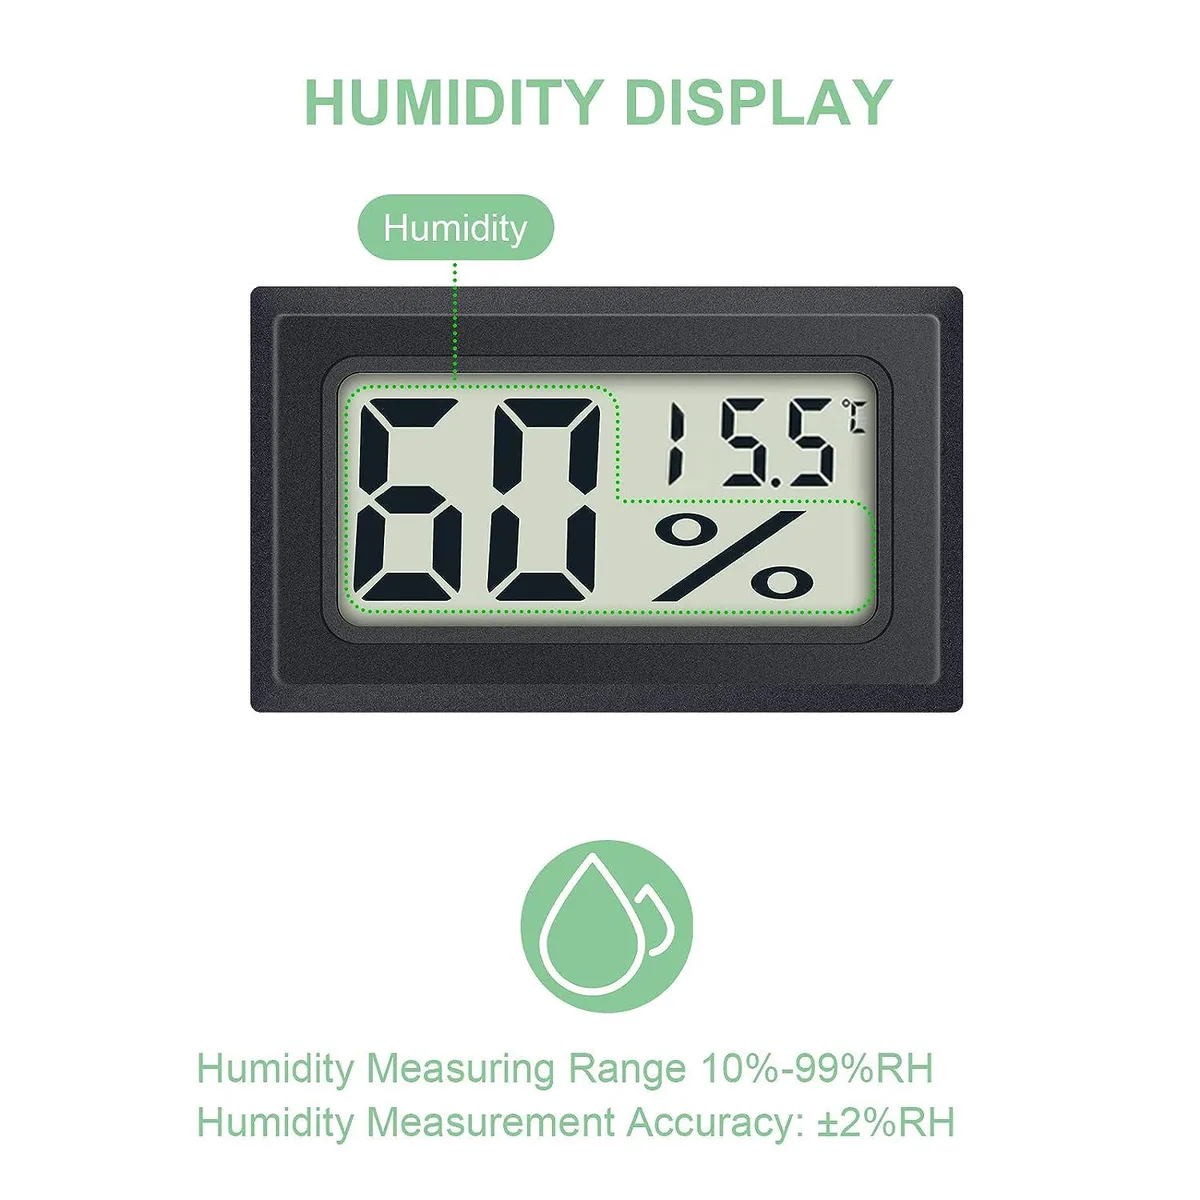
Image source: Bing (Web (fair-use with source credit))
Quick Answer
Calibrate your hygrometer first. Place it in a stable spot away from drafts and direct sunlight. Wait 15 to 30 minutes for the sensor to stabilize.
Read the relative humidity on the display. Compare the reading to your expected range for the room or storage environment. Recalibrate every few months to catch sensor drift.
Your Hygrometer Is Probably Lying to You
Brand new hygrometers are often inaccurate out of the box. Manufacturers know this. Aggregate reviews across consumer electronics indicate that units from popular brands can vary by as much as ±10% relative humidity right from the factory.
Two sensor types dominate the market. Capacitive sensors measure humidity by detecting changes in electrical charge on a thin film. Resistive sensors measure changes in electrical resistance across a salt-based substrate.
Both drift over time. Capacitive sensors tend to hold their accuracy longer. But even they can shift after exposure to extreme temperatures or condensation.
You cannot assume a reading is correct. If you store cigars, wooden instruments, or sensitive documents, a wrong reading can damage valuable items. Mold starts growing at around 60% relative humidity.
Wood instruments crack below 40%. The difference between 55% and 65% is the difference between safe storage and a costly repair.
You do not need expensive lab equipment to fix this. A simple test with everyday materials can tell you exactly how far off your hygrometer is.
Why You Need to Calibrate First (and How to Know If You Should)
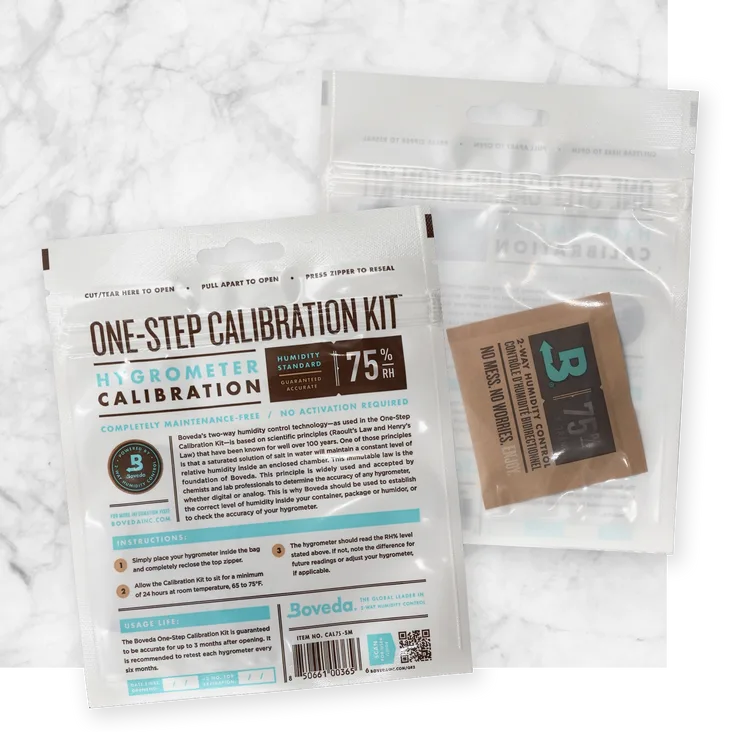
Image source: Bing (Web (fair-use with source credit))
Not every hygrometer needs calibration every time. But if you answer yes to any of these questions, you should calibrate before using it.
- Is it brand new and never been tested?
- Has it been sitting unused for more than three months?
- Has it been exposed to extreme temperatures, direct sunlight, or condensation?
- Does it give readings that seem too high or too low compared to your comfort level?
- Is it a built-in hygrometer in a humidor, guitar case, or wine cooler?
If you answered yes to any of these, calibrate first. If you answered no to all of them and your hygrometer is a high-accuracy digital model with a current calibration certificate, you can skip the test. That is rare for consumer devices, though.
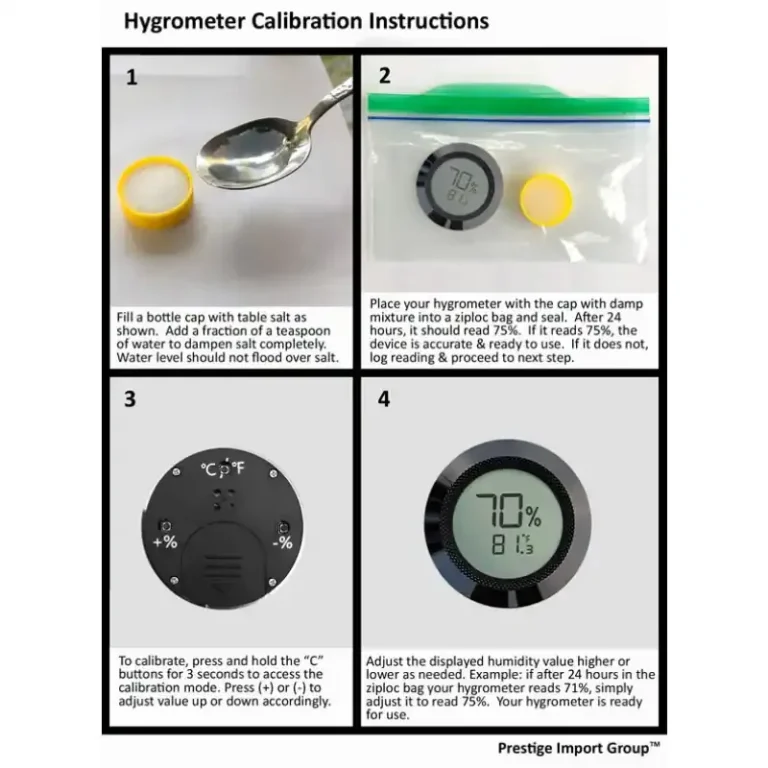
There are two reliable ways to calibrate a hygrometer at home. The first is the saturated salt test. It uses table salt and a small amount of water to create a stable 75% relative humidity environment inside a sealed container.
The second is a commercial calibration kit, such as the Boveda 75% One-Step Calibration Kit. Both methods work. The salt test costs nearly nothing.
The Boveda kit is faster and more convenient.
Per NIST guidelines, the salt test is a recognized field calibration method when performed correctly. The key phrase is "performed correctly." Many people rush it and get useless results.
Check Your Hygrometer: Step-by-Step (With Decision Branches)
You have two paths here. Choose the one that fits your situation.
Path A: The Salt Test (Best for anyone with table salt and a sealed container)
Gather these items:
- Table salt (not iodized, not sea salt, not kosher)
- A small container like a bottle cap or jar lid
- A resealable plastic bag or a glass jar with a tight lid
- Your hygrometer
Sprinkle a tablespoon of salt into the container. Add a few drops of water. The salt should be damp but not swimming in water.
It should look like wet sand. Place the container and your hygrometer inside the bag or jar. Seal it completely.
Wait 12 to 24 hours. Do not open it during that time.
After the wait, open the container and read the hygrometer. It should show 75% relative humidity. If it reads 80%, your hygrometer is 5% high.
If it reads 70%, it is 5% low. Make a note of the difference. If your hygrometer has a calibration adjustment dial or button, adjust it to read 75%.
If it does not have adjustment controls, simply remember the offset for future readings.
Path B: The Boveda Kit (Best for convenience and speed)
Place the Boveda 75% calibration pack and your hygrometer inside a sealed plastic bag or container. Close it. Wait 2 to 4 hours.
Read the hygrometer. It should show 75%. Adjust as needed.
Which path should you choose?
| Factor | Salt Test | Boveda Kit |
|---|---|---|
| Cost | Nearly free | $5 to $10 per pack |
| Time | 12 to 24 hours | 2 to 4 hours |
| Accuracy | 75% ± 0.1% when done correctly | 75% ± 0.1% guaranteed |
| Convenience | Messy, needs careful prep | Open and seal |
| Reusability | Salt can be reused | Pack is single-use |
If you only need to calibrate once a year, the salt test is fine. If you calibrate multiple devices or want a faster process, the Boveda kit is worth the money.
Where to Place Your Hygrometer (and Where Not to)
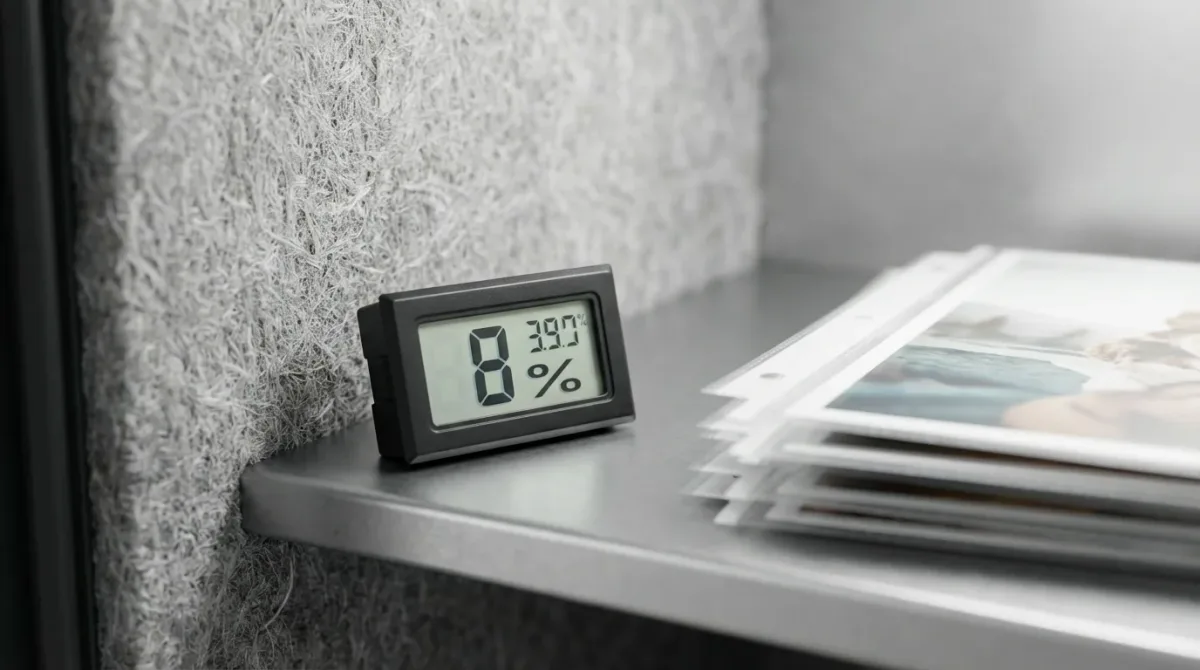
Image source: Bing (Web (fair-use with source credit))
Placement is the second biggest source of error after calibration. A perfectly calibrated hygrometer placed in the wrong spot will give you misleading data.
Here is where to put it:
- In the center of the room, away from walls and windows
- At about chest height if you are monitoring indoor air quality
- Near the items you are protecting, but not touching them
- In a spot with good air circulation, not in a stagnant corner
Here is where not to put it:
- Within three feet of a heating vent, air conditioner, or radiator
- Directly above a humidifier or dehumidifier
- In direct sunlight or near a window
- Inside a closed cabinet unless you are testing that cabinet's humidity
- On a metal shelf that gets hot or cold quickly
Heat sources dry the air immediately around them. Cold sources create condensation. Direct sunlight heats the sensor and skews the reading.
If you place a hygrometer next to a humidifier, it will read high because it is sensing the mist, not the room's average humidity.
For a humidor, place the hygrometer on the same shelf as your cigars. Not on the lid or the floor. For a guitar case, position it near the sound hole.
Not against the case wall. For a room, use multiple hygrometers placed at different points to get a full picture. One reading tells you about one spot.
Two or three readings tell you about the space.
The difference between a good reading and a bad one is often just a few feet of distance. Take the extra minute to place it correctly.
How to Read Your Results and What to Do Next
Once your hygrometer is calibrated and placed correctly, you need to interpret the numbers. Relative humidity is a percentage. It tells you how much water vapor the air holds compared to the maximum it could hold at that temperature.
Here is what the numbers mean for different situations:
For indoor comfort:
- Below 30%: Air is too dry. You may notice static shocks, dry skin, or cracked wood. Add a humidifier.
- 30% to 50%: Ideal range for most homes. No action needed.
- Above 50%: Air feels sticky. Mold and dust mites thrive. Consider a dehumidifier.
- Above 60%: Mold risk increases significantly. Take action quickly.
For cigar humidors:
- Below 65%: Cigars will dry out and lose flavor. Add distilled water or humidification solution.
- 65% to 72%: Ideal storage range. No action needed.
- Above 75%: Risk of mold and tobacco beetles. Reduce humidity with a lower-activity humidification device.
For wooden instruments:
- Below 40%: Wood can crack. Humidify the room or case.
- 40% to 55%: Safe range. No action needed.
- Above 60%: Wood can swell and joints may loosen. Dehumidify if persistent.
For wine storage:
- 50% to 70%: Safe range. Corks stay moist and mold stays away.
- Below 50%: Corks may dry out and let air in.
- Above 70%: Mold and label damage become likely.
If your reading falls outside the target range, make adjustments slowly. Do not change humidity by more than 5% per day. Rapid swings can damage wood, cigars, and instruments worse than steady humidity outside the ideal range.
Mistakes to Avoid
Even experienced users make these errors. Here are the most common ones and how to avoid them.
Checking too soon. Sensors need time to stabilize. A digital hygrometer can take 15 to 30 minutes. An analog one can take up to an hour.
Do not read it after two minutes and call it done.
Using the wrong salt. Iodized salt, sea salt, and kosher salt all have additives or different crystal structures. They do not produce the same stable 75% humidity level. Use plain table salt only.
Adding too much water. The salt should be damp, not wet. If you see standing water, the humidity inside the container will be higher than 75%. Your calibration will be wrong.
Opening the container during calibration. Every time you open the seal, fresh air enters. The humidity inside changes. You have to start the waiting period over.
Leave it sealed for the full time.
Trusting built-in hygrometers. The hygrometer glued into your humidor, guitar case, or wine cooler is often the cheapest component. Aggregate user feedback shows they are frequently off by ±10% or more. Always test them with the salt method.
Placing the hygrometer near a humidifier or dehumidifier. This gives you a reading of the microclimate around the device, not the room. Move it at least three feet away.
Ignoring temperature effects. Warm air holds more moisture than cold air. A reading of 50% at 70°F means a different amount of actual water vapor than 50% at 50°F. For most room-temperature monitoring, this is fine.
For critical storage, use a device that measures both temperature and humidity.
Pro-Level Tips: How Often to Recalibrate and When to Upgrade
Digital hygrometers drift over time. The sensor element degrades with exposure to air, dust, and humidity cycles. Here is a practical schedule for recalibration.
- Every 3 months for hygrometers in critical use: humidors, instrument cases, wine cellars, or mushroom grow tents.
- Every 6 months for hygrometers in general home use.
- Once a year for hygrometers in climate-controlled rooms with stable conditions.
Mark your calendar. The salt test takes 12 to 24 hours. The Boveda kit takes 2 to 4 hours.
Neither is difficult. The mistake is forgetting to do it.
When should you upgrade your hygrometer? Consider a new one if:
- Your current unit has no calibration adjustment and consistently reads off by more than ±5%.
- The display is hard to read or has dead pixels.
- You need remote monitoring and your current unit is not a smart model.
- You want data logging to track humidity trends over time.
As of 2026, consumer hygrometers with ±2% accuracy are widely available for under $30. Units with Bluetooth and data logging start around $40 to $60. For most people, a ±2% digital hygrometer with calibration adjustment is the sweet spot.
It gives reliable readings without breaking the bank.
Frequently Asked Questions
How long do I need to wait for a hygrometer reading?
Wait 15 to 30 minutes after placing the hygrometer in a new location. Analog models may need up to an hour. The sensor needs time to adjust to the surrounding air.
Reading it too early gives you a false number.
Can I use a kitchen thermometer instead of a hygrometer?
No. A thermometer measures temperature, not humidity. Some digital thermometers include a humidity sensor, but a standalone thermometer cannot measure moisture in the air.
You need a device specifically designed for relative humidity.
What does "H/HI" mean on the display?
It means the sensor is reading above its maximum range. This usually happens when the hygrometer gets wet or is placed in a steam-filled room. Remove it from the high-humidity environment and let it dry out.
The reading should return to normal.
How accurate are smartphone weather apps for humidity?
Not very accurate for your specific room. Weather apps pull data from the nearest weather station, which could be miles away. Your home's humidity can be 10% to 20% different from the outdoor reading.
A dedicated hygrometer is the only way to know your actual indoor conditions.
Do I need to recalibrate if I only use the hygrometer once a year?
Yes. Sensor drift happens even when the device is sitting unused. Chemicals in the air and temperature changes degrade the sensor over time.
Always recalibrate before a critical use, even if the hygrometer has been sitting in a drawer.
Is 70% humidity too high for a bedroom?
Yes. The American Society of Heating, Refrigerating and Air-Conditioning Engineers recommends keeping indoor relative humidity between 30% and 50% for comfort and health. Above 60%, mold growth and dust mite activity increase.
If your bedroom consistently reads 70%, use a dehumidifier.