Danby Dehumidifier Not Collecting Water
So your Danby dehumidifier is running, the fan is blowing, maybe it even sounds like it’s working. But the bucket stays bone dry. That’s frustrating.
And honestly, it’s one of the most common issues people run into with these units.
The keyword here is Danby dehumidifier not collecting water. In our research across user forums and manufacturer specs, this usually comes down to three things: the room is too cold, the humidity setting is too high, or a simple physical blockage is stopping the unit from working properly. The good news is nearly all of these fixes are quick and don’t require tools.
Let’s walk through them step by step.
Quick Answer
Your Danby dehumidifier isn’t collecting water because the room temperature is likely below 65°F. Cold air makes the unit think it’s finished. Check the humidistat setting next.
It should be at least 10% below the current room humidity. Finally, clean the filter and make sure the float switch moves freely. These three fixes solve most cases.
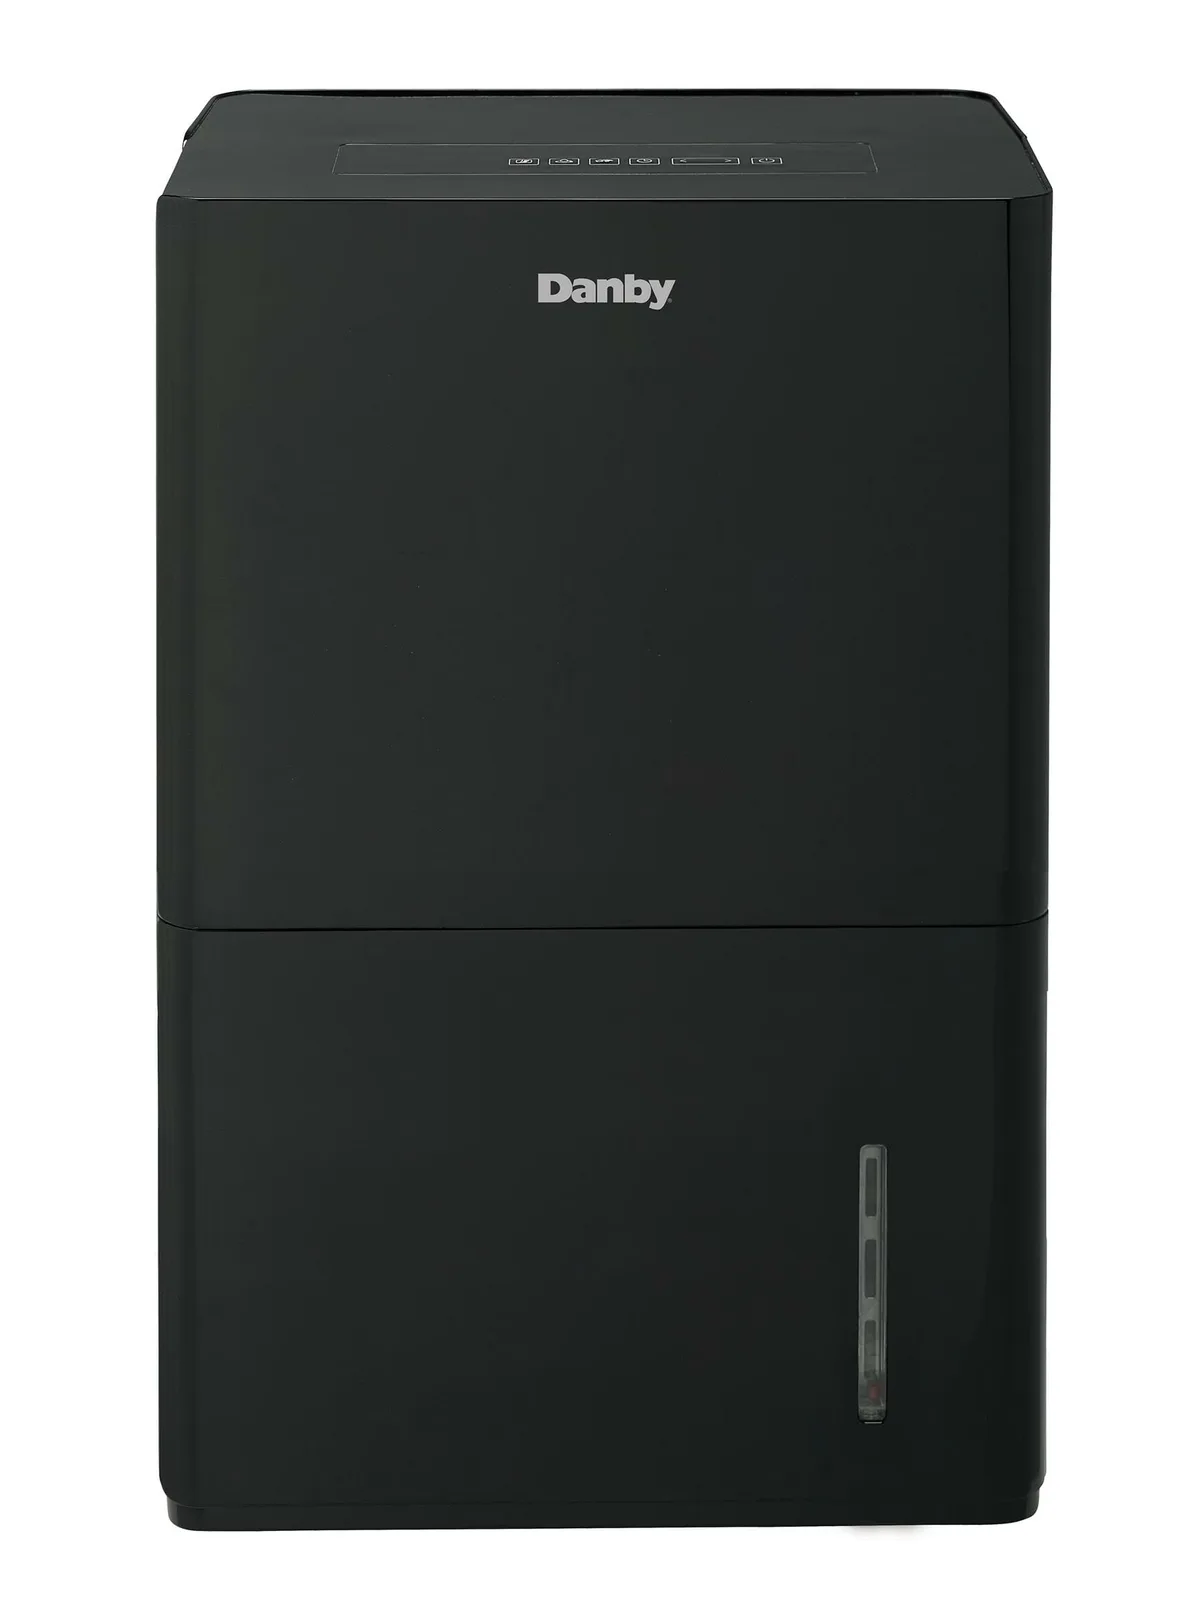
Image source: Bing (Web (fair-use with source credit))
Troubleshooting Flow: Why Your Danby Dehumidifier Isn’t Collecting Water
Let’s start with a quick reality check. The three most common culprits account for about 80% of “running but not collecting” complaints. They are low room temperature, wrong humidity setting, and a dirty filter or stuck float.
The order matters here. You want to rule out the easy environmental issues first before you start taking anything apart.
Think of this like a decision tree. Each step gives you a clear yes or no answer. If the answer is “yes, that’s the problem,” you fix it and you’re done.
If the answer is “no,” you move to the next step. We’ve arranged these steps from most likely to least likely. Follow them in order and you’ll save yourself a lot of wasted time.
Step 1 – Is the Room Temperature Below 65°F?
This is the number one reason a Danby dehumidifier runs but doesn’t collect water. Danby’s official operating temperature range is 65°F to 90°F (about 18°C to 32°C). When the room temperature drops below 65°F, the unit can’t pull moisture out of the air effectively.
The compressor still runs, but the coils get too cold too quickly. The unit then spends most of its time in defrost cycle instead of collecting water.
Decision branch: If the room is below 65°F, the fix is simple: move the unit to a warmer space or wait until the ambient temperature rises. Don’t try to force it. Running a dehumidifier in a cold basement in early spring often produces zero water for days.
It’s not broken. It’s just too cold.
If the temperature is above 65°F but you still get no water, move to Step 2.
Step 2 – Is the Humidity Actually High Enough?
Your Danby dehumidifier has a humidistat. That’s the dial or digital control that sets the target humidity level. If you set it at 60% but the room is already at 55% relative humidity, the unit will run its fan but the compressor won’t kick in.
It thinks the job is already done.
Decision branch: You need to check the actual room humidity. A simple hygrometer costs under ten dollars and tells you the real number. Compare it to your dehumidifier’s setting.
If the setting is higher than the actual humidity, drop the setting to 45% or 50%. That forces the unit to run. If the room is already below 50% and you’re still getting no water, that’s actually normal.
The unit is doing its job. There’s just no moisture left to collect.
If the humidity is above the setting but still no water, move to Step 3.
Step 3 – Check Airflow and the Filter
A clogged filter is one of the simplest causes. The filter on most Danby models is washable and located on the back or side panel. When it’s clogged with dust or pet hair, airflow drops dramatically.
The unit can’t pull in enough humid air to condense water. It still runs, but it’s essentially wasting electricity.
Decision branch: Pull the filter out. Hold it up to a light. If you can’t see light through it, it’s clogged.
Wash it with lukewarm water and mild soap. Let it dry completely before reinstalling. Do this every two to four weeks, especially in dusty basements.
If the filter is clean but you still have no water, move to Step 4.
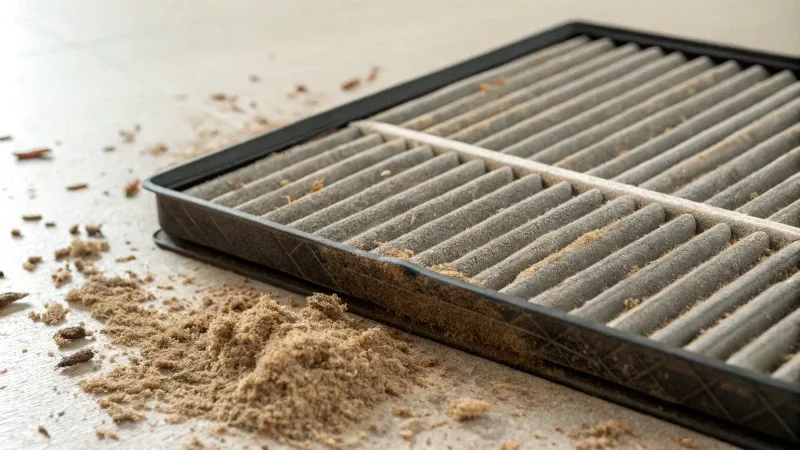
Image source: Bing (Web (fair-use with source credit))
Step 4 – Inspect the Bucket and Float Switch
This one is a sneaky culprit. The float switch is a small plastic piece that rises with the water level in the bucket. When the bucket is full, the float trips the shutoff.
But sometimes the float gets stuck in the “up” position even when the bucket is empty. That tells the unit the bucket is full, so it stops collecting.
Decision branch: Remove the bucket. Look inside the unit where the bucket sits. You’ll see a small white or black plastic float.
Gently push it up and down. It should move freely with no resistance. If it feels jammed, clean around it with a damp cloth.
Also check that the bucket itself is seated correctly. Sometimes the bucket isn’t pushed all the way in, or a piece of debris is holding it slightly out of place. The bucket full light might stay on even when the bucket is empty.
If the float moves freely and the bucket sits flush but you still get no water, move to Step 5.
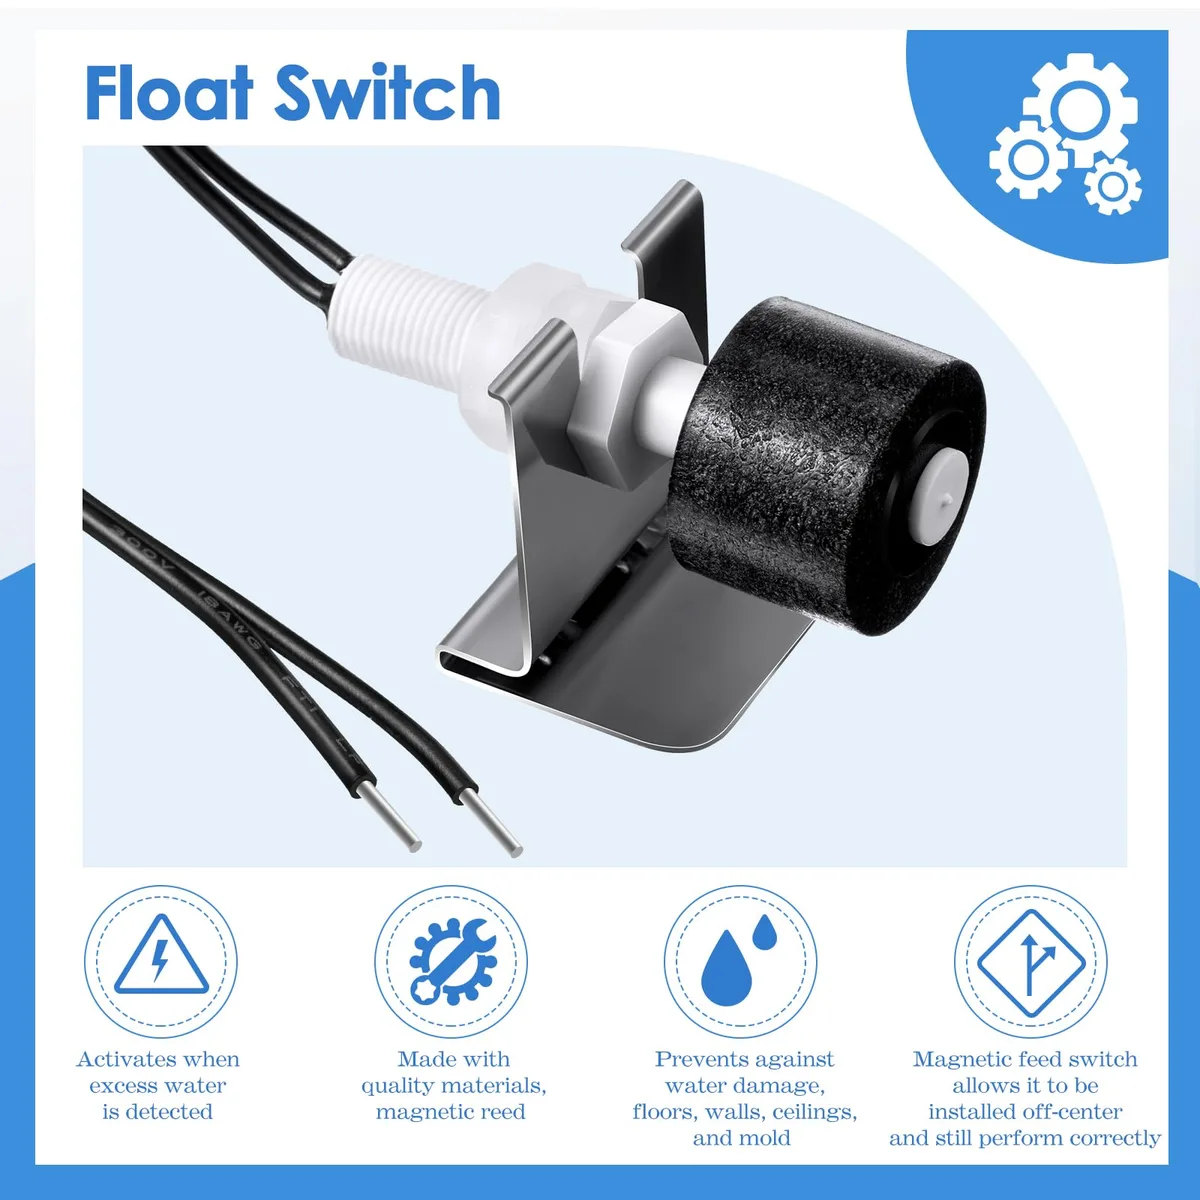
Image source: Bing (Web (fair-use with source credit))
Step 5 – Examine the Drain Setup (If Using Continuous Drain)
If you’re using a continuous drain hose instead of the bucket, the problem is often in that hose. A kink, a bend, or a simple blockage can stop water from flowing. The unit may still run because it thinks the hose is working, but the water backs up and never actually leaves.
Decision branch: First, check that the hose is lower than the drain outlet. Gravity needs a clear downward slope. If the hose runs uphill even a little, water won’t flow.
Next, blow through the hose gently. If you feel resistance, there’s a clog. Disconnect the hose and flush it with water.
Also check the drain port on the unit for any debris. Sometimes a small piece of foam or a mold buildup blocks the opening. After cleaning, reconnect and test with a cup of water poured in the bucket.
If water exits the hose, you’re good.
If you’re using the bucket method only, you can skip this step. Move on to Step 6.
Step 6 – Look for Frost on the Coils
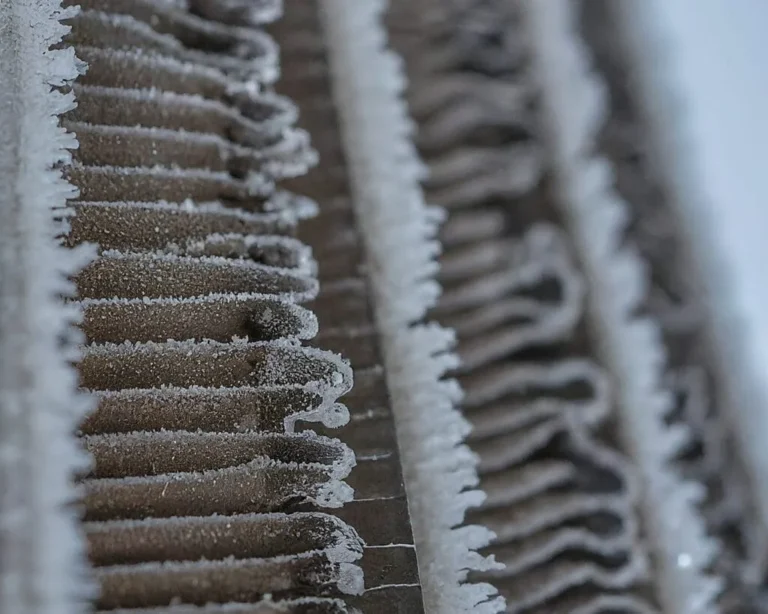
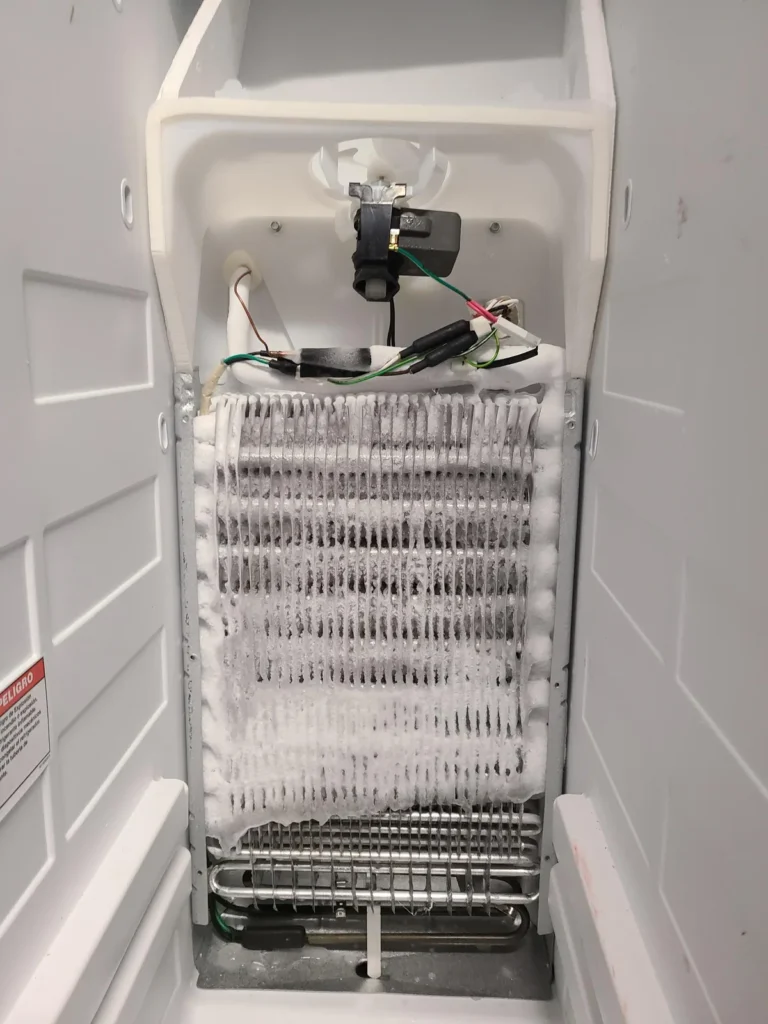
Open the front grille and look at the evaporator coils. Frost buildup is common when the room temperature hovers near the 65°F minimum. The unit goes into defrost cycle repeatedly.
That means the compressor runs, but the coils stay too cold to condense moisture.
Decision branch: Turn the unit off and let it sit for a few hours. If you see thick ice or frost, that’s your problem. Once the ice melts completely, restart the unit.
If frost returns quickly (within a few hours), the room is likely too cold for continuous operation. Move the unit to a warmer space. If the coils are clean and frost-free but you still get no water, move to the final step.
Frost can also form if the filter is dirty or airflow is restricted. Double‑check Step 3 if you haven’t already. Some Danby models have an automatic defrost sensor.
If that sensor fails, the unit may cycle endlessly without collecting water. That’s less common, but worth noting.
Final Step – When to Call for Service or Replace Parts
You’ve checked temperature, humidity, filter, float switch, drain hose, and frost. The unit is still running dry. At this point the problem is likely internal.
Common failures include a faulty humidistat sensor, a stuck compressor relay, or a failed fan motor that still spins but at too low an RPM to move air.
Decision branch: If your Danby dehumidifier is still under warranty (most carry 1 to 5 years depending on the model), contact Danby customer support. They can walk you through advanced diagnostics or arrange a repair. If the unit is out of warranty, compare the cost of a replacement part against the price of a new dehumidifier.
As of 2026, a new 50‑pint Danby runs around $200 to $300. A compressor replacement alone can cost more.
You can test the humidistat with a multimeter if you’re comfortable with electronics. But for most people, this is where professional help makes sense. Call a local appliance repair technician who handles dehumidifiers.
They can confirm whether the compressor or control board is the culprit.
Frequently Asked Questions
Why does my Danby dehumidifier run but not collect water?
The most common reasons are low room temperature (below 65°F), a humidistat set too high, a dirty filter, or a stuck float switch. Check these four things in order. They solve roughly 80% of no‑water issues.
Can a Danby dehumidifier work in a cold basement?
It can, but only down to about 65°F. Below that, the unit spends too much time defrosting. If your basement stays colder, consider a dehumidifier designed for low temperatures, or use a space heater to raise the ambient temperature slightly.
How often should I clean the filter on my Danby dehumidifier?
Every two to four weeks during regular use. In dusty basements or with pets, check it weekly. A clogged filter is the easiest fix for a unit that runs but doesn’t collect water.
What does the bucket full light mean if the bucket is empty?
That usually means the float switch is stuck in the raised position. Remove the bucket and gently push the float up and down. Clean around it if there’s debris.
Also ensure the bucket is fully seated and the little tab is pressing the switch.
Should I use a continuous drain hose or the bucket?
For long‑term unattended use, a continuous drain is better. But the hose must slope downward and have no kinks. If the hose is even slightly blocked, the unit may run without collecting.
Test the drain by pouring a cup of water into the bucket while the hose is connected.
When is it time to replace the dehumidifier instead of repair it?
If the unit is over five years old and the compressor or control board fails, replacement is usually more cost‑effective. Newer models are more energy efficient and quieter. A repair that costs more than half the price of a new unit isn’t worth it.