How to Reset a Hygrometer
If your hygrometer reads 99% in a room that feels perfectly dry, you're probably wondering how to reset a hygrometer. The short answer is that it depends on whether you have a digital or analog model. And the even shorter answer is that a reset button doesn't always fix the real problem.
Manufacturer specifications indicate that most digital hygrometers drift by 1 to 3 percent relative humidity per year. That is why even a brand-new unit can read 10 percent off right out of the box. Let's walk through the exact steps to get your hygrometer back on track.
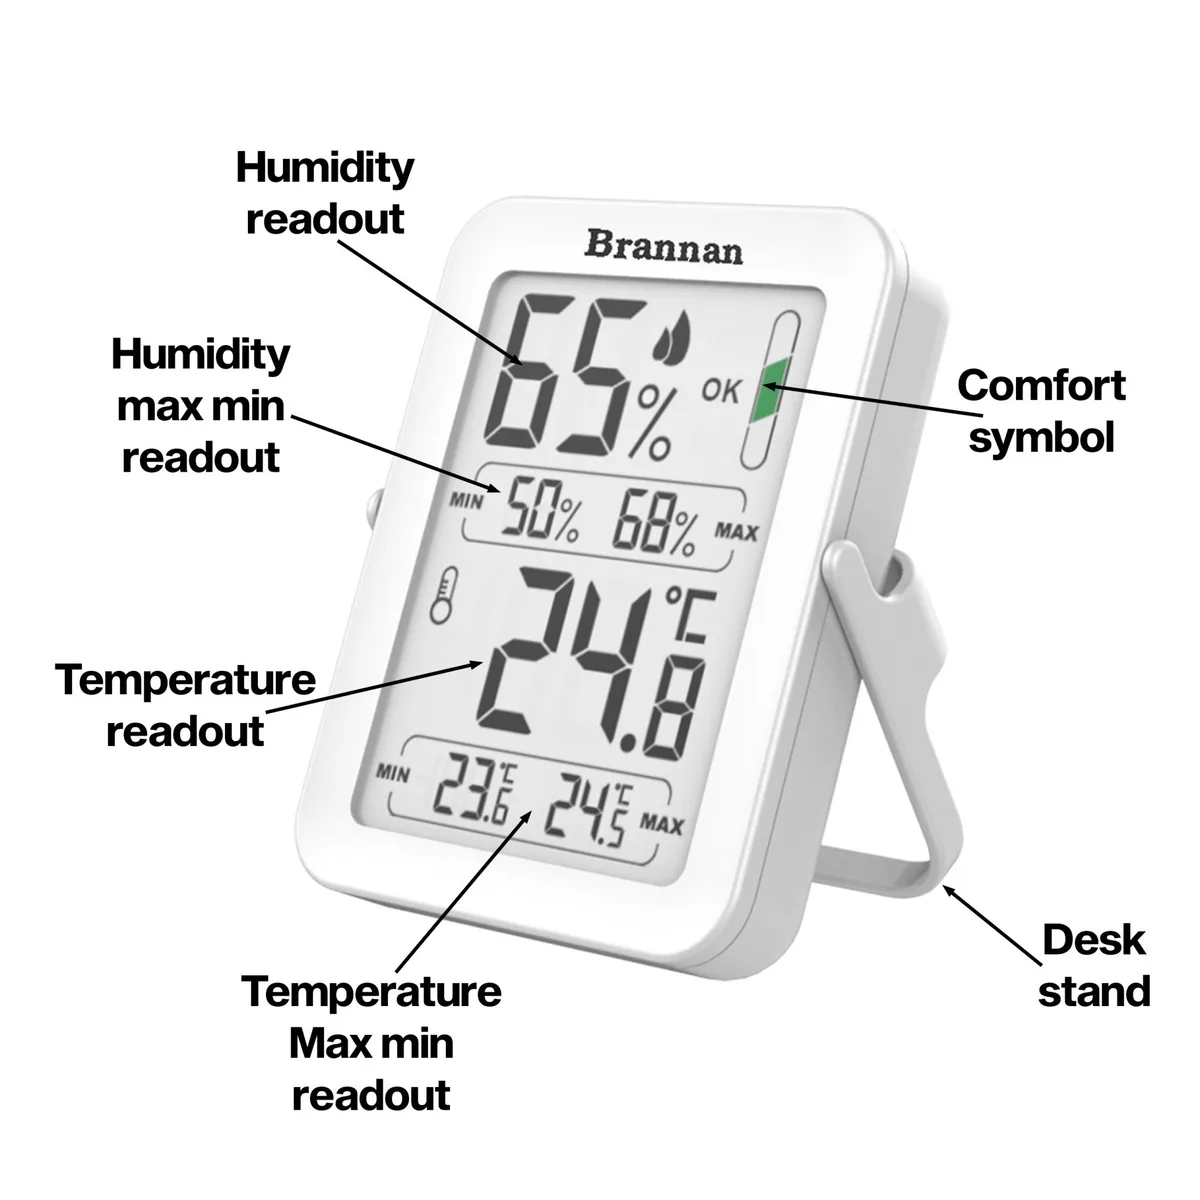
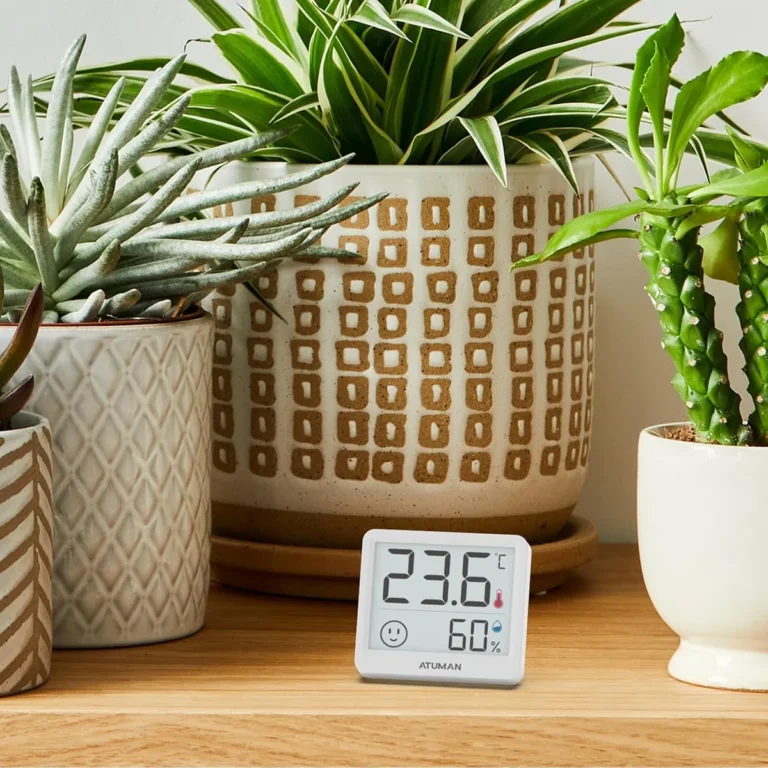
Image source: Bing (Web (fair-use with source credit))
Quick Answer
Press the reset button for 5 seconds. Remove the battery for 30 seconds. For analog models, turn the calibration screw.
If readings still drift, do a salt test. The salt test recalibrates your sensor to 75 percent relative humidity.
The Real Problem: Your Hygrometer Is Lying to You
A hygrometer that reads wrong can cause real trouble. In a cigar humidor, a 10 percent error can lead to mold or beetles. In a reptile terrarium, it can stress your pet.
In a guitar case, it can warp the wood.
The most common failure is a stuck sensor. Digital hygrometers sometimes lock at 99 percent because the sensor has been exposed to condensation. Analog models can get a stuck needle if the internal coil or hair bundle is physically blocked.
Aggregate reviews report that most cheap hygrometers drift significantly within the first six months. Even high-end units need recalibration after a year. The question is whether your unit needs a simple power cycle or a full recalibration.
If your hygrometer responds to changes in humidity but reads 8 percent too high, it needs recalibration. If it shows the same number for three days straight, it probably needs a reset first. If it shows 00 percent or 99 percent and never moves, start with a hard reset.
Is It Analog or Digital? Find Your Reset Path
The first decision in this workflow is simple. Look at the display. Digital hygrometers have an LCD screen and buttons.
Analog hygrometers have a dial and a needle. The reset procedure is completely different for each.
| Feature | Digital Hygrometer | Analog Hygrometer |
|---|---|---|
| Display | LCD screen, numbers | Dial, needle |
| Power source | Battery (AAA, AA, coin cell) | No battery, mechanical |
| Reset method | Button, battery removal, factory reset combo | Calibration screw, needle reset |
| Calibration | User-adjustable offset or salt test | Salt test with screw adjustment |
| Typical cost | $10 to $50 | $5 to $20 |
If you have a digital hygrometer, the reset button is usually on the back or under the battery cover. It might be a small pinhole that needs a paperclip. It might be a labeled button you press and hold.
If you have an analog hygrometer, there is no reset button. There is a small screw or slot on the back that adjusts the needle position.
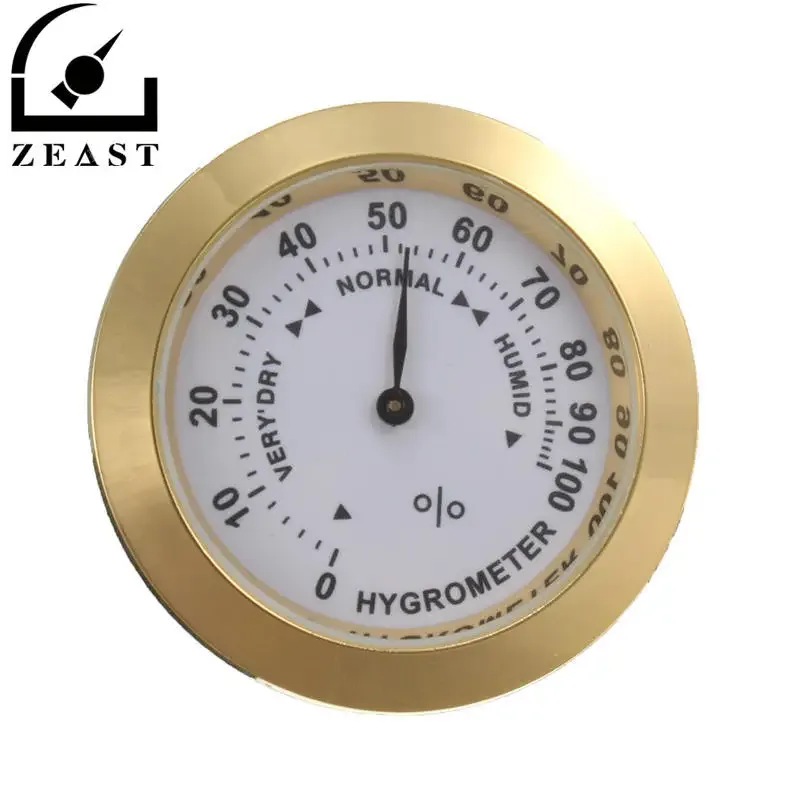
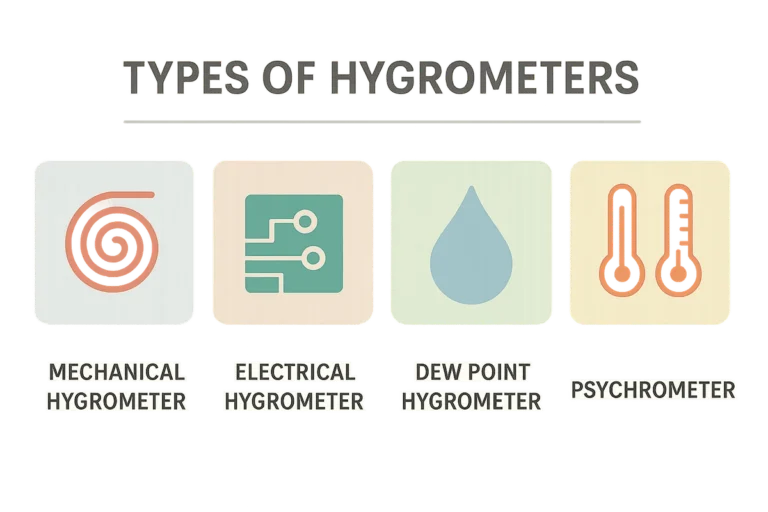
Image source: Bing (Web (fair-use with source credit))
Check the model number on the back or in the manual. Some digital hygrometers have a factory reset sequence that requires holding two buttons at once. Common combinations include holding MODE and SET for 5 seconds, or holding the minus button while inserting the battery.
Step-by-Step: How to Reset Digital and Analog Hygrometers
For Digital Hygrometers
- Remove the battery and wait 30 seconds. This clears the internal memory.
- Reinsert the battery. The display should show dashes or a startup sequence.
- If the reading is still stuck, look for a reset button. It is often recessed in a small hole on the back. Use a paperclip to press and hold it for 5 seconds.
- If the reading is still wrong, try a factory reset. Hold the MODE and SET buttons together for 5 seconds, or hold the minus button while inserting the battery.
- Let the hygrometer sit for 30 minutes to stabilize. Check the reading against a known reference.
For Analog Hygrometers
- Locate the calibration screw on the back. It is usually a small slot that requires a flathead screwdriver.
- Do not touch the screw yet. Perform a salt test first to find the correct needle position.
- If the needle is stuck physically, gently tap the side of the case. Sometimes the needle is just caught on the dial face.
- If the needle does not move at all, the internal mechanism may be broken. Replace the unit.
Most digital hygrometers respond to a simple power cycle. If the reset button does not fix the reading, the sensor may need recalibration. That is where the salt test comes in.
When the Simple Reset Isn't Enough: Salt Test Recalibration
A reset clears the memory but does not recalibrate the sensor. If your hygrometer reads 65 percent in a room that actually is 55 percent, you need to tell it what the correct number is. The standard way to do that is the salt test.
The salt test creates a known humidity reference of 75 percent relative humidity at 20 degrees Celsius. This is a reliable standard recognized by calibration labs. You can do it at home with common table salt.
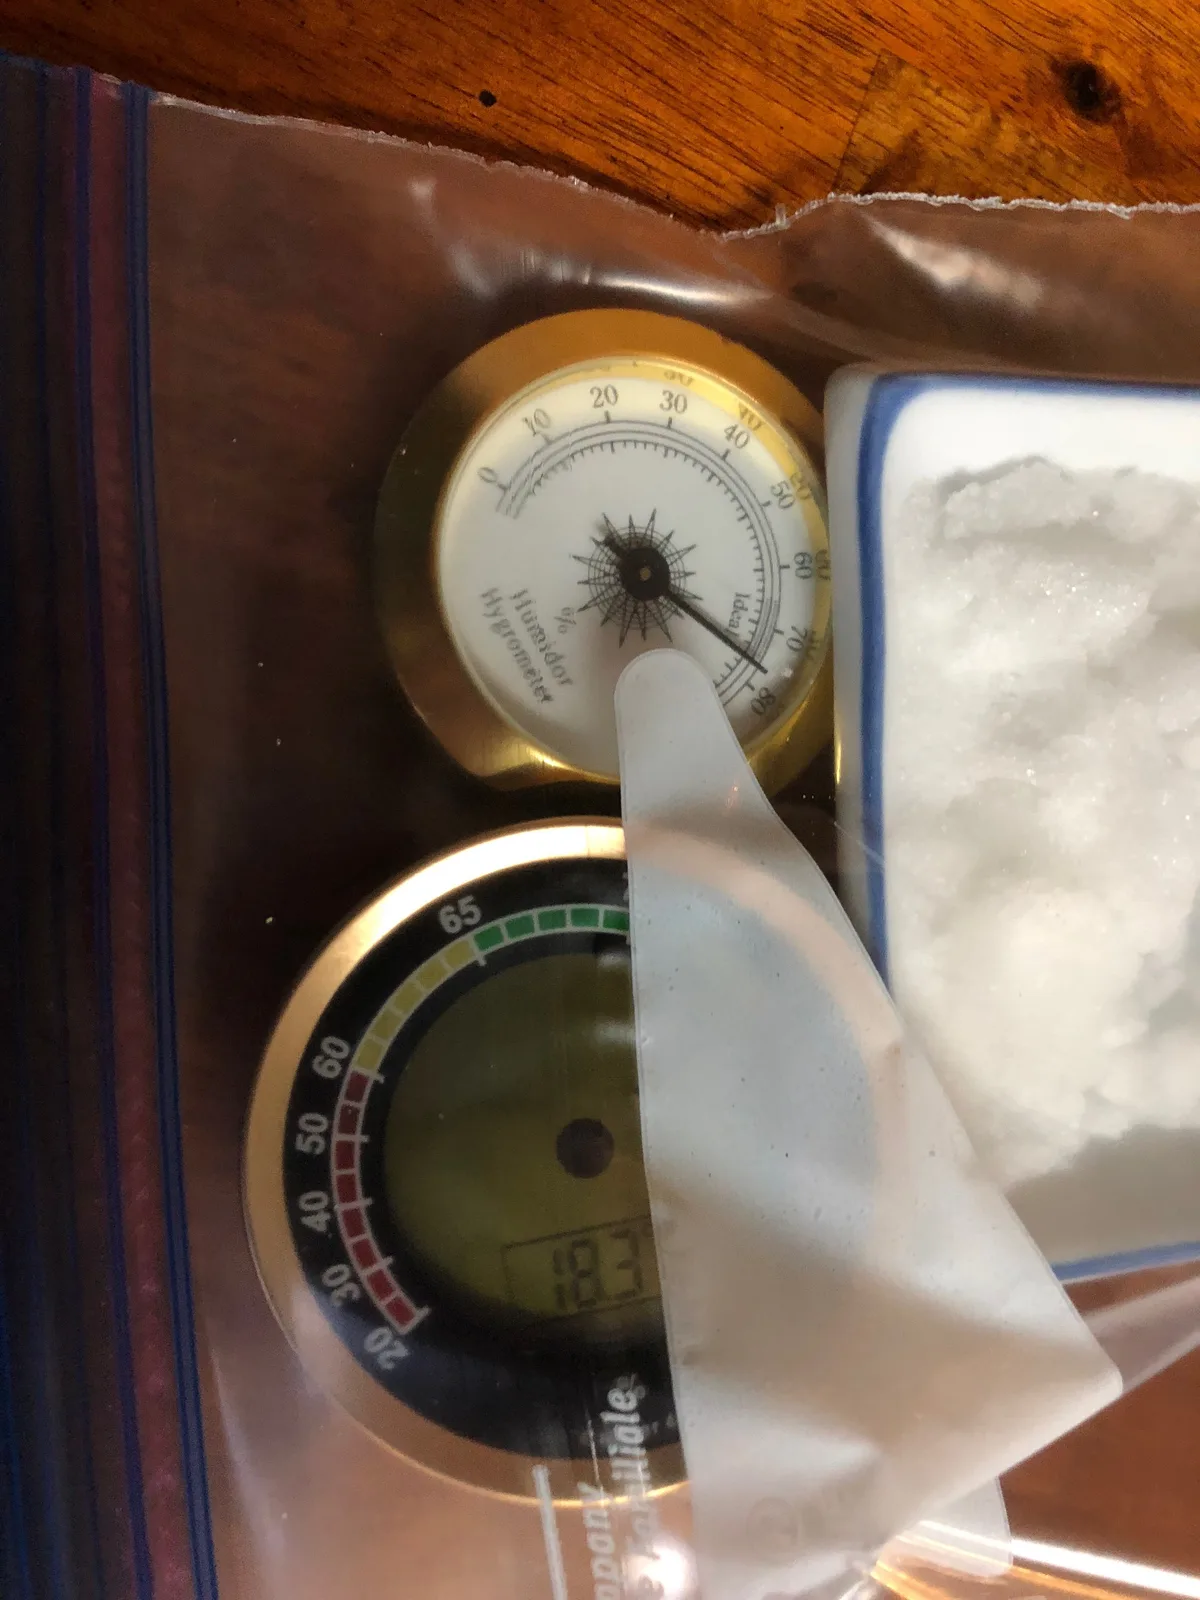
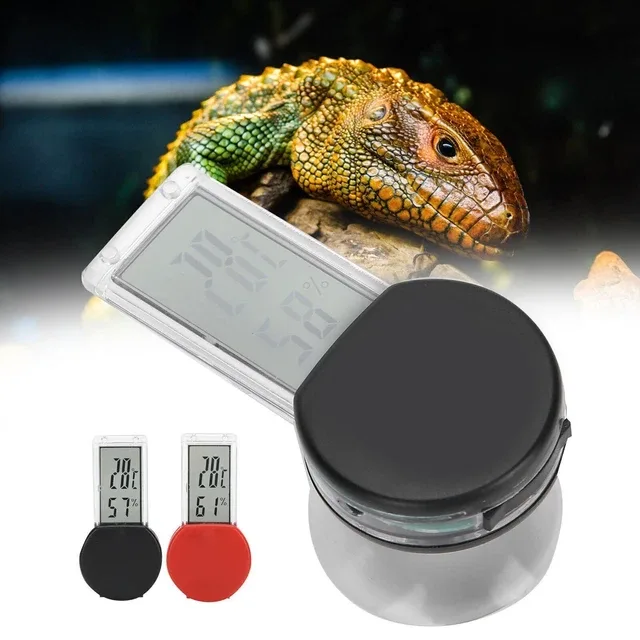
Image source: Bing (Web (fair-use with source credit))
What You Need
- Table salt (non-iodized, no additives)
- Distilled water (tap water has minerals that affect the result)
- A small bottle or a large zipper-seal bag
- A spoon
Step-by-Step Salt Test
- Mix a small amount of salt with a few drops of distilled water. The mixture should be wet but not slushy. Think damp sand.
- Put the salt mixture in the bottom of the bottle or bag. Do not let the hygrometer touch the salt directly.
- Place the hygrometer in the bag or bottle. Seal it tightly.
- Wait 6 to 12 hours. Do not open the bag. Keep it at room temperature.
- After 6 hours, the hygrometer should read 75 percent. If it reads 70 percent, it is 5 percent low. If it reads 80 percent, it is 5 percent high.
- For digital models, use the offset adjustment feature if available. For analog models, turn the calibration screw to move the needle to 75 percent.
- Leave the hygrometer in the salt test environment while adjusting. Check the reading after each adjustment.
Manufacturer specifications from NIST (National Institute of Standards and Technology) confirm that a saturated salt solution of sodium chloride maintains 75 percent relative humidity within a closed container at stable room temperature. This is the same method used by professional calibration labs.
If your hygrometer has no offset adjustment and no calibration screw, you cannot recalibrate it. You can only note the error and mentally add or subtract the difference. Or you can replace the unit.
Common Mistakes That Ruin a Reset (and How to Avoid Them)
The most common mistake is doing a reset and thinking the job is done. A reset clears the power cycle but does not fix a sensor that reads 10 percent too high. You need to recalibrate after the reset.
Another mistake is using the wrong type of salt. Iodized salt or salt with anti-caking agents can throw off the reference humidity. Use plain non-iodized salt.
Kosher salt works fine. Sea salt works fine. Just check the label.
Many people do not wait long enough during the salt test. The bag needs 6 to 12 hours to stabilize. Opening it early lets in outside air.
The reading will be wrong. Set a timer and walk away.
Temperature shock is another issue. If you move a hygrometer from a cold garage into a warm humid room, the sensor needs time to acclimate. Wait 30 minutes before testing.
Condensation on the sensor can cause a stuck 99 percent reading.
Finally, do not assume the reset button is the answer for every problem. If the hygrometer is physically damaged, dropped, or has corrosion in the battery compartment, no reset or recalibration will fix it. Replace it.
FAQs: Quick Answers for Quick Fixes
Can any hygrometer be recalibrated?
No. Some cheap digital hygrometers have no offset adjustment and no calibration screw. You can only note the error or replace the unit.
Analog models with a screw on the back can always be recalibrated.
How often should I reset or recalibrate?
Aggregate reviews suggest recalibrating every 6 to 12 months. If you notice readings drifting by more than 5 percent relative humidity, do a salt test sooner. Seasonal changes can also affect accuracy.
Why does my hygrometer show 99 percent after resetting?
This usually means the sensor is still wet from condensation. Remove the battery. Let the unit dry out in a warm dry place for 24 hours.
Reinsert the battery. If it still reads 99 percent, the sensor may be damaged.
What if there is no reset button on my digital hygrometer?
Look for a recessed pinhole. Use a paperclip to press it. If there is no pinhole and no button combo works, removing the battery for 30 seconds is the only option.
Some models require a factory reset via the menu.
Can I use a Boveda pack instead of a salt test?
Yes. Boveda calibration kits contain a 75 percent RH reference packet. The process is the same.
Place the hygrometer in a sealed bag with the Boveda pack. Wait 6 to 12 hours. Adjust the reading to 75 percent.
Final Verdict: When to Reset, Recalibrate, or Replace
Here is the decision guide. If the hygrometer is stuck at 99 percent or 00 percent, do a power cycle reset. If it reads 75 percent in the salt test but you need a different reference, adjust the offset.
If it reads 15 percent off after recalibration, replace it.
| Scenario | Action | Time Required |
|---|---|---|
| Stuck at 99% or 00% | Power cycle reset | 30 seconds |
| Drift less than 5% | Salt test recalibration | 6 to 12 hours |
| Drift more than 10% | Replace hygrometer | 5 minutes |
| No calibration screw | Replace hygrometer | 5 minutes |
The cost of a new hygrometer is between $10 and $50. The cost of a salt test is pennies. The cost of trusting a bad reading can be moldy cigars, stressed reptiles, or warped guitar wood.
Most people only need to recalibrate once a year. Set a reminder on your phone. It takes 10 minutes of active time and saves you a lot of trouble.