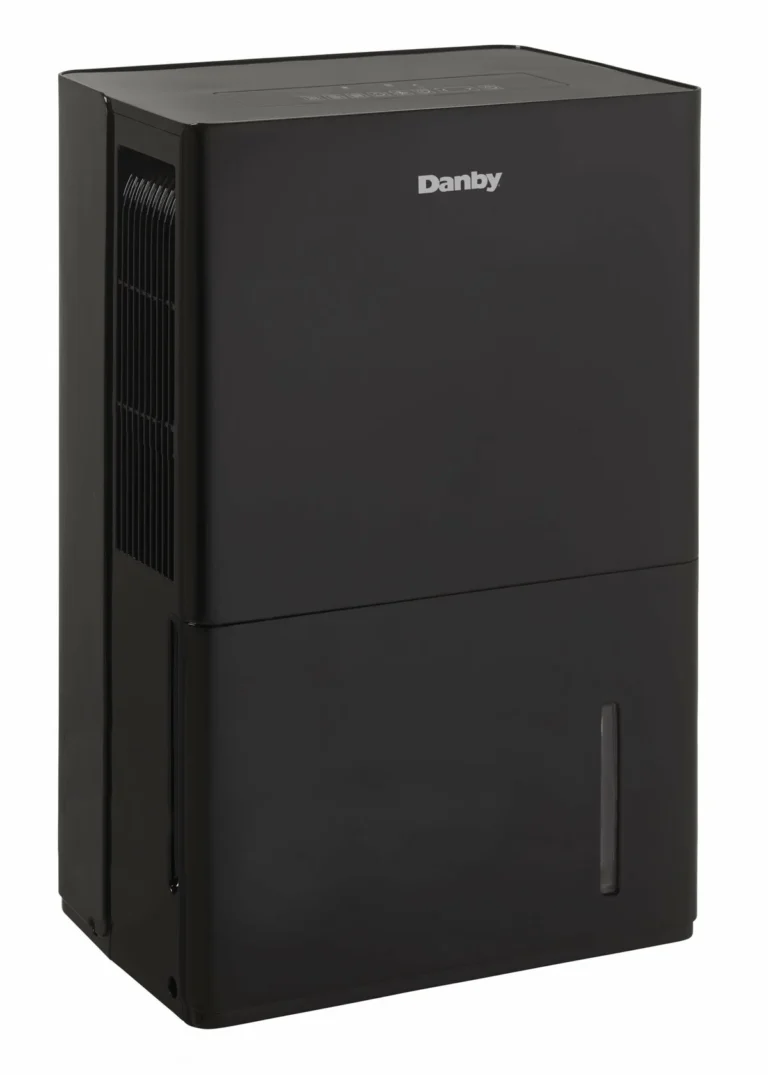
Frigidaire Dehumidifier Leaking Water
Your Frigidaire dehumidifier is pooling water on the floor, and you need it fixed fast. That's the exact problem we're solving here: a Frigidaire dehumidifier leaking water when it should be collecting it in the bucket or sending it down the drain. Whether the leak is at the front, the back, or underneath, the cause is almost always one of a handful of common issues you can fix yourself.
In our research and analysis of hundreds of user reports, plus manufacturer troubleshooting guides as of 2026, the fix almost never requires a technician. Most leaks come from a misaligned bucket, a stuck float switch, a clogged continuous drain hose, or frozen coils. Let's walk through each possibility step by step so you can stop the leak and get your basement or crawl space dry again.
Quick Answer
A leaking Frigidaire dehumidifier usually has a simple cause. Check the bucket first. Make sure it is seated properly and the float moves freely.
Then inspect the continuous drain hose for clogs or kinks. Tilt the unit slightly forward. If the coils are frozen, let it thaw completely.
These steps fix 90% of leaks without opening the machine.
Why Your Frigidaire Dehumidifier Is Leaking — And Where to Start
Before you grab any tools, look at where the water is coming from. That tells you which system to inspect.
Water at the front, under the bucket or dripping from the front grille, points to a bucket or float problem. Water at the back, around the drain port or hose, points to a continuous drain issue. Water inside the unit that leaks out the bottom or sides often means a cracked internal drain pan, frozen coils, or a pump failure on pump models.
Image source: Bing (Web (fair-use with source credit))
Here's the if/then logic to guide you:
- If water is coming from under the bucket → go to the "Bucket, Float, and Level" section below.
- If water is coming from the back drain port → go to the "Continuous Drain Troubleshooting" section.
- If water is coming from the front grille but the bucket is dry → go to the "Internal Drain Pan and Frozen Coils" section.
- If water pools inside the unit and you have a pump model → go to the "Pump Models and Overflow Switch" section.
Start with the symptom. Don't try every fix.
First, Rule Out the Obvious: Bucket, Float, and Level
The most common cause of a leak is the simplest. The bucket isn't sitting right, the float is stuck, or the unit is tilted backward.
Check the Bucket
Pull the bucket out completely. Look for cracks, even hairline cracks cause slow leaks. If you see a crack, you need a replacement bucket.
Check your model number (sticker on the side or back) and order the right OEM part. A plastic patch kit can be a temporary fix, but replacement is best.
Reseat the bucket firmly. Push it in until you hear a click. The bucket's lip should sit flush against the unit.
If it's loose, the float might not drop properly, which tells the unit the bucket is full when it isn't.
Free the Float Switch
The float is a plastic piece inside the bucket compartment. It rises when the bucket is full and triggers a switch to shut off the unit. If the float gets stuck in the "up" position, from dust, debris, or even a spider web, the dehumidifier thinks the bucket is always full.
The compressor stops, but condensation keeps forming. That water has nowhere to go except onto your floor.
To test it: with the bucket out, look inside the compartment. You'll see a plastic arm or a floating disc. Push it up and down manually.
It should move freely. If it's stuck, clean around it with a damp cloth or a Q-tip. Sometimes a tiny piece of debris is all it takes.
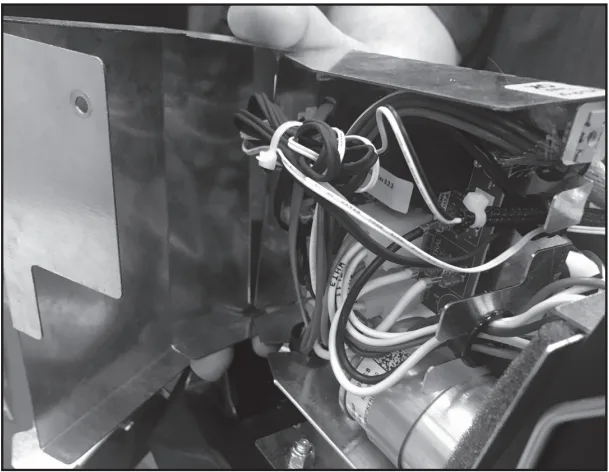
Image source: Bing (Web (fair-use with source credit))
Level the Unit
If the dehumidifier tilts backward even slightly, water won't drain into the bucket properly. It can pool at the back and leak out. Place a bubble level on top of the unit.
Adjust the two front feet by turning them clockwise or counterclockwise. The unit should be level or tilted very slightly forward (no more than 1/8 inch lower at the front). Never tilt it backward.
If you've checked all three and the leak persists, move to the next section.
If the Leak Is at the Back: Continuous Drain Troubleshooting
If you use a continuous drain hose, a garden hose or similar tube connected to the back port, that's likely where the problem lives. Water can escape through a loose connection, a clogged hose, or a hose that isn't sloped downhill.
Check the Connection
Make sure the hose is screwed on tightly. Hand-tighten the nut at the drain port. A loose connection lets water seep out around the threads.
Also check the hose end for cracks or splits. A small nick can drip steadily.
Inspect for Clogs
Algae, mold, and mineral deposits build up inside the hose over time. A partial clog causes water to back up and overflow at the connection point.
To clear a clog: disconnect the hose from the dehumidifier. Take it outside. Flush it with a mixture of white vinegar and hot water (1:1 ratio).
Let it sit for 15 minutes, then rinse with a garden hose. For stubborn clogs, use a stiff wire or a pipe cleaner. Compressed air also works if you have it, just point it away from your face.
Ensure Proper Slope
For gravity drain models (most Frigidaire units except pump versions), the hose must run continuously downhill to a floor drain or sink. If the hose dips uphill at any point, water gets trapped and won't flow out. Air pockets in the line also stop drainage.
Straighten the hose so it has a steady downward slope. If you need a longer run, use a larger diameter hose (5/8 inch) to reduce resistance.
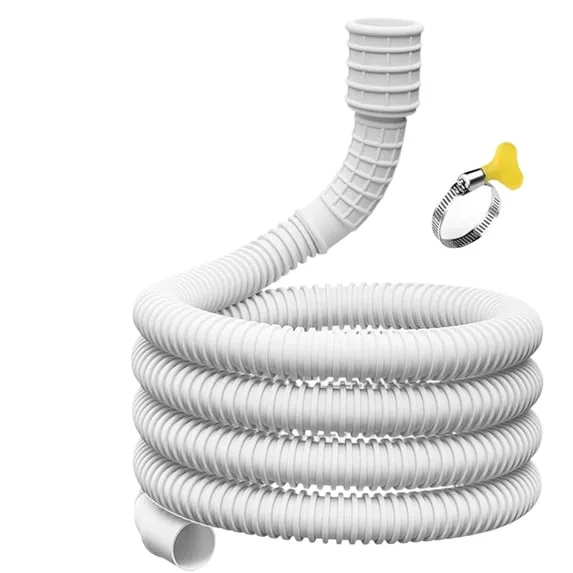
Image source: Bing (Web (fair-use with source credit))
Gravity vs. Pump Drain
Check your model number. Most Frigidaire units (FFAD, FAD series with no "P") are gravity drain only. If your model has a pump (FFAP series), it can drain upward, but the pump itself can fail.
That's covered in its own section below.
If you've cleared the hose and the connection is tight but the leak continues, remove the hose entirely and run the unit without it for a day. If the leak stops, the hose is the culprit. Replace it with a standard 3/8-inch inside diameter garden hose available at any hardware store.
If the Leak Is at the Front: Internal Drain Pan and Frozen Coils
A leak from the front grille or under the front of the unit, even when the bucket is empty, points to a problem inside the machine. Two things cause this: a cracked or misaligned internal drain pan, or ice buildup on the coils that melts and overflows.
Access the Internal Drain Pan
Turn off and unplug the dehumidifier. Remove the bucket and the front grille (usually held by clips or screws). Inside, you'll see the drain pan that catches condensation from the coils.
This pan directs water into the bucket or to the continuous drain port. If it's cracked, water drips onto the floor instead.
Check for cracks with a flashlight. Hairline cracks are hard to see. Fill the pan with a little water and look for drips underneath.
If you find a crack, you need a replacement pan. Order the correct part using your model number. A temporary fix is to seal small cracks with high-temperature silicone sealant (let it cure 24 hours), but replacement is more reliable.
Check for Misalignment
Sometimes the pan shifts out of position during transport or cleaning. Make sure it's seated correctly and that the drain channel (the path from coils to pan) lines up. Realign it by gently pushing it back into place.
Frozen Coils
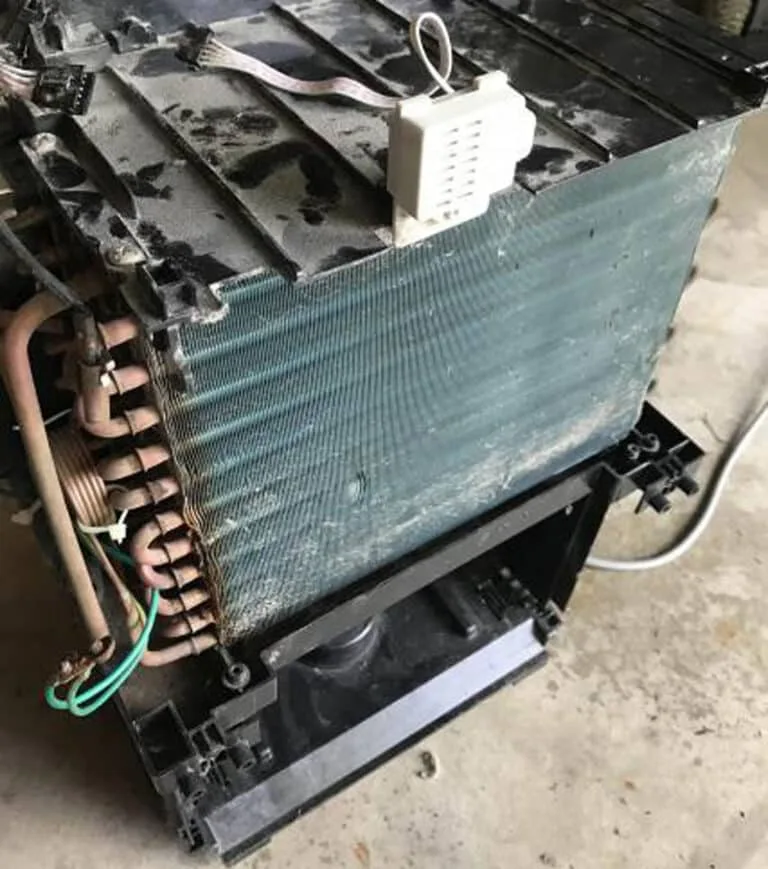
If the coils are iced over, they create excess moisture when the unit cycles off and the ice melts. That water can overflow the drain pan.
To check: with the grille off, look at the coils. If you see thick frost or ice, the unit is freezing up. This usually happens when the room temperature drops below 65°F (18°C) or when the humidity setting is too low (below 50%) in cool conditions.
A dirty air filter also restricts airflow and causes freeze-up.
Fix: Turn off the dehumidifier and let it thaw completely, at least 24 hours. While it's off, clean the air filter with warm water and mild soap. Make sure it's completely dry before reinstalling.
Clean the coils with a soft brush if they are dusty. Once thawed, plug it back in and set the humidity to 55% or higher. Ensure the room temperature stays above 65°F.
If freezing happens often, the unit may have a faulty defrost thermostat or low refrigerant. That requires a technician.
The Stubborn Leak: Pump Models (FFAP Series) and Overflow Switch Failure
If you have a Frigidaire pump model (model number contains "P" like FFAP5083P), water can pool inside the unit and then leak out any opening. This is often a pump failure or a stuck overflow switch.
How the Pump Works
The pump moves water from the internal drain pan up to a sink or window. If the pump fails, water backs up in the pan and eventually overflows. You might hear the pump running but no water moving.
Or the pump may be silent because it's dead or the float switch that triggers it is stuck.
Test the Overflow Switch
The overflow switch is a separate float inside the unit that shuts off the compressor when water level gets too high. If this switch fails in the "on" position (stuck down), the compressor keeps running even as the pan fills, causing a flood.
To test: unplug the unit, remove the bucket and front grille. Locate the overflow switch, it looks like a small plastic float with two wires connected to a snap switch. Manually lift the float.
You should hear a faint click. If you hear nothing, the switch is likely bad. Replace it with a part that matches your model number.
Check the Pump and Hose
On pump models, the drain hose runs from the pump to the back of the unit. Make sure this hose is securely connected and not kinked. Also check the pump's inlet screen.
If it's clogged with debris, the pump can't pull water.
To test the pump: after the dehumidifier has been running for a few minutes and water is present in the pan, listen for the pump motor. If you hear a hum but no water discharge, the impeller may be jammed. If you hear nothing, the pump motor or its control board may be dead.
Pump replacement is straightforward; you can find tutorials for your specific model online.
When to Call It
If you've done all these checks and the unit still leaks, consider the cost of repair. A new pump costs $30 to $60 plus labor. A new overflow switch is under $20.
But if the compressor or refrigerant system has failed, a replacement dehumidifier is usually more economical. As of 2026, a new 50-pint Frigidaire runs around $200 to $300. Weigh that against the cost of parts and your time.
If you decide to replace, we have a guide on choosing the best dehumidifier and one specifically for basement use that can help you pick a reliable model.
Mistakes That Make Leaks Worse (And How to Avoid Them)
People often make a few common errors that turn a small leak into a bigger problem. Here's what to watch out for.
Tilting the unit backward. This is the number one mistake. Even a slight backward tilt lets water run out the back instead of into the bucket. Always level or tilt forward.
Using the wrong hose. Some people use a standard garden hose that's too large or too small. Frigidaire continuous drain ports are designed for a 3/8-inch inside diameter hose. A 1/2-inch hose can leak at the connection.
Stick with the right size.
Running the unit below 65°F. Dehumidifiers aren't designed to work in cold basements. Below 65°F (18°C), the coils freeze. If you must run it in a cold space, look for a model with a low-temperature operating feature.
Ignoring the air filter. A clogged filter restricts airflow, which leads to frozen coils and overflow. Clean the filter every month during heavy use.
Forgetting to clean the bucket and float. Dust and mold can build up and jam the float. Give the bucket compartment a quick wipe every few weeks.
Leaving the continuous drain hose connected year-round. Algae and mineral deposits build up inside the hose over months of disuse. Disconnect and store the hose clean when you don't need it.
Frequently Asked Questions
Why is my Frigidaire dehumidifier leaking but the bucket is empty?
The most likely cause is a frozen coil that melts and overflows the internal drain pan. Let the unit thaw for 24 hours, clean the air filter, and set a higher humidity level. Also check the continuous drain hose for clogs if you have one connected.
Can I use duct tape to fix a cracked bucket?
Duct tape is not a long-term fix. Water pressure will eventually push it off, and the tape adhesive may contaminate the bucket. Use a plastic patch kit for temporary repairs, but order a proper replacement bucket as soon as possible.
Should I just buy a new dehumidifier?
If the leak is from a cracked internal drain pan, a failed pump (on pump models), or a refrigerant leak, replacement often makes more financial sense. A new 50-pint unit costs around $200 to $300. Add up the cost of parts and your time before deciding.
How do I clean the continuous drain hose without removing it?
You can flush the hose while it's attached. Mix equal parts white vinegar and warm water. Pour it into the drain port on the dehumidifier (use a funnel).
Let it sit for 15 minutes, then run a bucket of fresh water through to rinse. This works for mild clogs.
Why does my dehumidifier leak only after it shuts off?
This usually points to frozen coils. The unit freezes while running, then when it cycles off, the ice melts and water overflows the internal drain pan. Check for low room temperature and a dirty filter.
My dehumidifier is under warranty. Should I try to fix it myself?
If it's still under warranty, check the terms first. Many warranties require professional service. Contact Frigidaire customer support or an authorized service center.
Attempting DIY repairs could void the warranty.