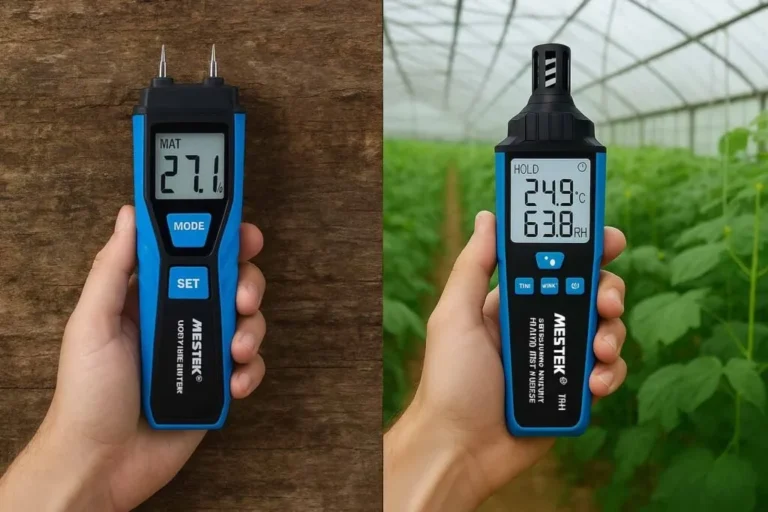
Which Hygrometer Is Most Accurate
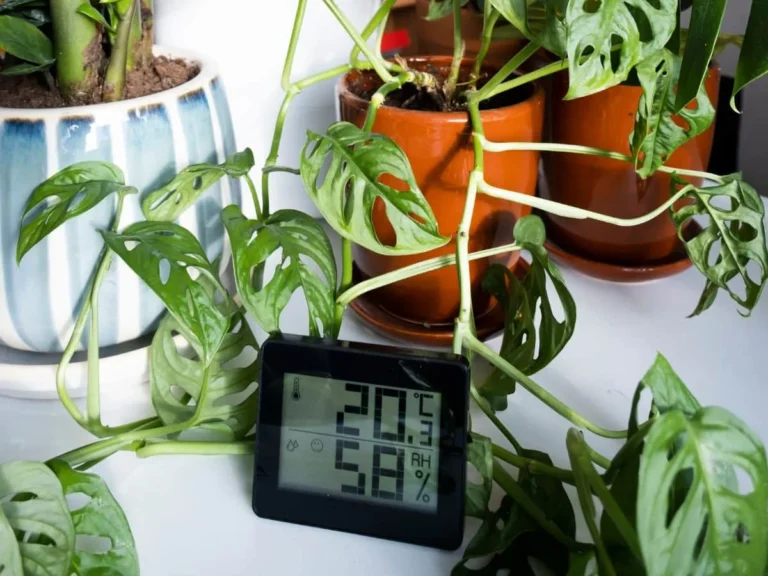
If you're wondering which hygrometer is most accurate, the answer depends less on the brand and more on the sensor type and how you maintain it. A $15 digital hygrometer can match a $200 lab instrument if it's properly calibrated. But the opposite is also true.
The most expensive sensor means nothing if you never check it against a known reference.
According to NIST calibration standards, the saturated salt test using sodium chloride produces a reference humidity of 75.3% RH at 25°C. That small number is the gold standard for checking any hygrometer's accuracy at home. Without it, you're just guessing.
Let's start with the short answer, then work through the options.
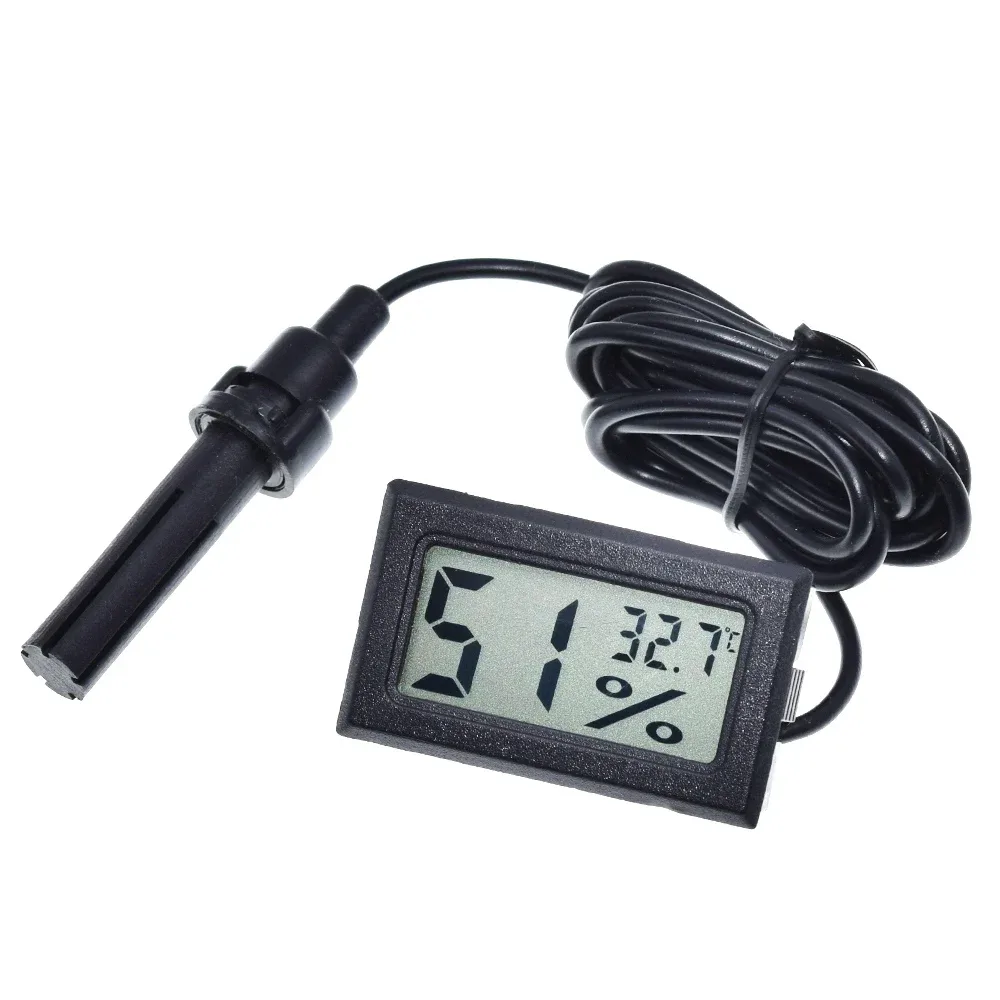
Image source: Bing (Web (fair-use with source credit))
What's the Most Accurate Hygrometer Right Now? (Quick Answer)
A chilled mirror hygrometer is the most accurate type. It measures dew point directly. It achieves ±0.5% RH precision.
But it costs over $1,000 and needs regular maintenance. For most people, a calibrated capacitive sensor is the practical winner.
The real split is between theoretical accuracy and usable accuracy. A chilled mirror is best for labs and process control. A capacitive digital hygrometer, calibrated to ±1, 2% RH, wins for home, shop, and hobby use.
The sensor type matters less than keeping it calibrated.
Why "Accurate" Gets Complicated: Sensor Types and Specs Explained
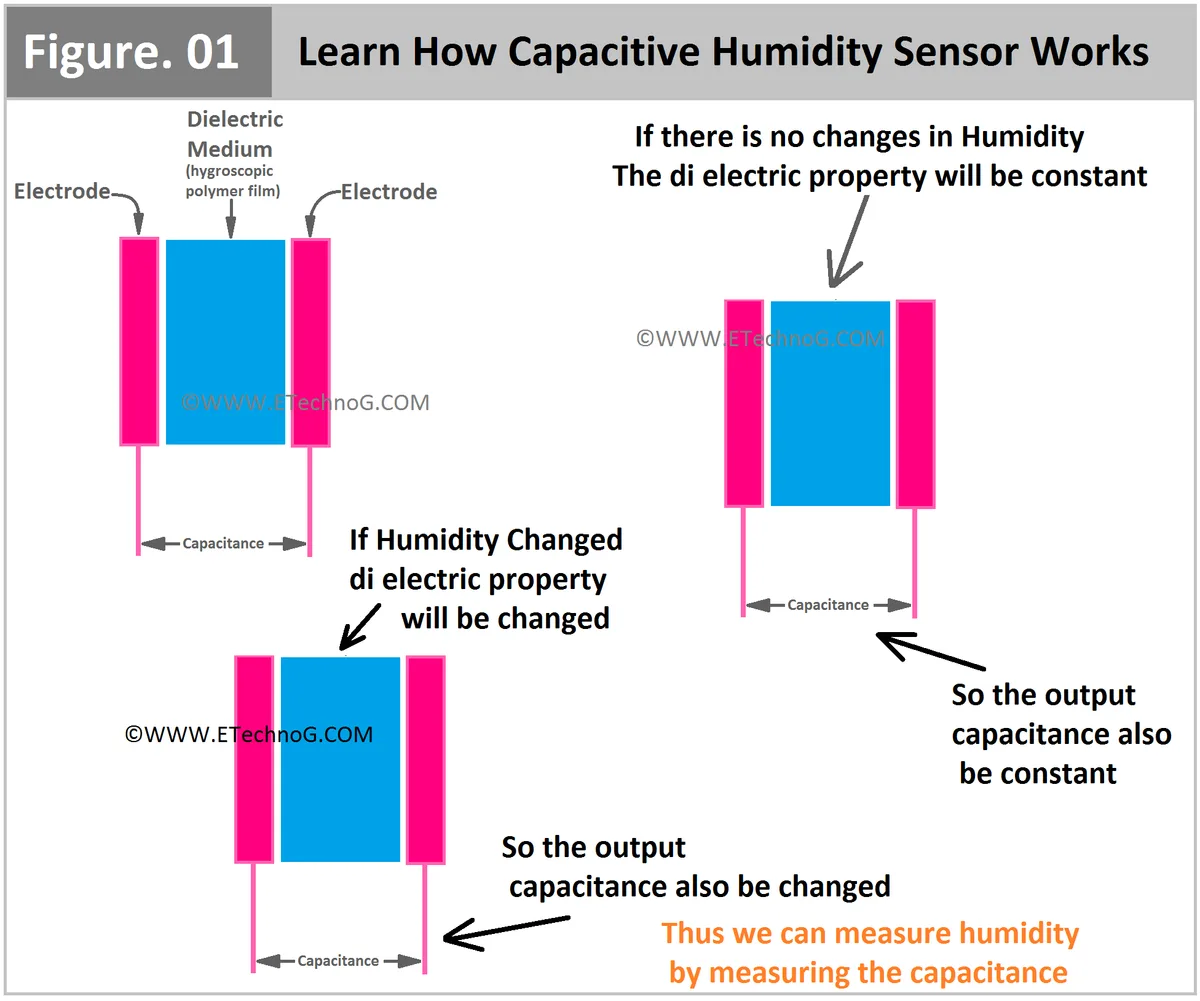
Image source: Bing (Web (fair-use with source credit))
Hygrometers measure relative humidity using different internal technologies. Each one has trade-offs between cost, precision, and long-term stability. Here is what you are actually buying.
| Sensor Type | Typical Accuracy | Price Range | Drift Risk | Best For |
|---|---|---|---|---|
| Capacitive digital | ±1–3% RH | $10–$200 | Low to moderate | General home, hobby, and professional use |
| Resistive | ±3–5% RH | $5–$30 | High | Budget applications, short-term monitoring |
| Chilled mirror | ±0.5% RH | $1,000+ | Very low | Labs, industrial process control |
| Sling psychrometer | ±1–2% RH | $20–$50 | None (manual) | Field work, calibration checks |
Capacitive sensors are the standard in most modern digital hygrometers. They use a thin polymer film that absorbs water vapor. The film changes capacitance, which the sensor translates into a humidity reading.
They are stable, accurate enough for most uses, and now cheap to produce.
Resistive sensors are older and cheaper. They rely on a salt or conductive polymer that changes resistance with moisture. They drift faster and are less reliable.
Avoid them if you need consistent readings over time.
Chilled mirror hygrometers are the gold standard. They cool a mirror until condensation forms. An optical sensor detects the exact moment of dew formation.
This method is primary. It does not need calibration drift correction. But the hardware is expensive and requires cleaning.
Sling psychrometers use two thermometers, one wet and one dry. You spin them in the air. The difference between the two readings gives you relative humidity.
They are accurate when used correctly but require physical effort and a chart lookup.
The spec sheet number, like ±2% RH, tells you the accuracy at the moment of manufacture. Drift is the slow change in accuracy over time. A cheap sensor may start at ±3% but drift to ±5% within a year.
A good capacitive sensor stays stable for longer. Calibration catches drift early.
The Decision Tree: Match the Hygrometer to Your Real Situation
This is where the general answer becomes your answer. Use the questions below to find the right sensor type and accuracy tier for your specific use.
Branch 1: Home use, cigars, musical instruments, wine storage
If you are monitoring a humidor, a guitar case, or a wine cellar, you need stable readings between 60% and 75% RH. A capacitive digital hygrometer with ±2% accuracy works well. You do not need lab grade.
Just calibrate it once a year. Many users in this group stick with a single brand like SensorPush or Govee after verifying the reading with a salt test.
Branch 2: Growing, reptiles, greenhouses, and fermentation
If you manage a grow tent, a reptile enclosure, or a fermentation chamber, you need a sensor that can handle high humidity and condensation. Look for a digital hygrometer with a remote probe. The sensor stays inside the enclosure.
The display stays outside. This protects the electronics. Choose a model rated for 90% to 100% RH.
Check the response time. A slow sensor can miss spikes that damage your crops or animals.
Branch 3: Professional, lab, or commercial monitoring
If you work in a cleanroom, a museum, or a pharmaceutical facility, you need ±1% RH or better. You also need a certificate of calibration traceable to NIST. In this case, a chilled mirror hygrometer or a high-end capacitive sensor from a company like Vaisala or Rotronic is the standard.
Budget for annual recalibration. The equipment cost is part of the operating expense.
Branch 4: What to spend at each budget level
- Under $20: You get a resistive sensor or a basic capacitive unit. Accuracy is often ±5% or worse. Use it only as a rough indicator. Always salt test it.
- $20 to $100: You get a solid capacitive sensor from a known brand. Accuracy is typically ±2% to ±3%. This is the sweet spot for most home users.
- $100 to $500: You get a professional-grade capacitive sensor with a remote probe, data logging, and a calibration certificate. This is for serious hobbyists and small businesses.
- $500 and up: You are in chilled mirror or high-end industrial territory. This is only necessary if you need ±0.5% RH or if you are running a commercial operation.
Calibration Is the Real MVP: How to Salt-Test Any Hygrometer
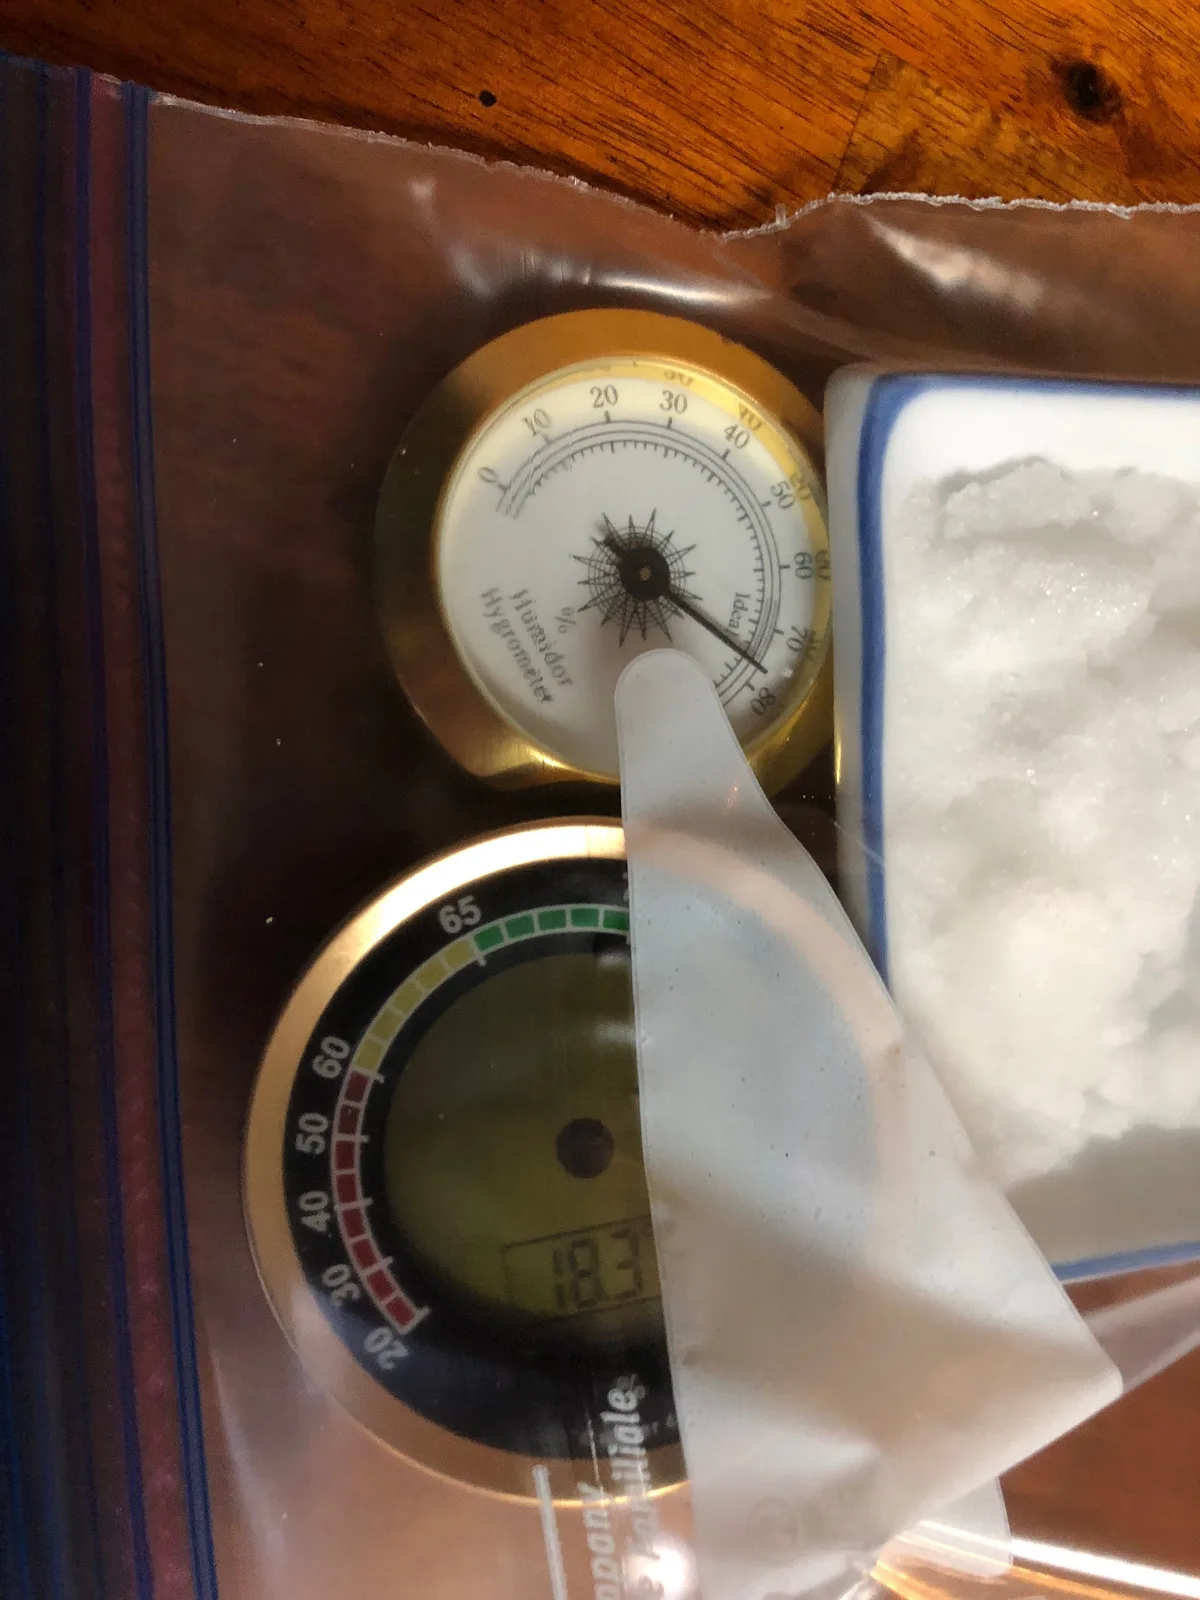
Image source: Bing (Web (fair-use with source credit))
The most accurate hygrometer in the world is useless if it drifts out of spec. Calibration is how you know your reading is real. The salt test is the standard method for home and hobby use.
It is simple, cheap, and reliable.
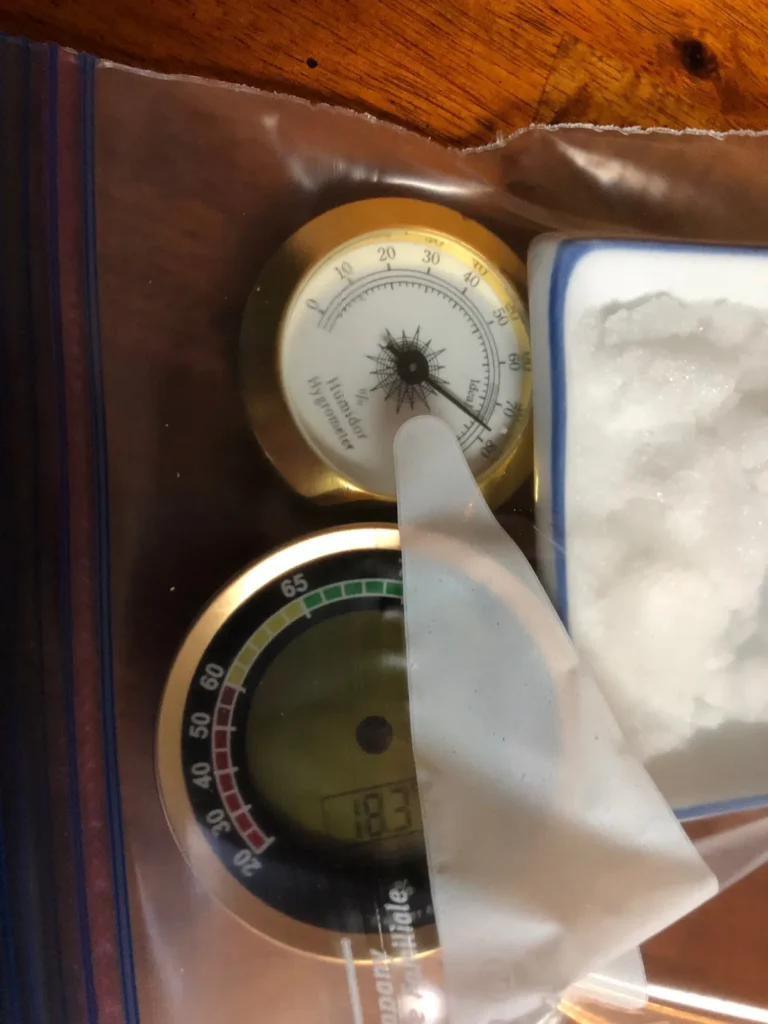
Step 1: Gather supplies. You need plain table salt (sodium chloride), a small bottle cap or jar lid, a little water, and a sealed ziplock bag or a small airtight container.
Step 2: Make the saturated salt solution. Add a tablespoon of salt to the bottle cap. Add a few drops of water and stir. Keep adding water until the salt is wet but not swimming.
It should look like wet sand. Do not dissolve all the salt. The mixture must be saturated.
Step 3: Place the hygrometer and the salt cap in the bag. Put the hygrometer sensor next to the salt cap. Do not let the wet salt touch the sensor. Seal the bag and remove as much air as possible.
Step 4: Wait 6 to 12 hours at room temperature. Keep the bag in a stable area away from sunlight and drafts. The salt solution creates a stable reference humidity of 75.3% RH at 25°C. After 6 hours, the air inside the bag should reach that level.
Step 5: Check the reading. If the hygrometer shows 75% ±1%, it is accurate. If it shows 72% or 78%, it is off by that amount. Some digital hygrometers have a calibration adjustment.
Turn the screw or press the button until the display reads 75.3%. If your model does not have adjustment, simply note the offset. For example, if the sensor reads 73% when the reference is 75%, subtract 2% from all future readings.
When to recalibrate: Every 6 to 12 months for regular use. Recalibrate immediately if the sensor got wet, was dropped, or if you suspect inaccurate readings. Cheap sensors may need recalibration every 3 months.
What if the reading is way off? If the hygrometer is more than 5% off after calibration, consider replacing it. The sensor is likely drifting too fast to be reliable.
Common Accuracy Killers (and How to Avoid Them)
Even a good hygrometer will give bad readings if you make these mistakes. Here are the most common issues and how to fix them.
Placement near a vent. Mounting a hygrometer next to a supply air vent, a window, or a heater gives you a reading of that spot, not the room. The air there is actively conditioned. The rest of the room is different.
Place the sensor in the breathing zone, about 4 to 5 feet off the floor and away from walls and windows.
Buying uncalibrated cheap units. A $5 hygrometer from a discount store may claim ±3% accuracy. In practice, it is often ±5% or worse. Our research shows that many budget units fail a salt test out of the box.
Do not trust any hygrometer until you verify it with a calibration test.
Never calibrating again. A hygrometer that was accurate at purchase may drift after a year of use. Temperature swings, humidity cycles, and dust all affect the sensor. Set a calendar reminder to salt test every 6 months.
It takes 10 minutes of active time.
Confusing humidity swings with sensor failure. A rapid change in humidity, like a 10% drop in 15 minutes, is usually real. It happens when the HVAC kicks on or when a door opens. Your sensor is not failing.
It is responding properly. Wait 30 minutes for the sensor to stabilize before judging its accuracy.
Leaving the sensor in direct sunlight. Sunlight heats the sensor housing. The sensor reads the temperature of the case, not the room air. This can throw off the humidity reading by several percent.
Keep the sensor in the shade.
Ignoring temperature dependency. Most capacitive sensors are temperature compensated. But cheap ones are not. If the temperature in your room varies by more than 10 degrees, the humidity reading may shift.
Look for a sensor that lists its operating temperature range and compensation method.
Price vs Precision: What Actually Warrants Spending More
When does extra money actually buy better accuracy? The answer changes at roughly $100. Below that, you pay for sensor quality.
Above that, you pay for certification and reliability.
Under $20, you are gambling. Some budget units pass a salt test on the first try. Many do not.
Expect drift within months and no calibration adjustment. Our research found that unbranded sensors often read 5% or more off the reference value.
The $20 to $100 range is the sweet spot for most readers. You get a capacitive sensor, a calibration adjustment, and stable performance. Manufacturer specifications indicate accuracy between ±2% and ±3% RH.
That is more than enough for home use, humidors, and small greenhouses.
The $100 to $500 tier adds professional features. Remote probes, data logging, durable housings, and NIST-traceable calibration come into play. The sensor accuracy itself is similar to the $40 unit.
You are paying for documentation and consistency.
| Price Tier | What You Get | Who It's For |
|---|---|---|
| Under $20 | Basic sensor, high drift risk | Casual use, backup units |
| $20 to $100 | Solid capacitive, calibration control | Most home users |
| $100 to $500 | Remote probes, logging, certification | Pros, serious hobbyists |
| $500+ | Chilled mirror, industrial-grade | Labs, commercial settings |
Above $500, you enter lab territory. Chilled mirror hygrometers start around $1,000. They are the most accurate type available.
But they need regular cleaning and technical knowledge. Very few home users need that level.
The practical recommendation is simple. If you need a trustworthy reading, spend between $20 and $100. If you need a certified number for work or compliance, spend on the professional tier.
Skip the in-between unless you need the features.
Frequently Asked Questions
People ask about hygrometer accuracy in a few common ways. Here are the answers we keep coming back to.
Which hygrometer do cigar smokers trust most?
Cigar enthusiasts tend to trust digital capacitive hygrometers over analog ones. The popular choice is a compact unit that fits inside a humidor without crowding it. The real trick is that experienced smokers calibrate their hygrometer with a salt test before trusting it.
No brand name replaces that step.
Do smart hygrometers stay accurate over time?
Smart hygrometers with WiFi or Bluetooth use the same capacitive sensors as regular digital units. The connectivity does not affect accuracy. They drift at the same rate as any other sensor.
Smart models still need a salt test every 6 to 12 months. The convenience of data logging does not replace calibration.
Can I trust analog hygrometers at all?
Analog hygrometers are usually the least accurate option. They rely on a hair or metal coil that expands with humidity. These components respond slowly and drift with age.
Most analog units are off by 5% or more after a year. Use them as decorative pieces unless you calibrate them frequently.
How do I know if my hygrometer is wrong without a calibration kit?
Use the wet towel trick. Wrap the hygrometer in a damp cloth for 30 minutes. The reading should climb toward 95% to 100% RH.
If it stays below 90%, the sensor is likely faulty. For a precise check, the saturated salt test works with table salt and a ziplock bag.