Hisense DH7019KP Troubleshooting
If your Hisense DH7019KP dehumidifier isn't pulling water, flashing error codes, or just won't power on, you're not alone. Hisense DH7019KP troubleshooting usually comes down to a handful of repeatable problems. Most of them are fixable without a service call.
Per the manufacturer's manual, the unit is rated at 70 pints per day (at 80°F/60% RH) and uses R-410A refrigerant. It also includes an auto-defrost cycle that kicks in when the coil temperature drops below freezing. That defrost function is a common source of confusion.
So before you start unplugging anything, let's pin down exactly what's wrong.
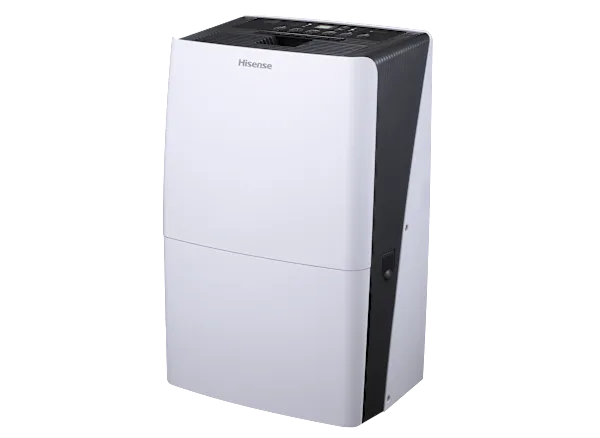
Image source: Bing (Web (fair-use with source credit))
Start Here: Which Problem Are You Seeing?
The DH7019KP is a compressor-based dehumidifier. The symptoms fall into distinct branches. First, decide what you're actually dealing with:
- No lights, no fan, no sound → Electrical issue (power supply, cord, or internal board).
- Lights are on but it's not pulling water → Likely a bucket position, float switch, or drain-path problem.
- An error code is flashing → Specific sensor failure or safety lockout (see next section).
- Water leaks or strange noises → Mechanical issue or ice buildup.
- Fan runs but compressor never kicks in → Compressor thermal overload, capacitor failure, or defrost cycle.
Write down the exact symptom before you touch anything. That's your decision tree trunk. Every fix starts there.
If you see an error code, skip straight to the next section. If the unit is completely silent, go to "No Power or Won't Turn On" below.
Error Codes Decoded (E1, E2, E3, E4, LO, CL)
The DH7019KP shows errors on its digital display to tell you which sensor or component needs attention. Many users panic at E2 or LO, but these are often simple fixes. Here's the full list from the official service documentation:
| Code | Meaning | Most Likely Cause | Quick Fix |
|---|---|---|---|
| E1 | Coil temperature sensor failure | Defrost thermistor open or shorted | Unplug 10 minutes. If it persists, replace thermistor |
| E2 | Humidity sensor failure | Sensor on control board dirty or disconnected | Clean sensor with soft cloth. Reseat connector |
| E3 | Pipe temperature sensor failure | Thermistor on evaporator coil | Same as E1. Power cycle, then replace |
| E4 | Drain pump failure (pump models only) | Pump blocked or not priming | Check pump inlet filter. Clear debris |
| LO | Low humidity setpoint | You set target below 30% | Raise humidity setpoint to 35% or higher |
| CL | Defrost cycle active or compressor lockout | Coils too cold after continuous run | Wait up to 15 minutes. Unit restarts automatically |
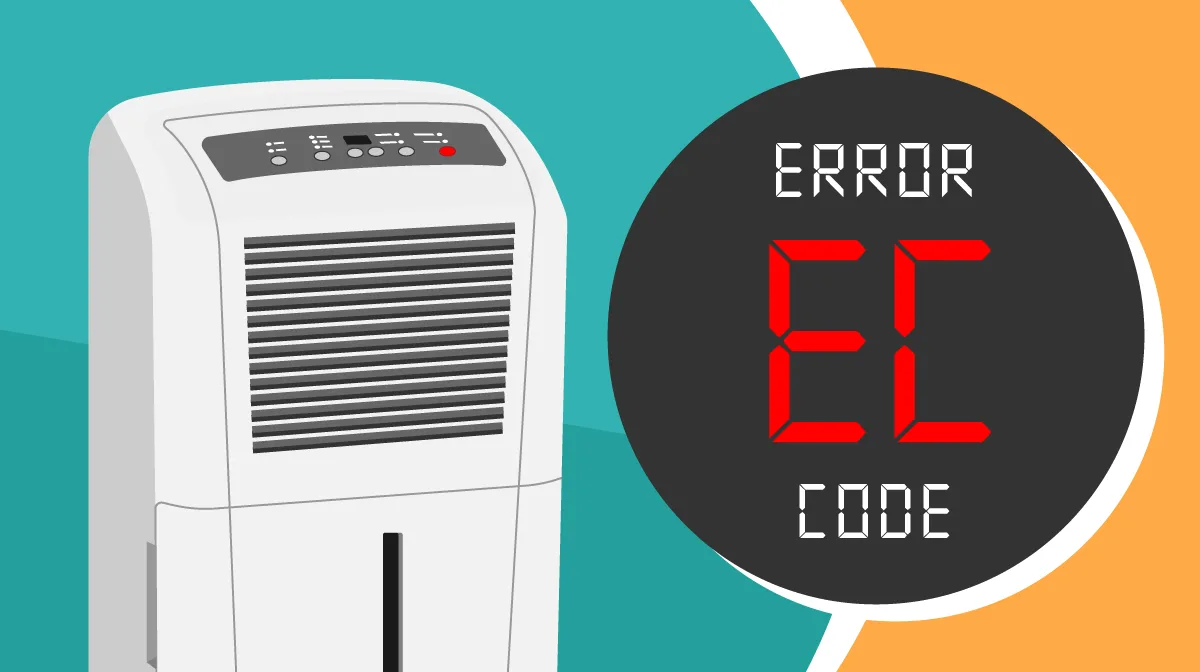
Image source: Bing (Web (fair-use with source credit))
If your unit shows E1 or E3, the first step is always a hard power cycle. Unplug for 10 minutes, then plug back in. The sensor may have glitched.
If the code returns within 24 hours, the thermistor needs replacement. It's a common, cheap fix available from Hisense parts distributors.
For E4 (pump model only), turn off the unit. Pull the bucket. Check the pump inlet screen for hair or debris.
A clogged pump will never prime and will keep throwing the error.
No Power or Won't Turn On
When the display is completely dark and nothing happens when you press the power button, start with the simplest check: the outlet. The DH7019KP draws around 6 amps. It often trips GFCI outlets in basements or garages.
Press the reset button on the GFCI. If that doesn't work, test the outlet with a known working lamp.
Next, inspect the power cord for damage. Focus near the plug where bending stress occurs. A frayed cord won't let power through.
Replace the cord if damaged. Match the exact wire gauge per the manual.
If the outlet is fine and the cord looks good, the internal fuse or thermal fuse may have blown. This requires opening the unit. Opening it voids the warranty unless you're an authorized technician.
For most owners, the smart move is to contact Hisense support at 1-888-935-8880. They'll walk you through warranty service if the unit is still covered.
One trick: try plugging the unit into a non-GFCI outlet if possible. Some GFCI outlets are overly sensitive and nuisance-trip the dehumidifier. If it starts on a different circuit, you've found the issue.
Bucket Full Light Stuck or False Alarm
This is one of the most frequent complaints on the DH7019KP. The bucket full light flashes even though the bucket is empty. Or the unit shuts off prematurely.
The culprit is almost always the float switch.
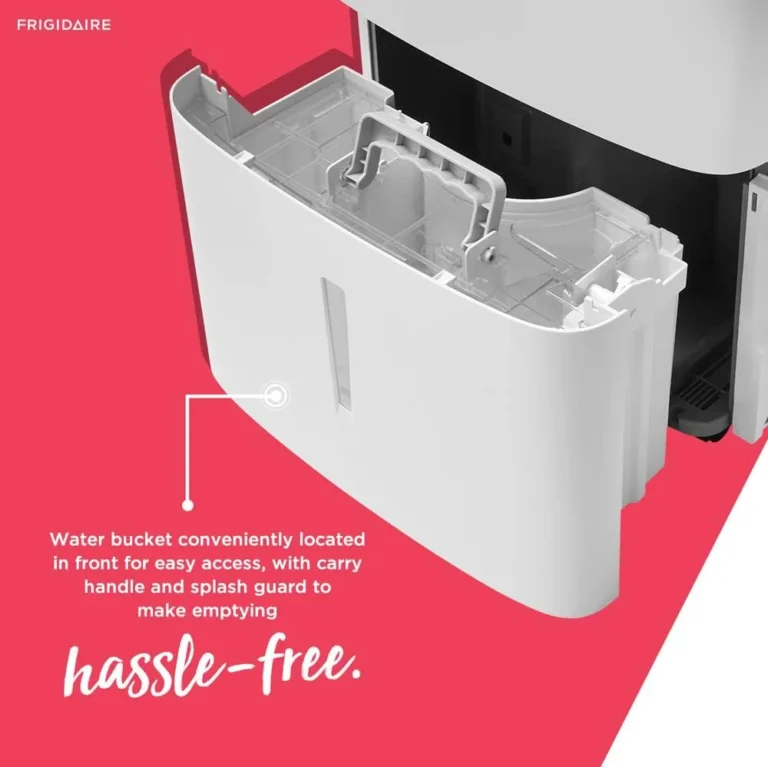
The float switch is a small plastic arm inside the bucket compartment. When the bucket fills with water, the float rises and hits a microswitch. That tells the unit to stop.
If the float gets stuck (often from a drop of water that freezes or a bit of dust), it stays in the up position. The machine thinks the bucket is full.
Here's the fix:
- Unplug the dehumidifier for safety.
- Remove the bucket completely.
- Look inside the bucket cavity for a small white or black plastic float.
- Gently push the float down and let it spring back up a few times to free it.
- While you're there, clean the bucket rim and the float pin with a damp cloth.
- Reinstall the bucket and plug the unit back in.
If the light stays off, you're done. If it still flashes, the microswitch itself may be faulty. It's a part that costs under $10 and snaps into place.
You can find the replacement part by searching the DH7019KP parts diagram on the Hisense support site.
Runs But No Water Collected (Continuous Drain & Pump Issues)
This is the second-most common headache. The fan runs. The compressor hums.
But the tank stays dry. Nine times out of ten, the problem is in the drain path. Either a blocked gravity drain hose or a failing pump.
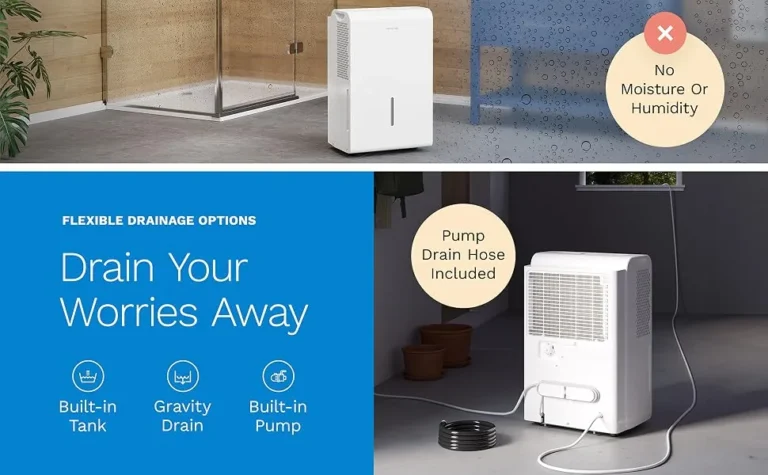
Check the bucket first. Even if you're using continuous drain, the bucket must be properly seated. The rubber plug in the bucket's drain port must be removed. If that plug is still in place, water can't exit.
The unit shuts off as if the bucket is full.
Now examine the gravity drain method:
- The DH7019KP uses a 5/8-inch barb fitting for the drain hose.
- If you're running a hose, make sure it slopes downward continuously. Any low spot or kink creates an air lock.
- Blow through the hose. If you feel resistance, it's clogged. Flush it with warm water or a pipe cleaner.
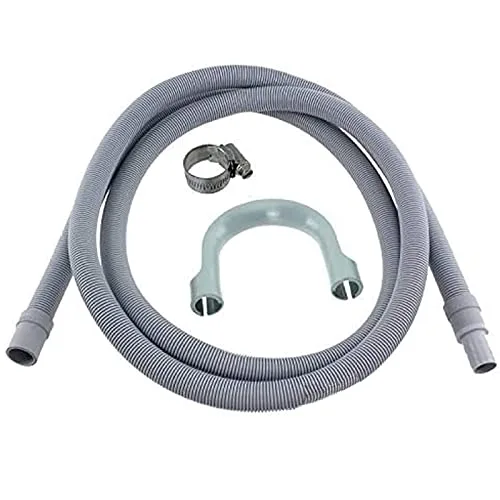
Image source: Bing (Web (fair-use with source credit))
For pump-model owners (confirm yours has a pump):
- The pump may not be priming if the drain hose is too long or too high. The pump can push water up to about 15 feet vertically. Anything beyond that, and it won't discharge.
- Listen for a clicking noise when the water level hits the pump pickup. That's the pump activating. No click means the float inside the pump reservoir is stuck.
- Clean the pump inlet filter. It's a small mesh screen inside the bucket well. Debris blocks water from entering the pump.
If water still doesn't collect after these checks, the compressor may not be cooling. Run the unit on low fan in a warm room above 65°F. If the intake air doesn't feel cooler after five minutes, the compressor or capacitor could be failing.
That's a service call or warranty claim.
Leaks, Strange Noises, or Ice Buildup
Water pooling around the base of your DH7019KP usually means a cracked bucket, a loose drain connection, or a blocked condensate drain pan. Start by removing the bucket and checking for cracks. Look inside and along the bottom seam.
Even a hairline crack will cause a slow leak. If the bucket is fine, inspect the drain hose connection at the back of the unit. A loose or cross-threaded fitting lets water escape before it reaches the hose.
Strange noises fall into three categories. A clicking sound every few minutes is normal. That's the compressor relay or defrost cycle.
A high-pitched whine points to a failing fan motor or debris caught in the fan blade. A rattling noise usually means the compressor mounts have loosened or the unit isn't level. Place a spirit level on top of the dehumidifier.
Adjust the caster wheels so the unit sits flat.
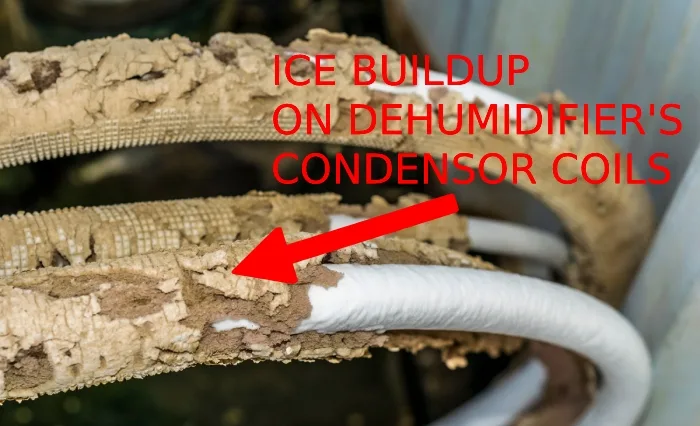
Ice buildup on the coils is a sign that the unit is running in a space below 65°F. Or the defrost sensor has failed. The DH7019KP has an auto-defrost cycle.
But if the coils stay frozen for more than 20 minutes, unplug the unit and let it thaw completely. Then check the air filter. A clogged filter restricts airflow and causes freezing.
Clean the filter, raise the room temperature, and restart. If ice returns, the defrost thermistor (E1 error code) likely needs replacement.
5 Common Mistakes That Make Troubleshooting Worse
1. Plugging the unit into a power strip or extension cord. The DH7019KP draws nearly 700 watts. An undersized cord drops voltage.
That starves the compressor and can cause premature failure. Always plug directly into a wall outlet.
2. Using continuous drain without removing the bucket plug. This is the number one reason water never makes it to the hose. The rubber plug inside the bucket must be pulled out for gravity drain to work.
3. Running the unit in a room below 41°F. The compressor can't pull moisture from freezing air. The coils will ice over repeatedly.
The manual states an operating range of 41°F to 95°F. If your basement stays colder, consider a different dehumidifier designed for low-temperature use. For help finding the right model, check out our best dehumidifier guide.
4. Ignoring the filter for months. A dirty filter restricts airflow and makes the unit work harder. It also leads to ice buildup and shorter compressor life.
Clean the filter every two to four weeks during continuous use.
5. Forgetting to empty the bucket when using pump mode. The pump only activates when the water level inside the unit reaches a certain point. If you leave the bucket in place with the plug installed, the pump will never prime.
Remove the bucket and seal it off per the manual instructions for continuous pump drain.
Frequently Asked Questions
Why does my Hisense DH7019KP keep flashing E2?
E2 indicates a humidity sensor issue. First, clean the sensor gently with a dry cloth. It sits near the display board.
If the code returns, the sensor board may need replacement. A power cycle (unplug 10 minutes) sometimes clears a temporary glitch.
Can I use a garden hose for continuous drain?
Yes, but you need the correct adapter. The DH7019KP uses a 5/8-inch barbed fitting. Standard garden hoses are larger and won't seal without a reducer.
Use the hose recommended in the manual to avoid leaks.
How often should I clean the filter?
Clean the washable filter every two to four weeks. Clean it earlier if you see visible dust buildup. In a dusty basement, weekly cleaning keeps airflow strong and prevents freezing.
The unit runs but the room isn't drying. What's wrong?
Check the humidity reading on the display. If it shows a lower number than the actual room, the sensor may be off. Run the unit on manual continuous mode (humidity set to 30%) for 24 hours.
If the room still feels damp, the compressor may be undercharged or the fan speed is too low.
Is the DH7019KP good for a cold basement?
Only if the basement stays above 41°F. Below that temperature, the compressor loses efficiency. The defrost cycle runs too often.
For colder spaces, consider a low-temperature dehumidifier with a built-in heater. For more guidance on choosing the right model, check out our best dehumidifier for basement recommendations.
Where can I find the official manual or parts?
The full user manual and parts diagrams are available on the Hisense USA support site. Search "DH7019KP manual" and look for the PDF. For replacement parts like thermistors or float switches, order directly through authorized Hisense distributors.