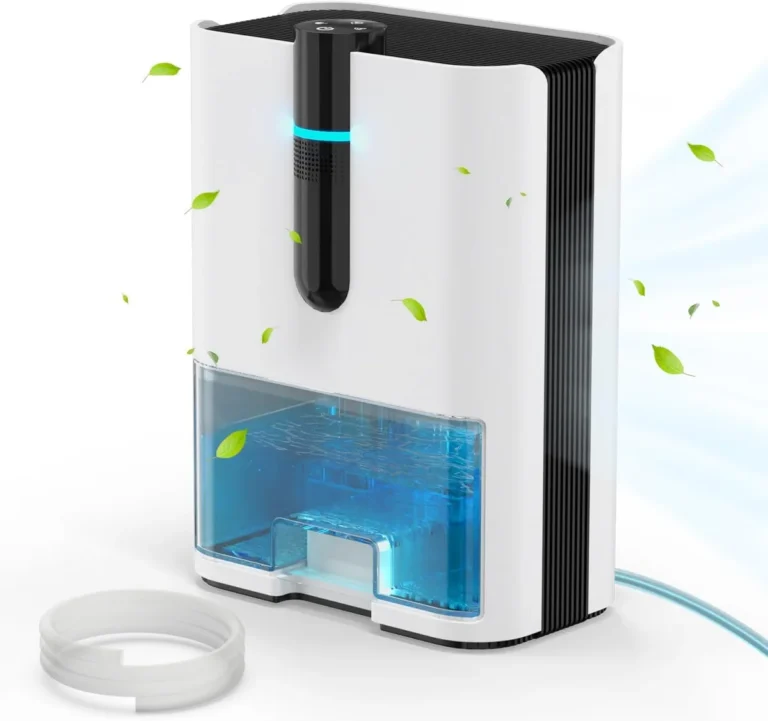
How to Remove Dust From a Dehumidifier
Learning how to remove dust from a dehumidifier is one of the simplest ways to keep your unit running efficiently and your home's air clean. A dusty dehumidifier works harder, uses more electricity, and can even blow allergens back into the room. The good news is you can handle the cleaning yourself in about 15 minutes with basic household tools.
Manufacturer specifications indicate that a clogged filter can reduce airflow by 30 percent or more, which directly impacts how much moisture the unit pulls from the air. As of 2026, most major dehumidifier brands recommend cleaning the filter every two to four weeks during heavy use. Let's walk through exactly what to do.
Quick Answer
Unplug the dehumidifier. Remove the front grille. Take out the filter.
Vacuum or rinse it. Let it dry completely. Reinstall it.
For deeper cleaning, brush the coils gently. Wipe the interior with a dry cloth. Never use water near electrical parts.
Clean the filter every two to four weeks.
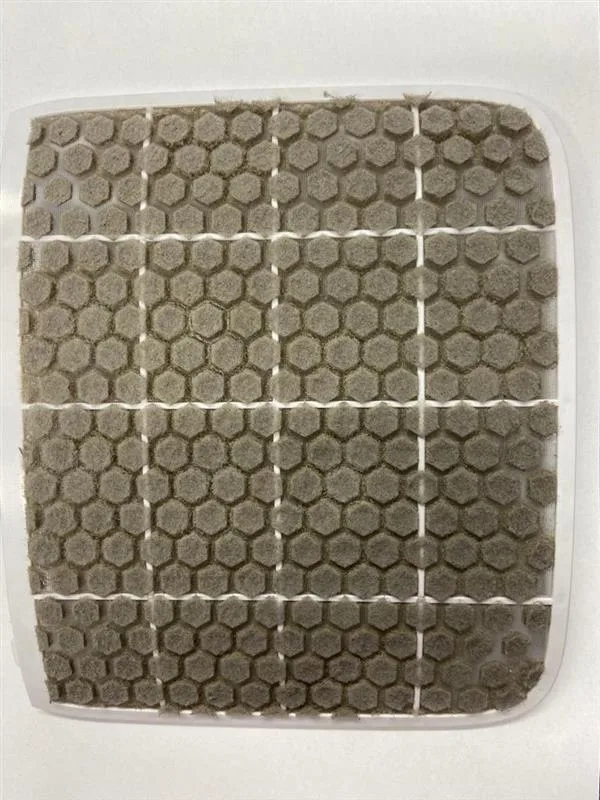
Image source: Bing (Web (fair-use with source credit))
Why Dust Is Your Dehumidifier's Worst Enemy
Dust might seem harmless, but inside a dehumidifier it causes real problems. The filter is your first line of defense. It catches airborne particles before they reach the internal components.
When that filter gets clogged, airflow drops fast.
Here is what happens when dust builds up:
- Airflow drops. The fan has to work harder to pull air through a blocked filter. Less air moving across the coils means less moisture gets removed.
- Energy use climbs. The compressor runs longer to hit your humidity target. Aggregate reviews report that a dirty filter can increase energy consumption by 15 to 25 percent.
- The compressor strains. Restricted airflow forces the compressor to run hotter. Over time, this can shorten the life of the unit.
- Dust bypasses the filter. If the filter is too dirty to trap particles, dust sneaks past and lands on the coils. That creates a layer of insulation that makes the coils less effective at condensing moisture.
- Allergens recirculate. A dusty dehumidifier can push mold spores, pet dander, and fine dust right back into your living space. The EPA's indoor air quality guidelines confirm that keeping appliances clean is a key step in managing indoor allergens.
A clean dehumidifier pulls out more moisture, uses less power, and lasts longer. A dusty one does the opposite.
The Two Paths: Quick Filter Clean vs. Deep Interior Clean
Not every cleaning session needs to be a full teardown. Here is how to decide which path is right for you.
Path one: Quick filter clean. This is your routine maintenance. It takes about 10 minutes. You only need to remove the filter, clean it, dry it, and put it back.
Do this every two to four weeks during regular use. If you notice the unit is running constantly or the humidity level in the room is creeping up, that is a sign the filter needs attention.
Path two: Deep interior clean. This is for when dust has already made it past the filter. Signs you need a deep clean include:
- A musty smell coming from the unit
- Visible dust or debris on the coils
- Frost forming on the coils (common with restricted airflow)
- Reduced water collection despite the unit running all day
- The unit has not been cleaned in several months
If you are dealing with a basement unit that runs almost constantly, you will likely need a deep clean every three to four months. For units in drier spaces, once or twice a year is enough. For those shopping for a new unit, models with easy-access filters make both paths much simpler.
Basement-specific units often have larger coils and need more frequent cleaning anyway, so easy access matters.
The decision is straightforward. If it has been less than a month and the filter is the only visible dust, take path one. If you see dust on the coils or smell a musty odor, take path two.
Step-by-Step: Cleaning Your Dehumidifier Filter
This is the bread and butter of dehumidifier maintenance. Follow these steps in order.
What you will need: A vacuum with a soft brush attachment, a microfiber cloth, and access to a sink or hose if your filter is washable.
Step 1: Unplug the unit. This is non-negotiable. Water and electricity do not mix, and you will be working near both.
Step 2: Remove the front grille. Most dehumidifiers have a snap-on or screw-on front panel. Check your manual if it does not come off easily. Some units have a filter access door on the top or side.
Step 3: Take out the filter. Slide it straight out. Handle it gently. If it is a disposable filter, check the manufacturer's recommended replacement schedule.
Most disposable filters need swapping every three to six months.
Step 4: Clean the filter. If it is a washable filter, rinse it under lukewarm running water. Do not use soap or detergent. Gently rub the surface with your fingers to loosen trapped dust.
If it is a disposable filter, do not rinse it. Use the vacuum with the brush attachment to remove surface dust.
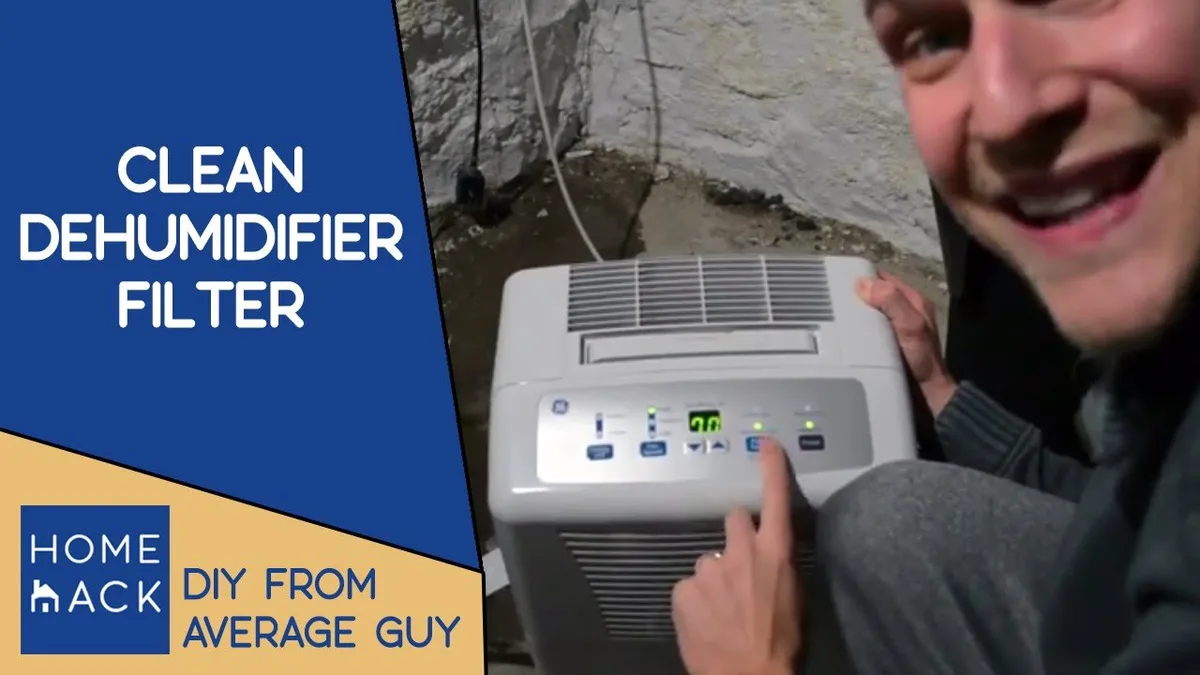
Image source: Bing (Web (fair-use with source credit))
Step 5: Dry the filter completely. Shake off excess water. Set the filter upright on a towel and let it air dry. This takes two to four hours.
Do not put it back wet. A wet filter traps new dust faster and can grow mold.
Step 6: Reinstall everything. Slide the dry filter back in. Snap the grille back on. Plug the unit in and turn it on.
Ten minutes of work, and your dehumidifier breathes free again.
Step-by-Step: Cleaning the Coils and Interior (When You Need To)
If the filter alone is not enough, you need to clean the coils. This takes a bit more care, but it is still a DIY job.
What you will need: A soft-bristle brush (like a paintbrush or a dedicated coil cleaning brush), a vacuum with a crevice tool, compressed air (optional), and a microfiber cloth.
Step 1: Unplug the unit and remove the filter. Follow the same steps from the filter cleaning section above. You need full access to the interior.
Step 2: Remove the front grille and any protective covers. Some units have a plastic shroud covering the coils. Remove it carefully. Screws are usually Phillips head.
Step 3: Inspect the coils. Look for dust, pet hair, and debris packed between the fins. The coils are thin metal slats that look like a radiator. Your goal is to clean the gaps between them.
Step 4: Dust the coils. Use the soft-bristle brush to gently sweep dust off the coil surface. Brush in the direction of the fins, not against them. The fins are fragile and bend easily.
Bent fins restrict airflow even more than dust does.
Step 5: Vacuum loosened debris. Use the crevice tool to suck up the dust you just brushed loose. Be careful not to poke the fins with the vacuum nozzle.
Step 6: Use compressed air for tight spots. If you have a can of compressed air, blow it through the coils from the back side. This pushes dust out the front. Do this outside to avoid blowing dust around your room.
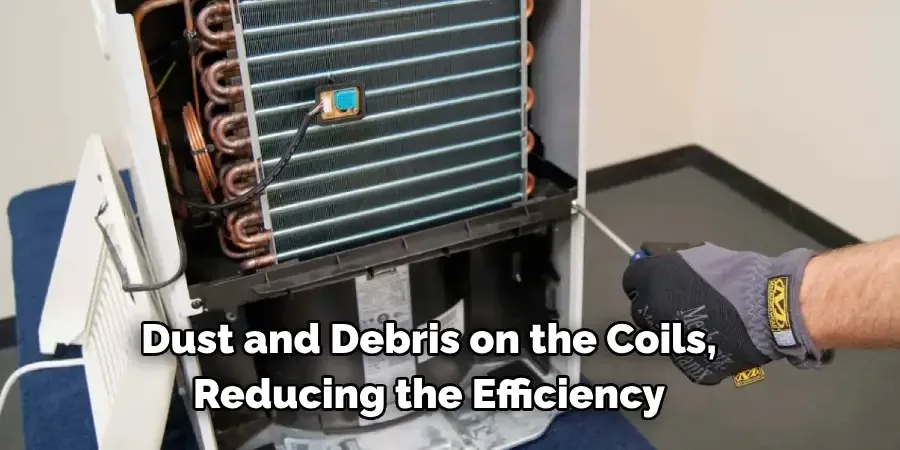
Image source: Bing (Web (fair-use with source credit))
Step 7: Wipe the interior. Use a dry microfiber cloth to wipe down the inside of the unit. Pay attention to the bottom tray where water collects. If there is mold or slime, wipe it clean.
Do not spray water directly into the unit.
Step 8: Let everything dry. Reassemble only after all components are dry. Plug the unit back in and run it.
A deep clean like this takes about 30 minutes. Your dehumidifier will perform better with fewer musty smells.
5 Common Mistakes That Can Ruin Your Dehumidifier
Even well-intentioned cleaning can go wrong. Here are the mistakes we see most often in aggregate user feedback.
1. Cleaning while the unit is plugged in. This is the biggest safety risk. Always unplug the dehumidifier before you touch anything inside.
Water drips, brushes slip, and it only takes a moment.
2. Using water near electrical components. The coils and fan are safe to brush, but the control board, wiring, and motor are not. Never spray water or cleaning solution directly into the unit.
Damp cloth only, and keep it away from electronics.
3. Bending the coil fins. The aluminum fins on the coils are delicate. If you brush too hard or use a metal tool, you will bend them.
Bent fins block airflow and reduce efficiency. Use a soft brush and go gently.
4. Putting a wet filter back in. A wet filter traps dust almost instantly and becomes a breeding ground for mold. Always let the filter air dry completely before reinstalling it.
Plan for two to four hours of drying time.
5. Skipping the filter and only cleaning the coils. If you clean the coils but leave a dirty filter in place, you are just creating more work. The filter is the first line of defense.
Clean it first and clean it often. A clean filter means you will need to clean the coils far less frequently.
How Often Should You Clean It? (And How to Remember)
There is no one-size-fits-all answer, but manufacturer specifications support a solid baseline. Clean the filter every two to four weeks during active use. Deep clean the coils every three to four months in normal conditions.
If/then rules help you adapt. If the unit runs daily in a damp basement, clean the filter every two weeks. If it only runs a few hours a week, once a month is fine.
If you have pets, move to the shorter end of the range. Pet hair clogs filters fast.
The easiest way to remember is to pair the task with an existing routine. Clean the dehumidifier filter when you change your HVAC filter. Or set a monthly phone reminder.
Many newer units have a filter check light, which makes the timing obvious.
| Situation | Filter cleaning | Deep cleaning |
|---|---|---|
| Basement or crawl space | Every 2 weeks | Every 2 months |
| Normal home use | Every 3-4 weeks | Every 3-4 months |
| Storage between seasons | Before each use | Once per season |
Mark the first of the month on your calendar. Every first Saturday, unplug the unit, rinse the filter, and wipe the bucket. Fifteen minutes of routine prevents a full coil cleaning later.
Frequently Asked Questions
Can I use soap or detergent to clean my dehumidifier filter?
No. Lukewarm water alone is enough for washable filters. Soap residue can coat the filter and trap more dust.
Strong detergents may also damage the filter material. Rinse thoroughly and let the filter air dry completely before reinstalling.
What happens if I never clean my dehumidifier?
Airflow drops, the compressor works harder, and your energy bill rises. Moisture removal slows down. Dust and mold spores can also blow back into the room, making allergy symptoms worse.
In severe cases, the compressor can overheat and fail completely.
Can I vacuum the coils instead of brushing them?
Yes, but use a soft brush attachment and go gently. A crevice tool can bend the delicate coil fins, and bent fins block airflow. Vacuuming pulls loose dust out on its own.
Brushing first loosens the debris so the vacuum can catch it more effectively.
The unit still smells musty after cleaning. What now?
The smell usually means moisture is sitting in the water bucket or the internal drip tray. Wipe both with a dry cloth. Leave the bucket out for a few hours to air dry.
If the odor persists, mold may be growing deep inside, which needs professional servicing.
How do I know if my filter needs replacing?
If the filter is disposable, check your owner's manual for the recommended interval. Most disposable filters last three to six months. If a washable filter shows visible thinning, tears, or keeps clogging right after cleaning, replace it with a manufacturer-approved part.