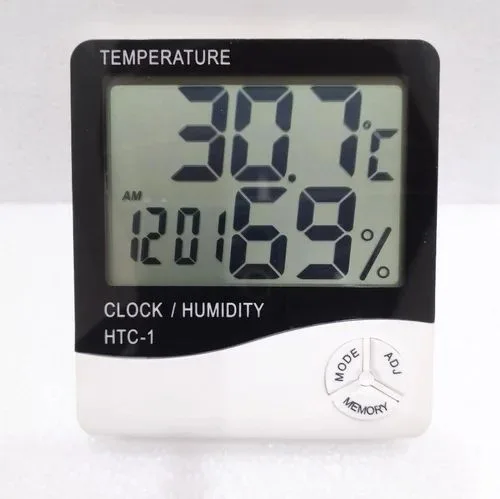
Can a Hygrometer Measure Greenhouse Humidity
If you’ve ever set up a greenhouse and wondered whether the plants are getting the right humidity, you’re not alone. The question of whether a hygrometer can measure greenhouse humidity is one of the first things new growers ask. The short answer is yes, but the real trick is doing it right.
Per NIST standards, relative humidity sensors need proper placement and occasional calibration to stay accurate. Understanding that upfront saves you from chasing false readings. Let’s walk through exactly what works, what doesn’t, and how to get reliable numbers every time.
Quick Answer
Yes, a hygrometer measures greenhouse humidity. It senses relative humidity in the air. That tells you how much moisture is present.
But greenhouses have temperature swings, condensation, and uneven airflow. Those factors can throw off readings. A standard hygrometer works, but only if you place it well and keep it calibrated.
For most growers, a digital hygrometer with a capacitive sensor is the best bet.
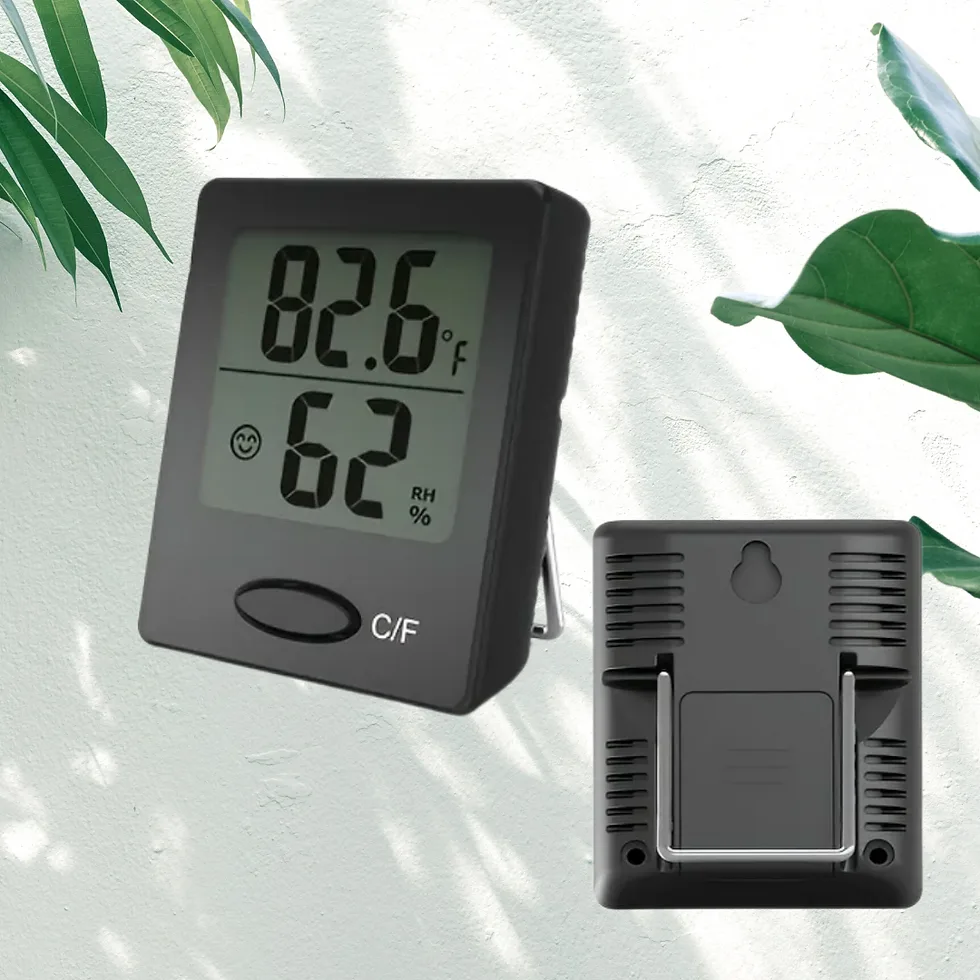
Image source: Bing (Web (fair-use with source credit))
The Decision Tree: Choosing the Right Hygrometer for Your Greenhouse
Not all hygrometers are built the same. The one that works in your living room might fail in a greenhouse. Here’s how to pick the right type based on your setup.
Analog vs. Digital: Which One Actually Works?
Analog hygrometers are the old-school dials with a metal spring inside. They’re cheap and easy to read. But they drift over time.
Many analog units lose accuracy within a few months, especially in consistently high humidity. If you use one, you’ll need to recalibrate it every 30 days with a salt test. That’s a hassle.
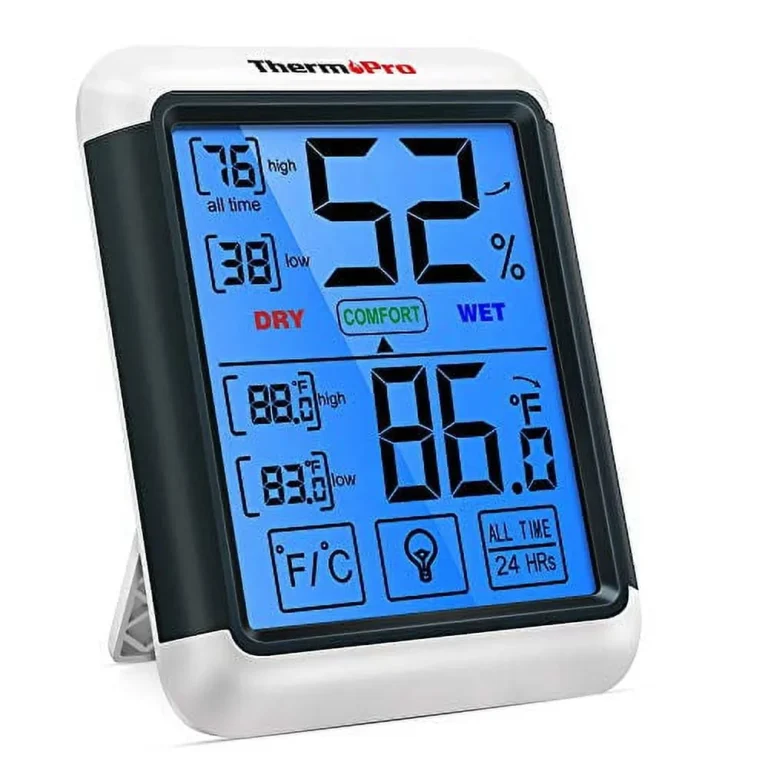
Digital hygrometers use a capacitive or resistive sensor. They’re more accurate right out of the box. Most models stay within ±2, 3% RH for a year or more.
They cost a bit more upfront, but they save you from guessing. For a greenhouse, go digital. It’s the safer choice.
Smart vs. Standalone: Do You Need Wi-Fi?
Smart hygrometers connect to your phone via Bluetooth or Wi-Fi. They log data over time and send alerts when humidity spikes or drops. If you’re away from your greenhouse often, that’s a huge help.
You can see overnight humidity trends without walking out there.
Standalone units just show the current reading. They’re cheaper and simpler. No batteries to replace on a phone app.
No risk of losing connection. If you’re in the greenhouse every day, standalone is fine. If you travel or have a second job, spring for a smart model.
It pays for itself in peace of mind.
Sensor Type: Capacitive vs. Resistive vs. Wet/Dry Bulb
| Sensor Type | Accuracy | Lifespan | Best for Greenhouses? |
|---|---|---|---|
| Capacitive | ±2–3% RH | 2–3 years | Yes, handles condensation well |
| Resistive | ±3–5% RH | 6–12 months | Okay, but drifts faster |
| Wet/dry bulb | ±1% RH (if done right) | N/A | Bulky, requires manual reading |
Capacitive sensors are the clear winner for greenhouses. They resist corrosion from high humidity and last longer. Resistive sensors are cheaper but degrade faster.
Wet/dry bulb setups are the most accurate, but they’re impractical for everyday use. Stick with a digital capacitive hygrometer.
Placement Is Everything: Where to Put It (And Where Not To)
You can buy the best hygrometer on the market, but if you hang it in the wrong spot, the data is worthless. Greenhouse microclimates vary wildly. A reading 6 inches away can be completely different.
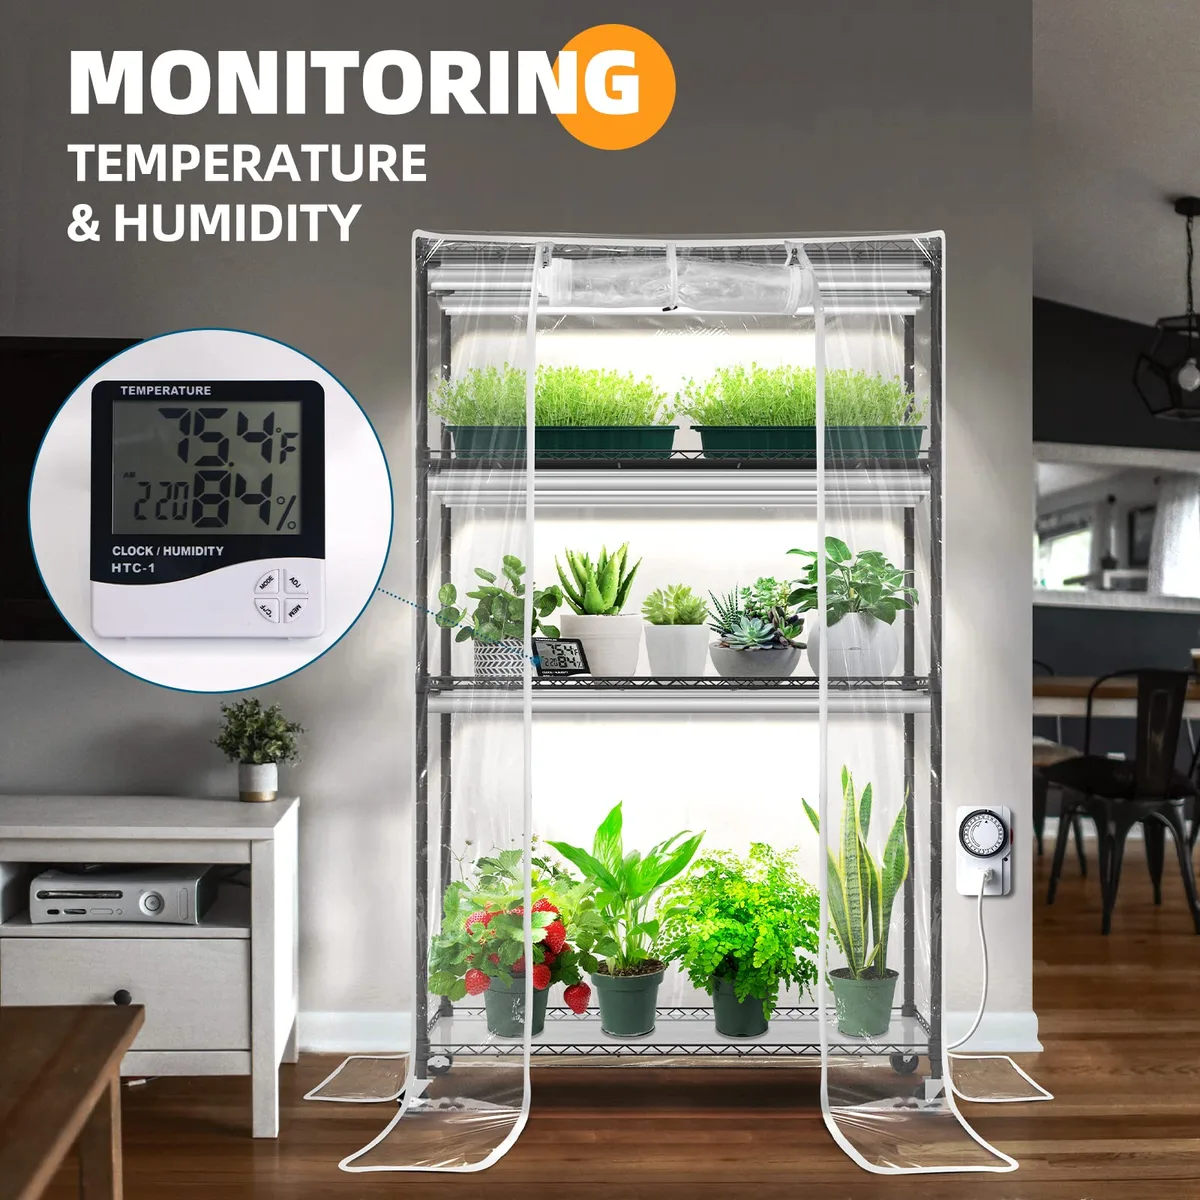
Image source: Bing (Web (fair-use with source credit))
Canopy Height vs. Bench Level
Place the sensor at the same height as your plants’ leaves. That’s where the humidity actually matters. If you put it at bench level, it might read lower because the ground is cooler and drier.
If you hang it at the roof peak, it’ll read higher from rising moist air. The difference can be 10, 15% RH or more. That’s enough to make you vent when you shouldn’t, or mist when you don’t need to.
Avoiding Direct Sun, Vents, and Misting Heads
Direct sunlight heats the sensor housing. That makes it read lower than the actual air humidity. Keep it shaded.
Mount it under a leaf or in a shaded corner. Also, don’t put it right next to a vent or fan. Air movement dries out the sensor surface instantly.
Same goes for misting nozzles. If water hits the sensor directly, it’ll read 100% RH until it dries out. That false spike can trigger unnecessary ventilation.
The Condensation Trap: Why Your Sensor Might Be Lying
When the greenhouse cools down at night, moisture condenses on surfaces. If your hygrometer gets wet, the sensor can’t tell the difference between liquid water and water vapor. It’ll show 99% RH even if the air is actually drier.
This is the most common problem with budget hygrometers. Look for a model with a weather-resistant housing or a protective cover. If you see condensation on the sensor itself, wipe it dry and move it to a spot with better airflow overnight.
Calibration: How to Know If Your Hygrometer Is Telling the Truth
Even the best sensors drift over time. A drift of 5% RH can lead to mold problems or stunted growth. Calibration is the only way to be sure.
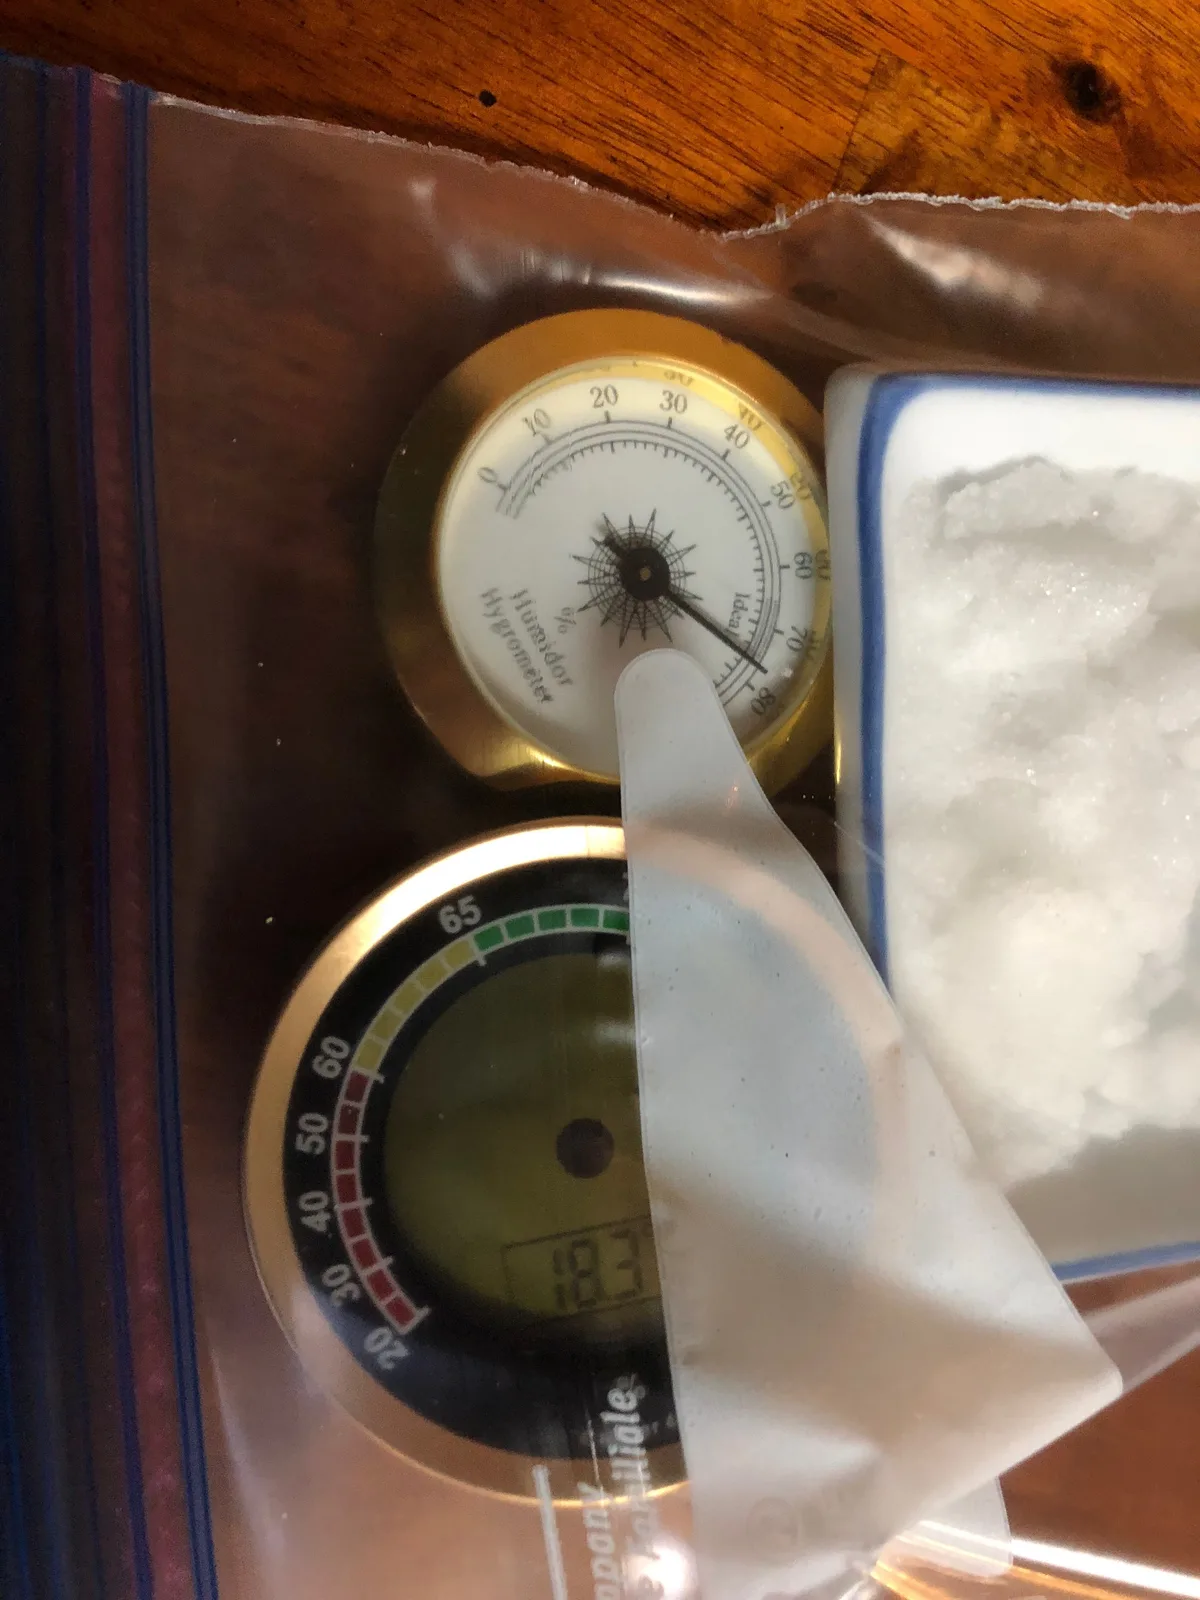
Image source: Bing (Web (fair-use with source credit))
The Salt Test Method (Step-by-Step)
You don’t need special equipment. Here’s the standard method used by most growers and labs.
- Get a small mason jar or a ziplock bag.
- Put a tablespoon of table salt in a bottle cap or small dish.
- Add a few drops of water to the salt to make it wet, not saturated.
- Place the hygrometer and the wet salt dish inside the jar or bag.
- Seal it tight. Wait 6 to 12 hours.
- After that, the air inside the bag should be 75.3% RH (the equilibrium point of salt).
- Read your hygrometer. If it doesn’t show 75.3%, adjust it (if it has a calibration dial) or note the offset.
If your hygrometer doesn’t have a calibration adjustment, you can still use it. Just remember the offset. For example, if it reads 72% in the test, your actual humidity is about 3% higher.
How Often to Recalibrate
Once a year is enough for most digital hygrometers. If you’re in a very humid greenhouse, do it every six months. Analog units need it monthly.
Mark your calendar. It’s a 10-minute task that saves you from weeks of guessing.
What to Do When You Can’t Calibrate a Cheap Unit
Some budget hygrometers have no calibration option. If the test shows a big error (more than 5% RH), replace it. The data is not reliable enough to manage a greenhouse.
Better to spend $15 on a new one than to lose a crop because of bad readings.
Using the Readings: What the Numbers Actually Mean for Your Plants
Now you have accurate numbers. Great. But what do you do with them?
Humidity alone isn’t enough. You need to pair it with temperature to understand plant stress.
Target Ranges for Seedlings, Veg, and Flowering
| Growth Stage | Relative Humidity (RH) | Why |
|---|---|---|
| Seedlings / Propagation | 65–80% | Reduces water loss through leaves |
| Vegetative growth | 55–70% | Encourages leaf expansion |
| Flowering / Fruiting | 40–55% | Prevents bud rot and mold |
| Late flowering (some crops) | 35–45% | Maximizes resin and reduces risk |
These are general targets. Check your specific crop’s needs. For example, tropical plants like orchids prefer higher RH throughout.
Succulents and cacti want it lower. Adjust accordingly.
Converting RH to VPD (And Why It Matters)
Relative humidity is only part of the story. The same RH at different temperatures creates different plant stress levels. Vapor pressure deficit (VPD) combines temperature and humidity into one number.
It tells you how hard the plant has to work to pull water from the soil.
A VPD of 0.8, 1.2 kPa is ideal for most plants. Below 0.6 kPa, transpiration slows down, risking mold. Above 1.5 kPa, the plant closes its stomata and stops growing.
You can find VPD calculators online. Just plug in your temperature and RH. University of Florida IFAS extension has a good guide on VPD management for greenhouses.
Once you start using VPD, you’ll trust your hygrometer readings even more.
When to Vent, When to Mist, When to Worry
- Vent when humidity stays above 70% for more than a few hours during the day, especially if the temperature is warm. That’s a recipe for powdery mildew.
- Mist when humidity drops below 40% and the temperature is over 85°F. Misting also cools the air.
- Worry when you see a sudden spike in humidity at night without a temperature drop. That could mean a leak, a broken irrigation line, or a dead plant releasing moisture.
Common Mistakes That Ruin Greenhouse Humidity Readings
Even experienced growers make these errors. Here’s what to watch for.
The One Sensor Trap
A single hygrometer can’t capture your whole greenhouse. The humidity at the door is different from the corner near the misting bench. The shaded side reads differently from the sunny side.
If you only have one sensor, you’re guessing. Use at least two sensors in a small greenhouse. For a large one, use three or more.
Place them at different spots and compare readings.
Ignoring Temperature Swings and Nighttime Spikes
Greenhouse temperatures can drop 20°F at night. That changes the relative humidity dramatically. A reading of 60% RH at 80°F jumps to 90% RH at 60°F, even though the air holds the same amount of water.
If you only check during the day, you miss the nighttime spike. Use a hygrometer that tracks min and max readings. Or use a smart logger that records data around the clock.
Letting the Sensor Get Wet
We covered this in placement, but it bears repeating. Wet sensors lie. If your hygrometer gets sprayed by a misting system or soaked by condensation, the reading is useless until it dries.
Some cheap sensors fail permanently after getting wet. If yours gets soaked, replace it. Consider a sensor with a protective housing rated for humid environments.
Decision Guide: Quick Table for Your Greenhouse Setup
Here’s a cheat sheet to help you choose based on your situation.
| Scenario | Recommended Setup | Why |
|---|---|---|
| Small hobby greenhouse, visited daily | 1 digital capacitive hygrometer, standalone | Simple, cheap, accurate enough |
| Medium greenhouse, weekend visits | 1 smart hygrometer with data logging | Lets you check trends remotely |
| Large commercial greenhouse | 3+ smart sensors, integrated with VPD controller | Full coverage, automated venting |
| High-humidity crops (tropicals, mushrooms) | Capacitive sensor with weather-resistant housing | Handles constant moisture |
| Low-humidity crops (cacti, succulents) | 1 digital hygrometer, standalone | Less critical, but still useful |
Cost vs. Value
| Type | Price Range | Lifespan | Maintenance |
|---|---|---|---|
| Analog dial | $5–$15 | 1–2 years | Calibrate monthly |
| Digital standalone | $10–$30 | 2–3 years | Calibrate yearly |
| Smart hygrometer | $20–$60 | 2–4 years | Calibrate yearly, replace batteries |
| Multi-sensor system | $100–$300 | 3–5 years | Calibrate every 6 months |
The smart hygrometer often costs more upfront, but the data logging saves you time. For a serious grower, it’s worth the investment.
Frequently Asked Questions
Can I use a hygrometer meant for a house in a greenhouse?
Yes, but with caution. House hygrometers are not built for high humidity or condensation. They may fail within a few months.
If you use one, keep it out of direct mist and check it often. A digital capacitive model is more likely to survive.
Do I need more than one hygrometer?
In a small greenhouse under 100 square feet, one is fine. In larger spaces, use at least two. Place one near the center and one near a corner or door.
Compare readings. If they differ by more than 5% RH, you have a microclimate problem.
How do I know if my hygrometer is reading high or low?
Use the salt test to check accuracy. If it reads 75.3% RH in the test, it’s correct. If it reads 80%, it’s reading high.
If it reads 70%, it’s reading low. Note the offset and adjust your readings accordingly.
Is a hygrometer enough, or do I need a controller?
A hygrometer tells you the humidity. A controller acts on it. If you want automatic venting or misting, you need a controller that reads the hygrometer.
Many smart hygrometers can connect to controllers. If you’re just starting out, a hygrometer alone is enough. Add a controller later when you want automation.