Hisense Dehumidifier Leaking Water
If your Hisense dehumidifier leaking water is turning your basement into a puddle, you're in the right place. A leaking unit is one of the most common complaints owners run into, and the fix is often something you can handle yourself in five minutes. Before you panic or start shopping for a new machine, let's walk through what's actually happening.
Per U.S. Department of Energy test procedures, a standard 50-pint dehumidifier can pull up to 50 pints of moisture out of the air each day. That's a serious amount of water moving through the system.
When any part of that path gets blocked, broken, or misaligned, you get a leak. As of 2026, most Hisense models share the same basic internal layout, so this guide covers nearly every recent unit.
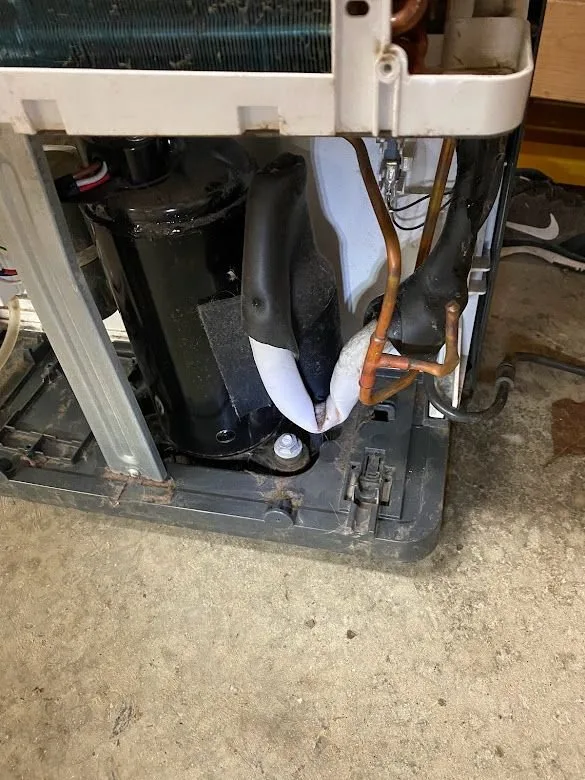
Image source: Bing (Web (fair-use with source credit))
Quick Answer
A Hisense dehumidifier leaks when the bucket, float switch, drain hose, or condensate tray fails. Check the bucket for cracks. Make sure the drain plug is seated.
Clear any hose clogs. Level the unit. Most leaks fix in minutes.
Is the Leak Coming From the Bucket, the Hose, or the Unit Itself?
The fastest way to fix a leaking dehumidifier is to figure out where the water is escaping. Look at the floor around the unit and trace the leak. Then use the table below to narrow it down.
| Water's Location | Most Likely Cause | Quick Check |
|---|---|---|
| Pooling under the bucket | Cracked bucket or stuck float switch | Wipe the bucket dry, inspect for hairline cracks |
| Trickling from the drain hose | Loose fitting or kinked hose | Tighten the clamp, check for bends |
| Dripping from the back or bottom | Ice on the coils or a clogged condensate tray | Open the front grille, look for frost |
| Running out the front near the bucket | Bucket not seated or float stuck | Reseat the bucket and press the float down |
Once you've spotted the source, move to the matching section below. If water is around the bucket, start with the next section. If water is following the hose, skip ahead to the continuous drain section.
For general dehumidifier care, the U.S. Department of Energy's energy saver guide is a solid reference. That if/then logic solves most cases quickly.
Bucket Leaks: Check the Float Switch, Gasket, and Cracks
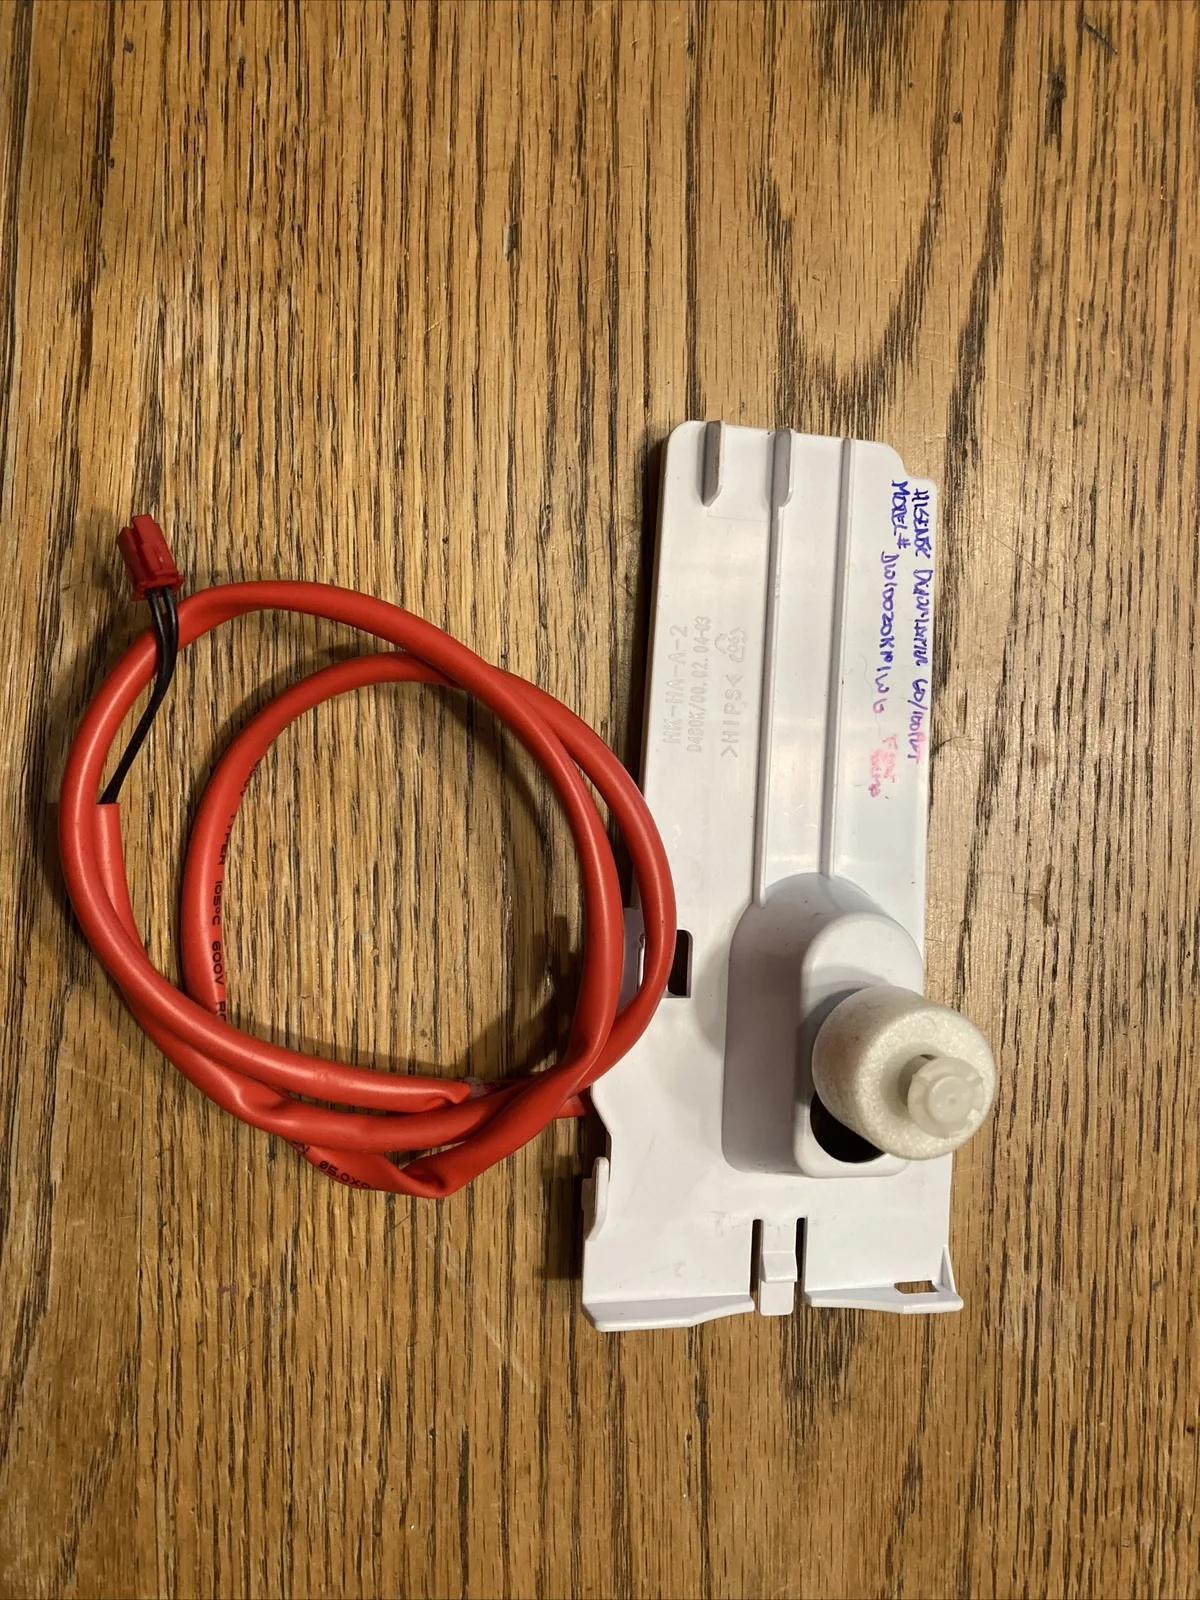
Image source: Bing (Web (fair-use with source credit))
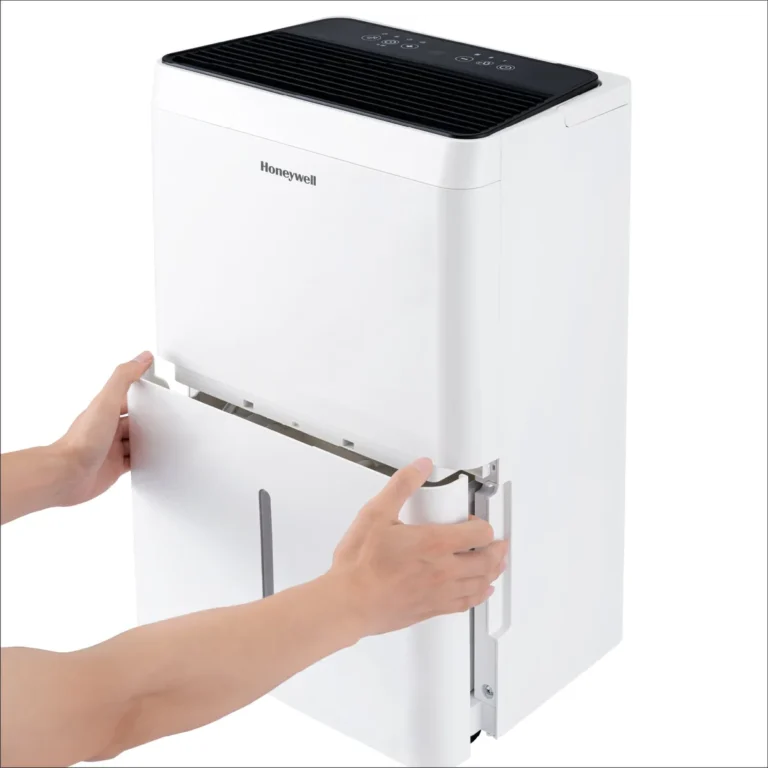
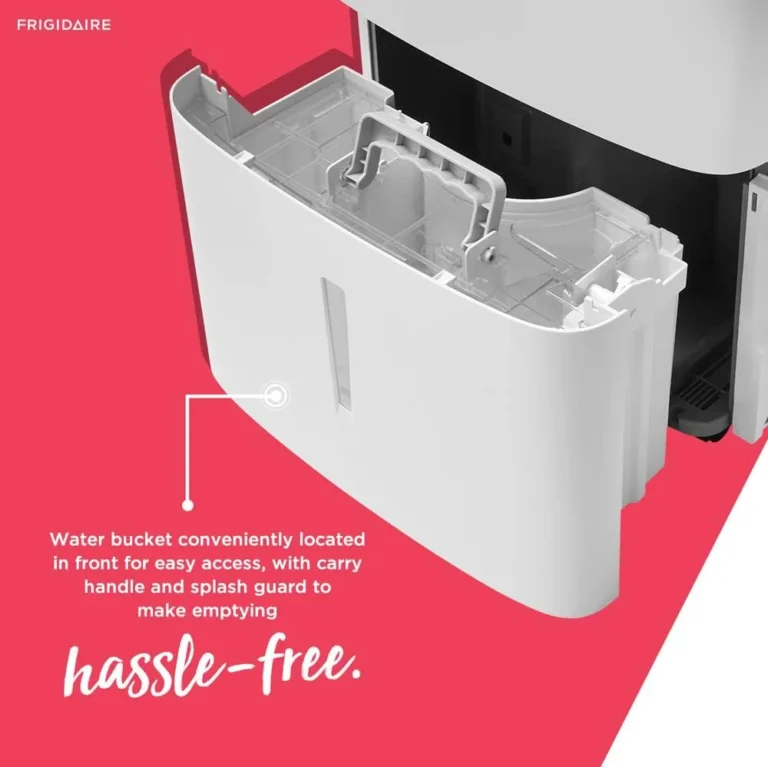
If water is pooling under the bucket, start here. The bucket area is the most common leak point on any dehumidifier, and Hisense models are no different.
Here's what to check:
- Unplug the unit and pull out the water bucket.
- Empty it, then dry it completely with a towel.
- Run your fingers along the bottom seams and corners. Look for hairline cracks that only open under water weight.
- Flip the bucket over. Find the rubber drain plug on the underside. If it's a gravity-drain model, the plug must be firmly seated. A loose or partially pushed-in plug lets water escape.
- Check the float switch, the small plastic piece that rises with the water level. Press it down and let go. If it sticks or moves slowly, debris may be blocking it.
- Look at the gasket where the bucket sits. A dirty or worn gasket lets water weep over the edge.
The bucket itself can warp from heat exposure. Place it on a flat surface to check for wobble. A warped bucket no longer seals against the gasket.
If the bucket is cracked, a replacement runs about $20 to $30. Check your model number before ordering. Don't try to glue a crack.
Water pressure will reopen it. If everything looks good, move on to the drain hose.
Continuous Drain Hose Leaks: Tighten, Clear, or Replace
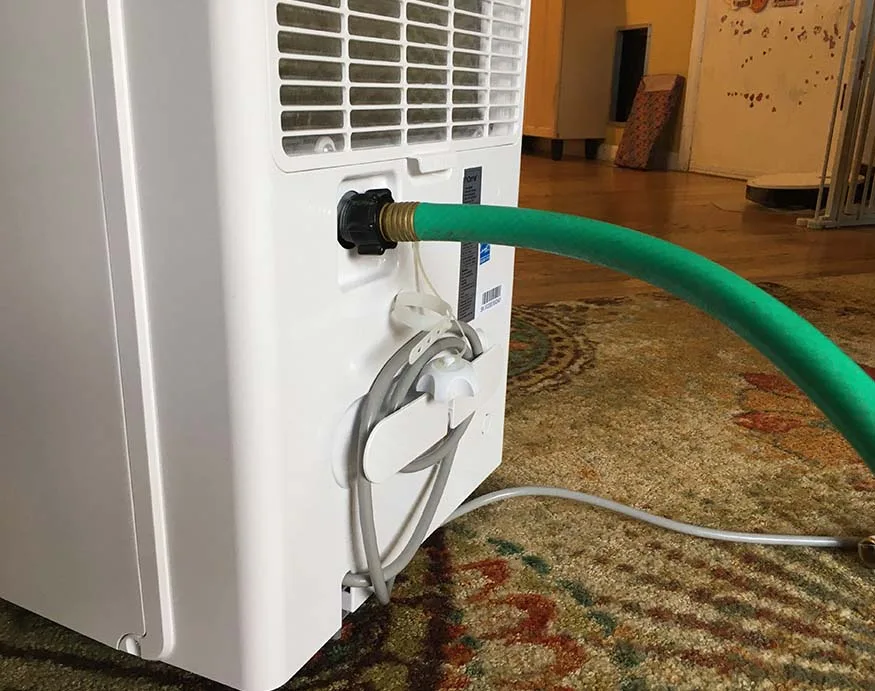
Image source: Bing (Web (fair-use with source credit))
If you use the continuous drain option, the hose connection is a prime leak spot. Fittings loosen over time. Hoses can also clog, causing water to back up and overflow the reservoir.
Here's how to fix it:
- Unplug the unit and detach the drain hose.
- Blow through the hose to check for clogs. A quick blast of air should pass easily.
- Inspect the rubber gasket inside the fitting. If it's cracked or flattened, replace it.
- Reattach the hose and tighten the clamp or nut firmly. Finger-tight is usually enough.
- Run the unit for 30 minutes and watch the connection.
Keep the hose sloped downward to the floor drain. Avoid using a hose longer than 15 feet, because gravity needs help. On pump models, also check the clear tubing inside the reservoir.
A blocked pump outlet can push water back out of the unit. If the hose is fine, the next suspect is the unit's internal drain path.
Leaks From the Back or Bottom: Frost, Clogs, and Tilt
Water that leaks from the back or bottom is trickier, but still fixable. Three things cause this: frost on the coils, a clogged condensate tray, or a unit that isn't level.
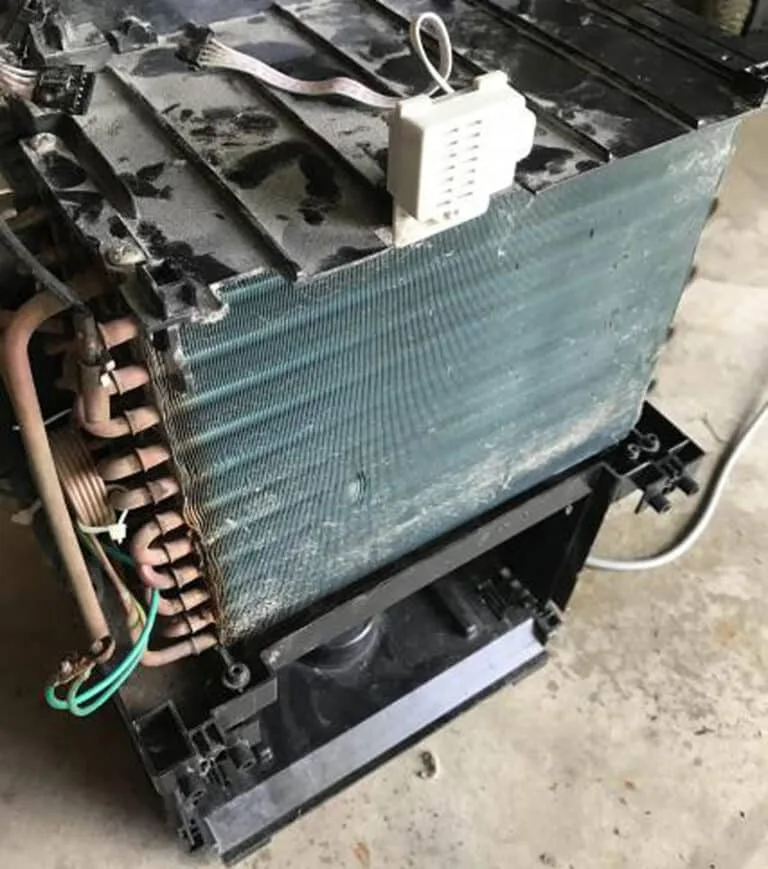
Frost happens when the room temperature drops below 41 degrees Fahrenheit. Ice forms on the coils, then melts and floods the tray. If you see frost on the cold surface behind the filter, clean the air filter and move the unit to a warmer spot.
Let the ice melt completely before running it again.
The condensate tray sits under the coils and catches water as it drips down. Over time, dust and debris can block the tiny drain opening. Remove the front grille and look for the tray.
Clean it with a soft brush and warm soapy water. This simple step clears most back and bottom leaks.
Leveling matters too. Use a bubble level on top of the unit. Adjust the rubber feet so the unit sits level or tilts slightly backward, toward the wall.
If it tilts forward, water will spill over the bucket's rim. That little slant makes a big difference.
Common Mistakes That Make Leaks Worse
Some actions turn a small leak into a mess. Avoid these common missteps.
- Ignoring a dirty air filter. A clogged filter reduces airflow, which leads to frost and overflow.
- Using the wrong size drain hose. A hose that's too small creates pressure buildup. Stick to the recommended 5/8-inch inner diameter.
- Pulling out the bucket while the unit is running. That stops the dehumidifier and can trip the safety switch.
- Overtightening the bucket seal or drain plug. This warps the rubber and creates gaps.
- Placing the unit on an uneven surface. A sloping floor changes the water flow.
- Skipping regular cleaning of the condensate tray. It only takes a few minutes.
None of these are expensive problems. Most are free to fix with a little time and a clean cloth. Catch them early, and your Hisense dehumidifier will get back to quietly pulling moisture out of the air.
Prevent Future Leaks With Simple Maintenance
A little routine care goes a long way. You don't need special tools or expensive products, just a few minutes every few weeks.
- Clean the air filter every two weeks. A dirty filter restricts airflow, which causes frost buildup and water overflow. Rinse it under warm water and let it dry completely before reinstalling.
- Wipe down the condensate tray and bucket interior monthly. Dust and mold can block the small drain holes. Use warm soapy water and a soft brush.
- Inspect the drain hose connections before every humid season. Fittings loosen over winter storage. Tighten them before you plug the unit back in.
- Vacuum the coils gently twice a year. Dust on the cold surfaces reduces efficiency and can lead to ice formation.
- Check the rubber gasket around the bucket every few months. If it feels brittle or cracked, replace it. A new gasket costs a few dollars and stops many leaks.
The rubber drain plug gasket hardens over time. Heat from the condenser accelerates that process. A cracked or flattened gasket leaks every time the bucket fills.
Keep a spare on hand.
If you store the unit away for winter, empty the bucket, dry everything thoroughly, and remove the drain hose. Standing water in storage can lead to mold inside the machine. That mold then clogs drains when you restart it next spring.
When to Replace vs. Repair Your Leaking Hisense Dehumidifier
Most leaks are fixable. But at some point, repairing an old unit stops making sense. Here's how to decide.
| Scenario | Best Move |
|---|---|
| Cracked bucket | Replace the bucket (under $30) |
| Stuck float switch | Clean or replace the float assembly |
| Clogged drain hose | Clean or replace the hose |
| Failed condensate pump (pump models) | Repair if under warranty, otherwise consider replacement |
| Compressor failure with leaking refrigerant | Replace the unit, repair cost exceeds value |
| Unit over 5 years old with repeated leaks | Replace the unit |
A quick note on pump failures. Pump models use a small motor to push water upward. If the pump fails, water sits in the reservoir and overflows.
Repair costs can run $100 to $150. If your unit is more than three years old, that's half the price of a new machine. In that case, replacing the whole unit is usually smarter.
Some leaks need a professional. Call a technician if you have done all the basic checks but the leak continues. Also call if you see water pooling near the electrical components.
That creates a serious shock hazard. Unplug the unit and leave it unplugged until a pro inspects it.
If the compressor is making loud noises along with the leak, the sealed refrigerant system may be failing. That repair costs more than a new dehumidifier. A technician can confirm the diagnosis.
Check your warranty before you open the unit. Removing screws or tampering with the sealed system can void coverage. The manufacturer support page has a warranty lookup tool.
Most warranties cover parts and labor for the first year. Compressors often have separate coverage for five to ten years. Shipping costs for service are usually your responsibility.
If your unit is less than a year old and leaking, contact customer support first. They may send a replacement rather than asking you to repair it. Keep your receipt and model number handy.
For model-specific diagrams and part numbers, check the official Hisense support page. You'll find exploded views that help you identify exactly which part is leaking.
Frequently Asked Questions
Why is my Hisense dehumidifier leaking from the bottom?
Water leaking from the bottom usually means the condensate tray is clogged or the unit is not level. Clean the tray and adjust the feet so the dehumidifier tilts slightly backward.
Can I seal a cracked water bucket with glue?
No. Water pressure will push the glue loose. A cracked bucket must be replaced.
Install a new bucket from Hisense or an authorized dealer.
How do I reset the float switch on my Hisense dehumidifier?
Unplug the unit and remove the bucket. Press the float switch down firmly and release it a few times to clear any debris. Reinstall the bucket and plug the unit back in.
What size drain hose does a Hisense dehumidifier use?
Most models use a 5/8-inch inner diameter hose. Check your owner's manual for the exact specification. A hose that is too small will cause pressure buildup and leaks.
Why does my dehumidifier leak only during the defrost cycle?
Frost forms on the coils when the room is too cold. When the unit starts defrosting, ice melts quickly and can overwhelm the condensate tray. Raise the room temperature above 60 degrees or clean the air filter to improve airflow.
Is it safe to run a leaking dehumidifier?
No. Water and electricity are a dangerous mix. Unplug the unit immediately.
Inspect the leak source before running it again. If you are unsure, contact a qualified technician.
How do I move a leaking dehumidifier without damaging it?
First, unplug the unit and empty the bucket completely. Remove the drain hose and let it drain into a floor sink. Dry the exterior with a towel.
Never lay the dehumidifier on its side or back. Internal water can flow into the electrical compartment. Use a dolly or cart to move it.
After moving, let the unit sit upright for at least two hours before plugging it in.