How to Calibrate a Digital Hygrometer
Your hygrometer could be lying to you, and the stuff you trust it to protect is paying the price. Learning how to calibrate a digital hygrometer takes about 10 minutes of active work and costs pennies in materials. The salt test works with virtually any digital unit on the market.
Most people never run it, which is exactly why their readings drift.
Here's the part nobody tells you. A saturated salt solution holds a stable 75% RH at normal room temperature, giving you a rock-solid reference point. That principle, spelled out in ASTM E104 and NIST's humidity standards, is the backbone of the salt test.
It's the same method labs use, and as of 2026 it remains the simplest way to verify readings at home.
Image source: Bing (Web (fair-use with source credit))
Quick Answer
Mix one teaspoon of table salt with distilled water. Seal the wet paste and your hygrometer inside an airtight container. Wait 24 hours at a steady room temperature.
The display must read 75% RH. Adjust the hygrometer's offset to match exactly.
Why You Probably Need to Calibrate Right Now
Most digital hygrometers ship with a factory calibration, but that accuracy doesn't stick around. The capacitive sensors inside these devices drift with age. Temperature swings, humidity exposure, and even battery changes nudge readings further off.
A unit that starts within ±5% RH can drift to ±10% RH within a year.
That drift has real consequences. A cigar humidor set to 70% RH that's actually running at 80% invites mold. A gun safe that reads 45% might really sit at 60%, which is prime rust territory.
Reptile enclosures and drying cannabis are even less forgiving.
Run the calibration test if any of these apply:
- The unit is brand new
- It's been more than 6 months since the last calibration
- Two hygrometers in the same room disagree by more than a few percent
- You're about to stake something valuable on its accuracy
If none of those apply, run it anyway. It costs an evening of patience, and the result is confidence.
The Salt Test: What You Need and How It Works
A saturated salt solution produces a stable relative humidity of 75% RH at typical indoor temperatures. This isn't folklore. It's a documented standard, ASTM E104, that labs and manufacturers use to verify their own equipment.
The test works because salt wants to hold moisture, and it balances out to exactly 75% RH as long as some undissolved salt remains.
| Material | Purpose | Alternative |
|---|---|---|
| Table salt, non-iodized | Creates the saturated solution | Any pure sodium chloride |
| Distilled water | Holds stable humidity | Only distilled, never tap |
| Airtight container | Traps the 75% RH environment | Zip-top bag, food storage container |
| Digital hygrometer | The device being calibrated | Any brand or model |
The critical detail: the salt mixture must stay saturated. Mix about 1 teaspoon of salt with 3 to 4 drops of distilled water until it forms a thick paste. If you see standing water, you used too much, and that can push the equilibrium closer to 80% RH.
Room temperature matters, but it's forgiving. Keep the container between 68 and 77°F, and it'll hold true. Wild temperature swings are the real enemy.
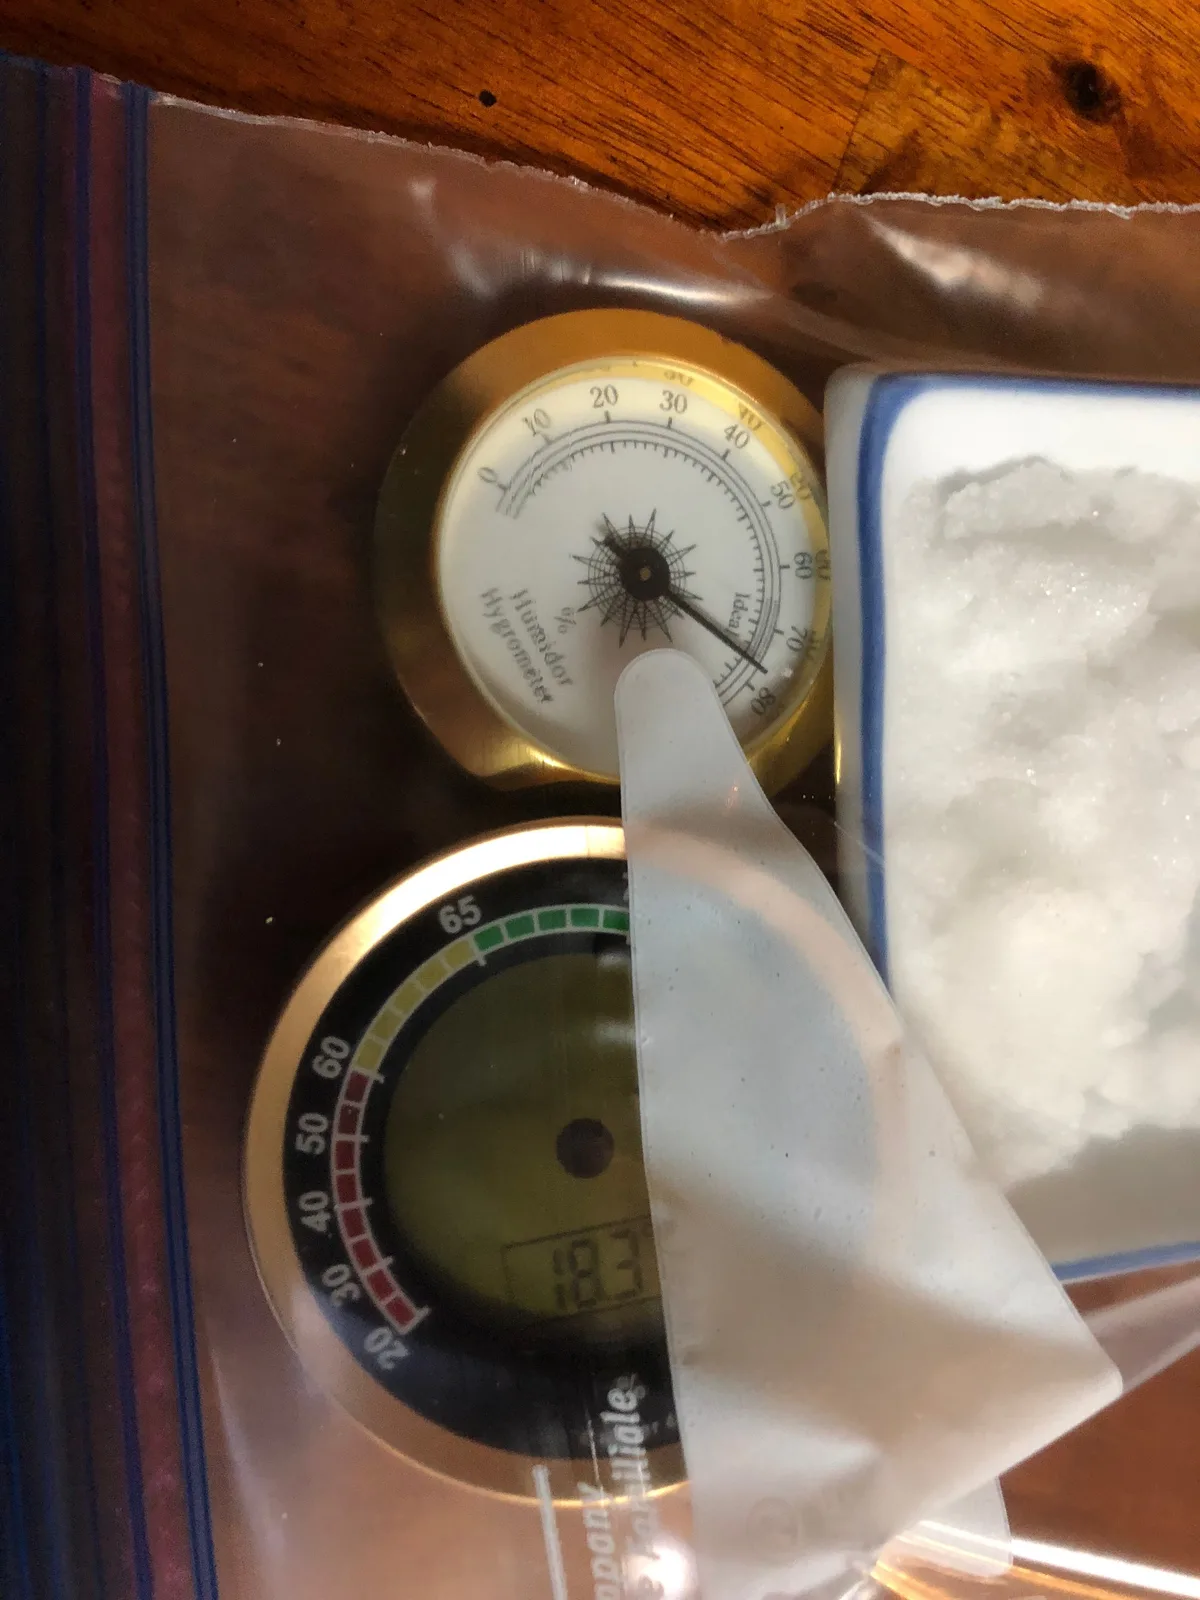
Image source: Web (Bing) / cookingdivamanjusha.com (Web image (fair-use with source credit))
Step-by-Step: The 24-Hour Calibration Workflow
The setup takes one minute. The waiting takes 24 hours.
| Step | Action | Time |
|---|---|---|
| 1 | Mix the salt paste | 2 minutes |
| 2 | Place paste and hygrometer in the sealed container | 1 minute |
| 3 | Let it sit at room temperature | 24 hours |
| 4 | Read the display inside the container | 10 seconds |
| 5 | Adjust the hygrometer to 75% RH | 2 minutes |
| 6 | Verify the adjustment after 1 hour | 1 hour |
Set the hygrometer next to the slurry, not on top of it, and keep the unit dry. Condensation on the sensor throws off the reading. Use a bottle cap or a folded paper towel as a pedestal.
When the 24 hours are up, read the display without opening the container. If it shows 76%, the device runs 1% high. If it shows 73%, it reads 2% low.
Write the number down before you move anything.
If your hygrometer has a calibration mode, follow the manual's button sequence and set the display to 75% RH. Some models adjust with a tiny recessed screw. Others only allow a fixed offset.
Use whatever your unit supports.
Reseal the container after adjusting and wait another hour. Confirm the display reads 75% RH, plus or minus 1%. Then you're done.
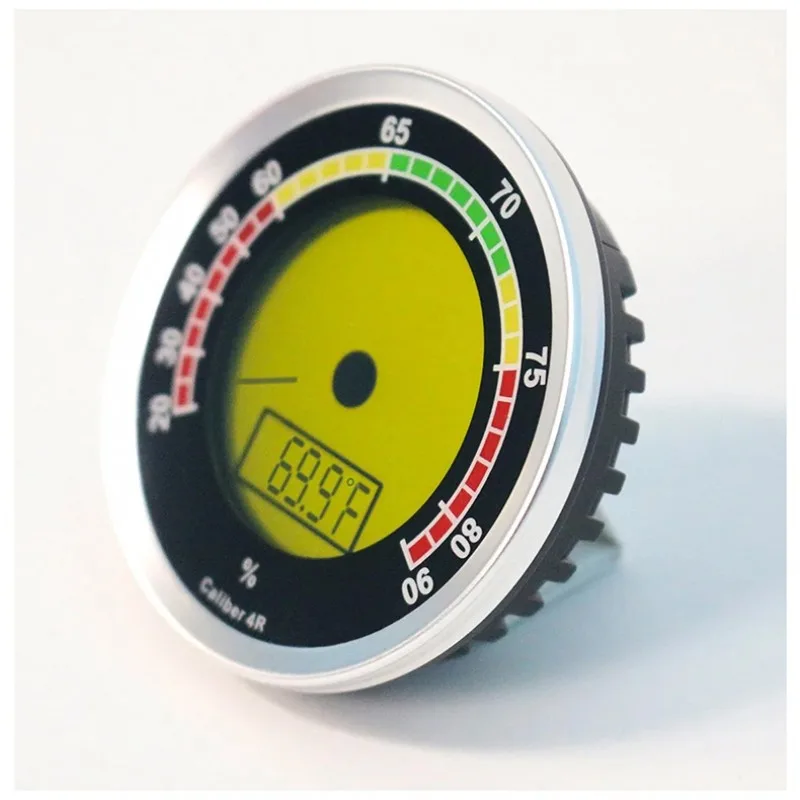
Image source: Bing (Web (fair-use with source credit))
What If Your Hygrometer Can't Be Adjusted?
Not every digital hygrometer has a calibration offset. Many budget units under $10 have no calibration mode at all. You hold every button, nothing happens.
If that sounds familiar, you have two honest options.
Option one: apply a mental offset. If the salt test showed 72% RH on the display, your unit runs 3% low. Add 3% to every future reading.
Write the offset on a piece of masking tape and stick it to the back of the unit. This works perfectly, as long as you remember to do the math each time.
Option two: replace the unit. Aggregate buyer reports indicate that most $5 to $8 hygrometers land near the edge of their ±5% specification anyway. If a cheap unit drifted enough to fail the salt test, replacement often makes more sense than tracking add-on arithmetic.
A $15 to $20 model with a calibration mode and a stated ±2% accuracy is the sweet spot for anything you genuinely care about.
If the hygrometer guards a humidor full of vintage cigars, replace it without hesitation. If it's a casual living room monitor, the sticker method buys you another year of acceptable service.
Mistakes That Will Ruin Your Calibration
The salt test is simple, which means the mistakes are simple too. Skip any of these and your results won't mean a thing.
- Tap water instead of distilled. The minerals change the saturation point and shift the humidity away from 75% RH.
- Too much water. A puddle in the container creates a different humidity zone near the sensor. The salt should look like wet sand, not soup.
- Opening the container during the test. Every peek releases trapped humidity and resets the stabilization clock.
- A bag that doesn't seal. A leaky zip-top bag is worse than no test at all. Use a fresh bag or a container with a rubber gasket.
- Direct sun or heat vents. Temperature spikes inside the container stretch the RH reading. Park it in a shaded, steady spot.
- Testing with a weak battery. Some hygrometers reset their internal logic when power dips. Change the battery before you start.
One more trap: auto-off. Many budget hygrometers fall asleep after a few minutes of inactivity. When the display wakes, it briefly re-reads the air, which can spike the number.
Disable auto-off in the settings if you can. If you can't, open the container and read quickly. The reading stabilizes within a few seconds.
When to Calibrate (and When to Just Replace It)
Consumer-grade hygrometers drift at different rates. Some hold steady for a year. Others wander off within weeks.
| Situation | What to Do |
|---|---|
| First use, brand new unit | Calibrate immediately |
| Last calibration was 6 months ago | Calibrate again |
| Reading seems off by 5% or more | Calibrate, then reassess |
| Unit is under $10 and fails the test | Replace it |
| Unit is $15 to $30 and fails the test | Calibrate, it's worth keeping |
| Two hygrometers disagree by more than 3% | Calibrate both, replace the outlier |
The decision rule is simple. If the unit costs more than a replacement, calibrate it. If a cheap unit fails the test, buy a new one.
A $15 hygrometer with a calibration mode and ±2% accuracy is a proven investment. The $5 unit that reads 10% high is a time bomb.
Seasonal changes matter too. If you live in a humid climate, recalibrate every spring and fall. The sensor drifts faster in high humidity, and the stakes are higher.
A wine cellar or a guitar room deserves the twice-yearly check.
How to Keep Your Hygrometer Accurate Long-Term
Calibration isn't a one-time event. It's maintenance, like changing the battery.
| Action | Frequency | Why |
|---|---|---|
| Replace the battery | Every 6 to 12 months | Low voltage causes erratic readings |
| Recalibrate | Every 6 to 12 months | Drift accumulates over time |
| Clean the sensor | As needed | Dust and debris trap moisture |
| Store in a stable environment | Always | Extreme conditions accelerate drift |
Cleaning the sensor is straightforward. Use a soft dry brush, a compressed air can, or a lint-free cloth. Never use liquid cleaners or cotton swabs, which can damage the sensor membrane.
Storage matters too. If you keep the hygrometer in a garage or a shed, the temperature swings will shorten its lifespan. Bring it indoors when you're not actively monitoring.
One more tip. If you own multiple hygrometers, calibrate them all at once. Set up a single large container, add the salt slurry, and place all the units inside.
After 24 hours, compare the readings. This gives you a group baseline and identifies the outliers. The ones that match within 1% are your keepers.
The Two-Point Calibration Alternative
The salt test checks accuracy at a single point: 75% RH. That covers most home needs. But if you're monitoring environments outside that range, consider a two-point calibration.
The second reference point is another saturated salt solution. Magnesium chloride holds a stable 33% RH at room temperature. Lithium chloride holds 11% RH.
| Reference | Expected RH | Best For |
|---|---|---|
| Lithium chloride | 11% RH | Dry storage, deserts |
| Magnesium chloride | 33% RH | Cigar boxes, wine cellars |
| Sodium chloride | 75% RH | General home, humidors |
The process is identical. Set up a separate sealed container for each salt. Wait 24 hours.
Compare both readings. If your hygrometer reads 34% in the low test and 76% in the high test, it's 1% off across the board. That's excellent.
If it reads 30% low and 78% high, the error changes with humidity. That's a nonlinear drift. In that case, calibrate to whichever range you care about most.
Most consumer hygrometers only allow a single offset. Pick the reference point closest to your typical conditions. A gun safe owner calibrates to 75%.
A dried-herb storage room might target 33%.
Real-World Scenarios: Should You Calibrate or Replace?
The decision branches depend on your situation.
Scenario one: You own a $30 hygrometer that reads 70% in the salt test. That's 5% low. The unit has a calibration mode.
Adjust it, verify, and continue. You've saved a working device.
Scenario two: You own a $6 hygrometer that reads 80% in the salt test. That's 5% high. It has no calibration button.
Aggregate reviews show this model drifts widely. Replace it.
Scenario three: Your expensive hygrometer fails the test twice in a row, even after adjustment. The sensor is degrading. Per manufacturer documentation, capacitive sensors last 3 to 5 years.
If yours is older, it's worth retiring.
Scenario four: You're monitoring a guitar room where seasonal swings matter. Calibrate twice a year. Track the results in a small notebook.
If the drift grows faster each season, the sensor is failing.
Expert Tips for Perfect Calibration Results
A few extra steps separate a good calibration from a sloppy one.
First, warm up the hygrometer. Run it at room temperature for an hour before the test. A cold sensor absorbs moisture quickly and reads high.
Second, use a glass container instead of plastic. Glass resists moisture absorption and holds temperature better. A mason jar with a metal lid is ideal.
Third, keep the sensor away from the salt slurry. The paste is wet, and direct contact can cause condensation. Set the hygrometer on a small dish or bottle cap inside the container.
Fourth, rotate the container once midway through the test. This redistributes the air and prevents localized humidity pockets. Do it quickly to avoid releasing trapped humidity.
Fifth, verify with a second test after adjustment. Most people stop after the first 24 hours. A second run catches errors from a weak battery or a bumped container.
These steps add maybe 5 minutes of actual work. The payoff is a reading you can trust for the next 6 months.
Troubleshooting a Hygrometer That Won't Recalibrate
Sometimes the adjustment simply doesn't stick. Here's how to work through it.
If the display returns to its old reading within minutes, the calibration button sequence might not have saved. Check the manual for a confirm step. Some models require holding the button for 5 seconds, not just pressing it.
If the display changes but resets after power cycling, the unit doesn't store adjustments. Apply the mental offset instead and write it on the back.
If the reading jumps erratically during the test, check the battery. Low voltage causes unstable sensor readings. Replace the battery and repeat the test.
If the hygrometer reads the correct 75% in the bag but wrong in the room, the sensor is fine. The problem is environmental. Air currents, sunlight, or nearby heat sources confuse the sensor.
Move the unit to a more stable location.
If the unit fails three tests in a row, it's not worth more effort. The sensor has drifted beyond its adjustable range. Replace it with a model that offers a calibration offset and ±2% accuracy.
Frequently Asked Questions
How long does the salt test take?
The standard wait is 24 hours. Some units stabilize earlier, but the full day guarantees equilibrium. Cutting it to 8 hours risks a false reading if the temperature fluctuated.
Can I use table salt or does it need to be specific?
Plain table salt, non-iodized, works perfectly. Iodized salt and sea salt also work, but avoid anything with anti-caking agents. The additives can shift the humidity point slightly.
What if my hygrometer reads 75% exactly after the test?
Your unit is perfectly calibrated. No adjustment needed. Run the test again in 6 months to confirm the accuracy holds.
My hygrometer shows 75% but the number is jumping around.
That's normal. The sensor is reading the air currents inside the container. Wait 30 seconds for the display to settle.
If it keeps jumping after 2 minutes, the sensor may be defective.
Can I calibrate without salt?
Yes, but it's less reliable. A Boveda 75% RH calibration packet provides the same reference point without the slurry. It costs about $5 and stabilizes in 8 hours.
The salt test is free, so most people start there.
Is it worth calibrating a cheap hygrometer?
It depends on the price. If the unit costs under $5, the calibration process costs more in time than the replacement. If it costs $10 or more, calibrate it once.
If it fails, toss it.