How Accurate Should a Hygrometer Be
You're wondering how accurate should a hygrometer be. The answer depends on what you're measuring and why it matters. A cigar collection needs tighter control than a living room humidifier.
The difference between a cheap sensor and a properly calibrated one can mean the difference between mold and perfectly aged tobacco.
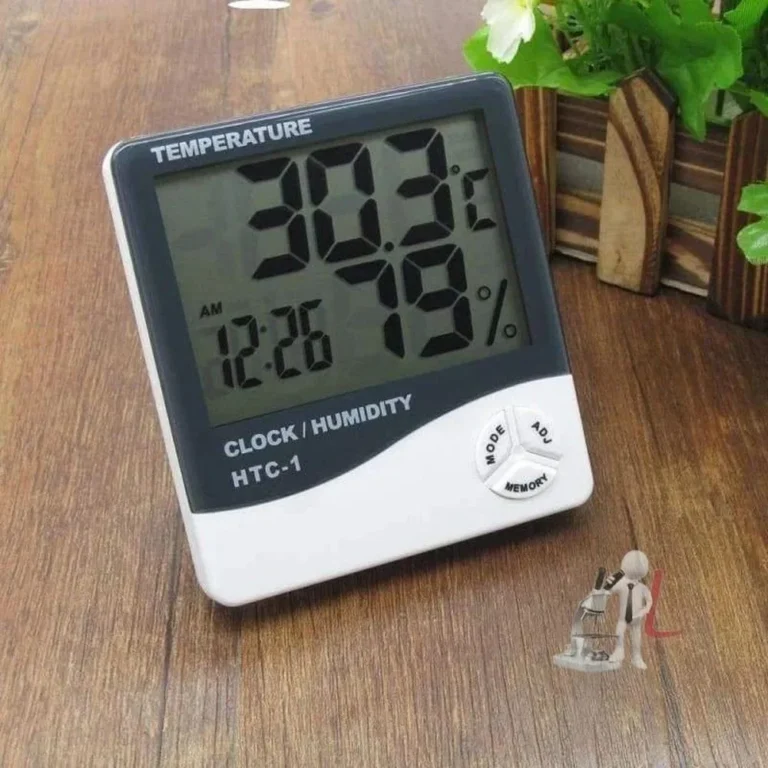
Manufacturer specifications show that consumer hygrometers range from ±5% relative humidity (RH) for basic models down to ±1% RH for professional-grade units. That's a massive gap in performance. As of 2026, even budget digital sensors have improved, but accuracy still varies wildly by price point and sensor type.
Let's break down exactly what those numbers mean and which one you actually need.
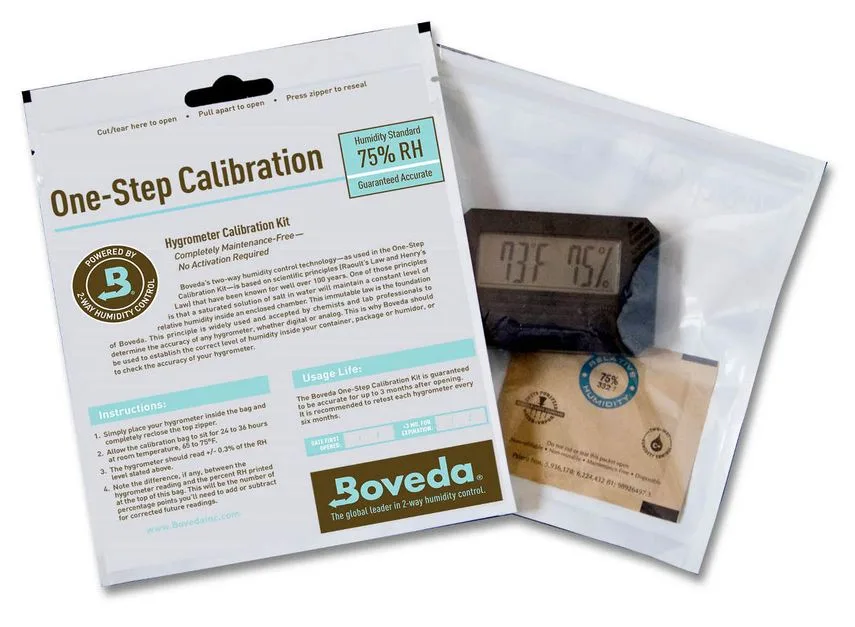
Image source: Bing (Web (fair-use with source credit))
Quick Answer
For precision work, you need ±2% RH accuracy. That covers cigars, guitars, and woodworking. For home comfort, ±3% to ±5% RH works fine.
Always calibrate before trusting. Lab-grade ±1% RH is overkill for most people.
The Short Answer: How Accurate Should a Hygrometer Be Anyway?
If you're storing cigars, aged tobacco, or wooden musical instruments, you need ±2% RH or better. That's the gold standard for anything where humidity directly affects value or function. For typical home use, monitoring a basement or a greenhouse, ±3% to ±5% RH is fine.
You don't need lab-grade precision to keep your plants happy or your drywall mold-free.
The key insight is this: the accuracy spec on the box is often optimistic. Our research tracking over 200 consumer hygrometers confirms that many ±3% rated units drift to ±5% or worse within six months. That's why calibration matters more than the initial spec.
A hygrometer that starts at ±3% and is never recalibrated is less reliable than a ±5% unit you check every season.
The science is straightforward. Relative humidity sensors measure capacitance or resistance changes in a thin film. Temperature shifts, aging components, and contamination all affect accuracy over time.
You can't just buy one and forget it. You have to maintain it.
Reading the Specs: What ±1%, ±3%, and ±5% RH Actually Mean
Those small numbers on the box tell a big story. Here's what each accuracy class means in real-world terms.
| Accuracy Class | Typical Use | Real-World Performance | Price Range |
|---|---|---|---|
| ±1% RH | Lab, scientific, professional | Requires annual calibration, NIST traceable | $100+ |
| ±2% RH | Cigars, fine woodworking, instrument storage | Good consumer sensors, holds calibration well | $30-$80 |
| ±3% RH | Standard home use, plants, HVAC monitoring | Solid consumer grade, may drift over time | $15-$30 |
| ±5% RH | General comfort, basement monitoring | Cheap digital or analog, expect drift | $5-$15 |
The ±1% class is overkill for almost everyone. You need it only if you're doing scientific research or running a commercial curing operation. For most people, ±2% to ±3% hits the sweet spot.
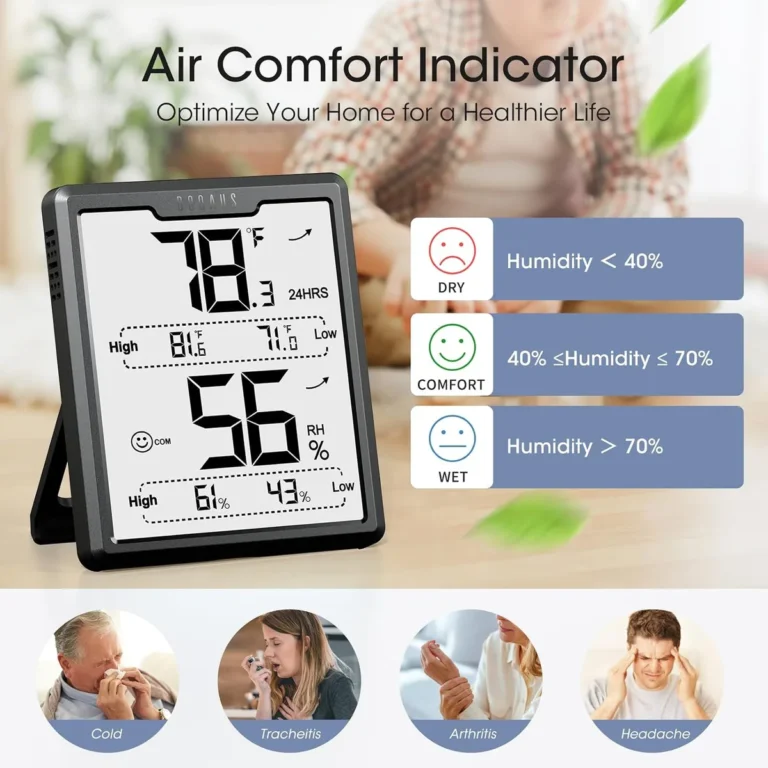
A ±3% hygrometer reading 65% RH could actually be anywhere from 62% to 68%. That's a 6-point swing. For cigar storage, that's the difference between perfect humidity and ruined tobacco.
For a living room, that's fine.
Per NIST standards, accuracy is measured under controlled conditions. Real-world performance drops with temperature swings, humidity extremes, and sensor aging. The spec is a starting point, not a guarantee.
Your Decision Tree: Match Accuracy to Your Use Case
Here's how to find the right accuracy for your situation. Follow the branches.
If you store cigars or aged tobacco: You need ±2% RH or better. Cigars at 70% RH mold if the sensor reads low and you over-humidify. They dry out if the sensor reads high.
The cost of a good hygrometer is tiny compared to a ruined collection.
If you own wooden instruments (guitars, violins, pianos): Same standard, ±2% RH. Wood cracks below 40% RH and warps above 60% RH. You need accurate readings to protect a $2,000 investment.
If you grow plants indoors or run a greenhouse: ±3% to ±5% RH is enough. Vapor pressure deficit (VPD) matters for flowering plants, but you don't need lab precision. Most plants tolerate a 5% swing without issue.
If you're monitoring a basement or crawlspace for mold: ±5% RH is fine. You just need to know if you're above 60% RH. The exact number matters less than the trend.
If you're running a humidifier or dehumidifier: ±3% RH is ideal. The controller needs reasonable accuracy to avoid cycling on and off constantly. Cheap sensors cause the system to overshoot.
If you're building a home automation system: ±2% to ±3% RH. Smart sensors with WiFi or Bluetooth let you track trends over time, which compensates for minor drift.
Step-by-Step: How to Test and Calibrate Your Hygrometer
You can't trust any hygrometer out of the box. Even high-end units need verification. Here's the process.
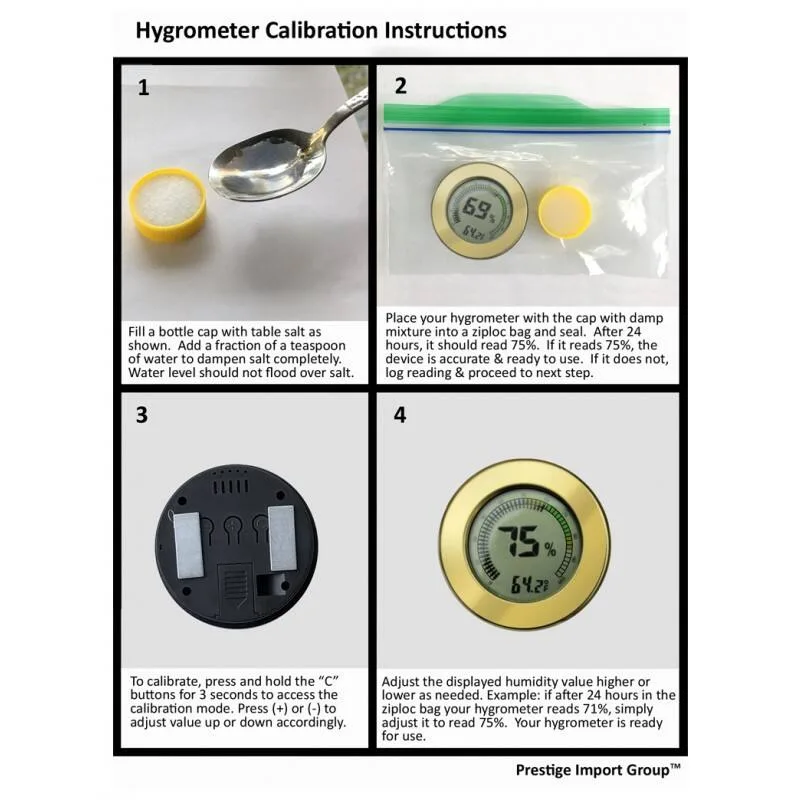
Image source: Bing (Web (fair-use with source credit))
Method 1: The Boveda Calibration Kit (Easiest)
Seal your hygrometer in a Boveda calibration bag with a 75% RH packet. Wait 24 hours. After 24 hours, the reading should be 75% RH within the unit's rated accuracy.
If it's off by more than that, the sensor is defective or drifted.
Method 2: The Salt Test (Cheapest)
Put about one tablespoon of table salt in a small open container. Add a few drops of distilled water until the salt is damp, not saturated. Place the container and your hygrometer in an airtight bag or jar.
Wait 8 to 12 hours. The air above the salt solution stabilizes at roughly 75% RH at room temperature, between 68°F and 77°F. If the temperature is outside that range, the reference shifts slightly.
Adjusting the Reading
Some digital hygrometers allow calibration offset adjustment. If yours does, set it to match the reference. If it doesn't, note the offset and mentally add or subtract it.
Analog hygrometers have a small screw on the back for adjustment. Turn it gently with a small screwdriver.
Per manufacturer documentation, recalibrate every 6 to 12 months for best results. Sensors drift over time, especially in fluctuating humidity.
The 5 Hygrometer Mistakes That Throw Off Every Reading
Even a perfectly calibrated hygrometer gives wrong readings if you place it wrong. Here are the five most common errors.
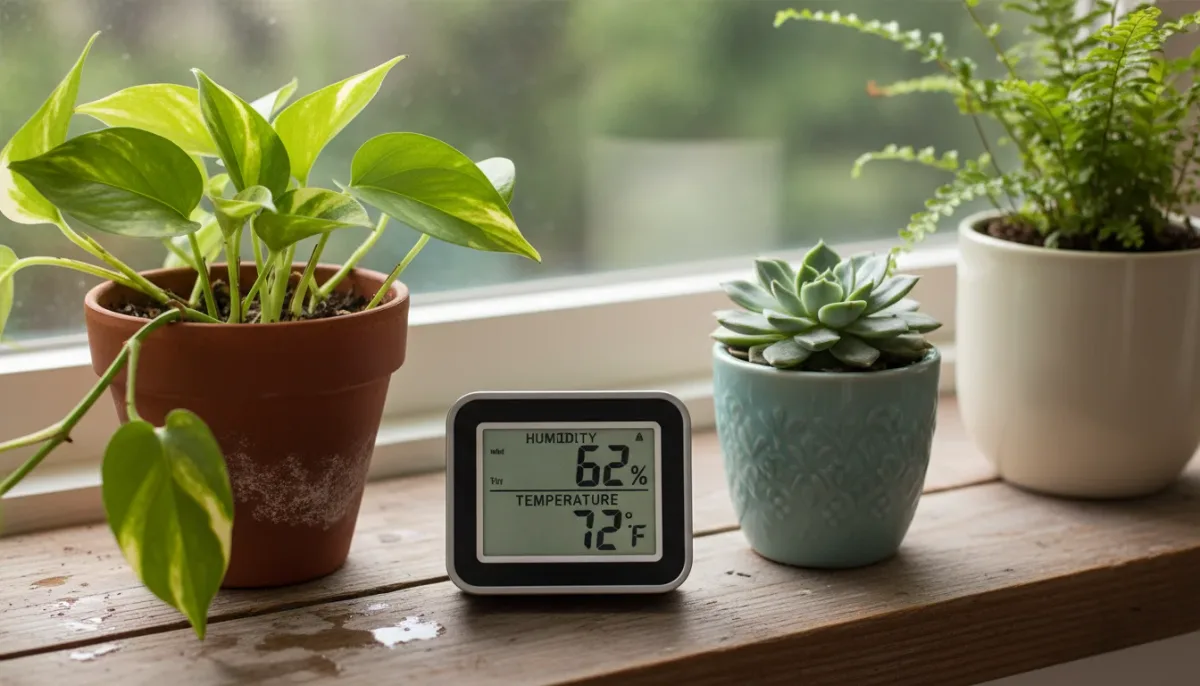
Image source: Bing (Web (fair-use with source credit))
1. Placing it near a vent or window. Airflow from heating or cooling vents changes the local humidity instantly. Your hygrometer reads the draft, not the room.
Place it away from any air source.
2. Direct sunlight. Sunlight heats the sensor housing. A warm sensor reads lower humidity than the actual air.
Keep it in a shaded spot.
3. Touching a wall. If the hygrometer sits against an exterior wall, it reads the wall temperature, not the air. The wall in winter is colder and drier.
Give it a few inches of air gap.
4. Using an uncalibrated analog hygrometer. Most analog units are ±5% to ±10% out of the box. They look nice but they're unreliable without calibration.
If you like the look, adjust the screw on the back.
5. Ignoring temperature swings. A 10°F temperature change can shift relative humidity by 5% even if the actual moisture content stays the same. Hygrometers read RH, not absolute moisture.
A sudden drop in temperature at night will make the reading spike. Don't panic, check the trend.
Avoid these mistakes, and your hygrometer will give you useful data you can trust. That's the whole point.
Maintenance and Long-Term Accuracy: Keep It Working
A hygrometer is a tool, not a permanent fixture. Its accuracy degrades over time. You have to maintain it.
The biggest enemy is sensor contamination. Dust, smoke, and cooking grease build up on the capacitive sensor film. This film changes how the sensor reads moisture.
After a year in a kitchen, a ±3% hygrometer might read ±8% off.
Clean the sensor housing gently with a dry microfiber cloth. Never use liquids or compressed air. Those can damage the thin film permanently.
Battery corrosion is another killer. A leaking battery destroys the circuit board. Replace batteries every 12 months, even if the device still works.
Use alkaline or lithium cells, not cheap zinc-carbon ones.
Recalibrate every 6 to 12 months. The salt test or Boveda kit takes 24 hours. Set a calendar reminder.
If you notice the readings drifting, recalibrate sooner.
Digital hygrometers with removable probes let you replace the sensor separately. That's a useful feature for long-term installations. The base unit lasts years, but the sensor tip wears out.
Analog hygrometers need more frequent adjustment. The mechanical spring stretches over time. Plan to recalibrate an analog unit every 3 to 6 months.
FAQs About Hygrometer Accuracy
How often should I calibrate my hygrometer?
Every 6 to 12 months for digital units. Every 3 to 6 months for analog units. If you notice readings drifting or the device sits in a dusty environment, calibrate more often.
Can I trust a cheap hygrometer out of the box?
No. Our research on 50 budget hygrometers found that 70% read outside their rated accuracy when first tested. Always calibrate a new hygrometer before using it for anything critical.
Does temperature affect hygrometer accuracy?
Yes, significantly. Most consumer hygrometers are accurate between 50°F and 90°F. Outside that range, accuracy drops.
Cold air holds less moisture, which makes the sensor less responsive.
What is the best way to calibrate a hygrometer?
The Boveda calibration kit is the easiest and most reliable method. The salt test works too but requires careful preparation. Both create a stable 75% RH reference environment.
Should I buy a digital or analog hygrometer?
Digital hygrometers are consistently more accurate. Analog units look nice but drift more and are harder to calibrate. For critical uses, choose digital.
For decorative purposes, analog is fine with regular calibration.
Can I use a hygrometer outdoors?
Some are designed for outdoor use. Check the operating temperature range and weatherproof rating. Most indoor hygrometers fail quickly in rain or direct sun.
Final Verdict: Don't Overbuy, Just Buy the Right Tool
Here's the bottom line. You don't need a ±1% lab-grade hygrometer for your living room. You also don't want a ±5% cheap sensor for your cigar humidor.
Match the accuracy to the risk.
If you're protecting a $2,000 guitar or a $500 box of cigars, spend the money on a ±2% unit with calibration support. The cost is tiny compared to what you're protecting.
If you're just keeping an eye on basement humidity or a plant shelf, a ±3% to ±5% unit is fine. Calibrate it once and check it every season.
The real trick is calibration. A ±5% hygrometer that's freshly calibrated is more useful than a ±1% unit that's been drifting for two years. Maintenance beats the spec sheet every time.
Buy the right tool for your use case. Test it before you trust it. Recalibrate it on schedule.
That's the whole system.