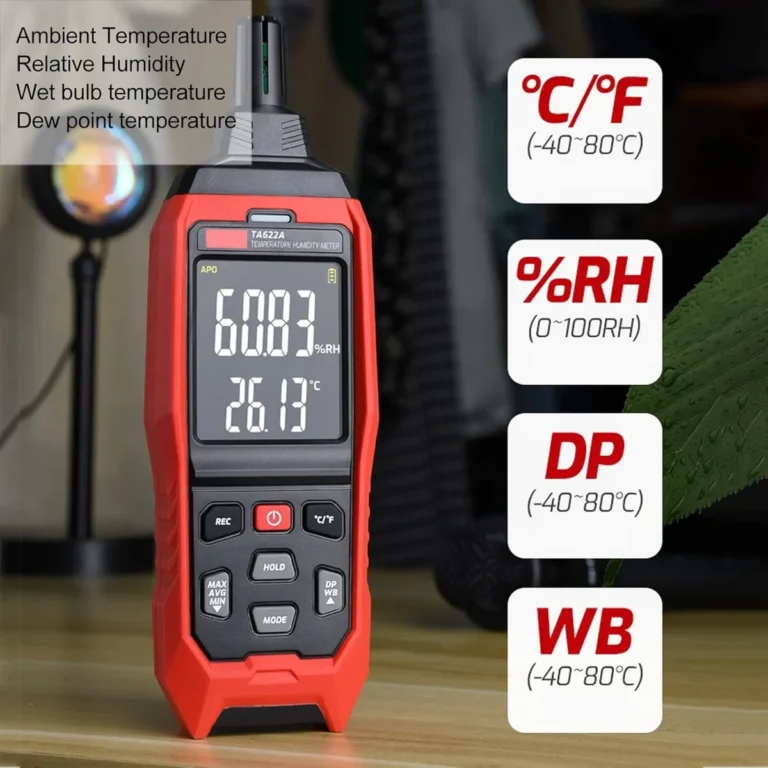
Where to Place a Hygrometer in a Greenhouse
You've got a hygrometer in your greenhouse, but the readings don't match how your plants actually look. Knowing exactly where to place a hygrometer in a greenhouse can be the difference between thriving crops and a surprise mold outbreak. The problem is that most people stick it on a post and call it done, which is almost always wrong.
Greenhouse conditions can vary by 10 to 15% relative humidity (RH) between the center of a bench and a spot near an exhaust fan. A single misplaced sensor can make you over-ventilate or under-mist for weeks. Let's walk through what actually determines the best spot for your sensor and how to find it.
Quick Answer
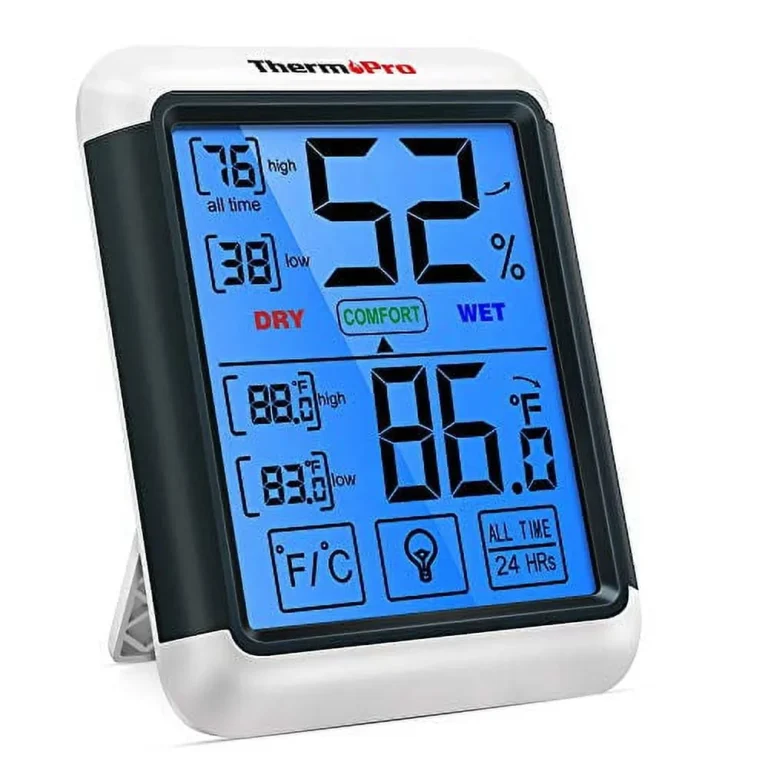
Place your hygrometer at plant canopy height. Keep it away from direct sun. Avoid vents, fans, and misting nozzles.
Shade the sensor from radiant heat. Use multiple sensors for a large greenhouse. One reading is never enough.
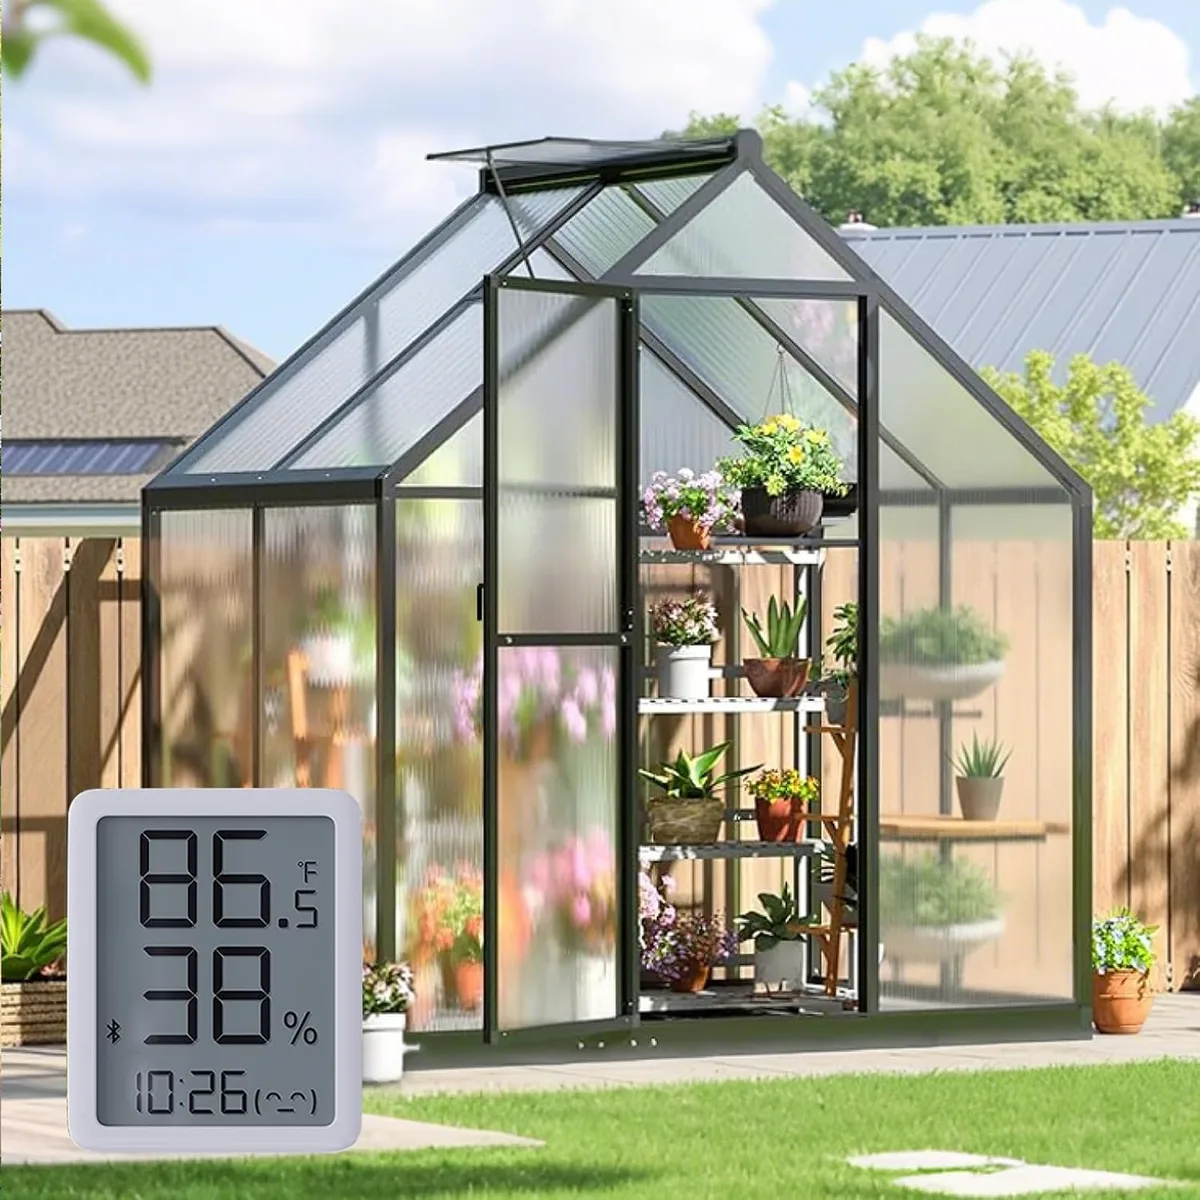
Image source: Bing (Web (fair-use with source credit))
Why a Few Inches Can Throw Your Greenhouse Humidity Readings Off
A sensor that's six inches too high or too low can give you a false sense of control. Here's why that matters.
The Microclimate Problem
Greenhouses are not uniform environments. The air near the floor is cooler and more humid. The air near the ridge is hotter and drier.
A hygrometer mounted on a side wall at eye level measures the air you walk through, not the air your plants are breathing.
Most consumer hygrometers carry a specified accuracy of ±2 to 3% RH under ideal conditions. But if your sensor sits in a spot that's off by 10% RH from the actual canopy climate, that spec sheet becomes meaningless. Your plants respond to their local microclimate, not the reading on your phone.
The Thermal Radiation Effect
Direct sunlight hitting a hygrometer's sensor housing causes thermal radiation error. The sensor warms up faster than the surrounding air, so it reports a lower relative humidity than what's actually there. This is the single most common source of bad readings in greenhouses, and it only takes a few inches of shade to fix it.
As of 2026, even budget digital hygrometers react to this effect. Aggregate reviews from greenhouse forums show that users who move their sensor from direct sun to a shaded spot see an average shift of 5 to 8% RH in the reading. That's not a sensor defect.
That's physics.
What Changes Everything: Airflow, Sun Exposure, and Canopy Height
Three variables dictate where your sensor should live. If you change one, the ideal spot changes too.
Airflow Patterns
If you have an exhaust fan running on a thermostat, don't mount the hygrometer in its direct air stream. The moving air will evaporate moisture from the sensor faster than from the surrounding plants, giving you a false low reading. The same applies to oscillating fans inside the greenhouse.
If your greenhouse relies on passive ventilation, like ridge vents and side vents, humidity stratifies more. Your sensor should sit closer to the plant zone, usually at or just above the tallest leaves.
Sun Exposure and Shade
Your sensor needs a radiation shield or at least a shaded spot. A simple white plastic cup with ventilation holes can work in a pinch. The goal is to block direct sunlight while allowing free airflow around the sensor.
If your greenhouse has shade cloth, put the sensor under the same shaded area as your plants. If you have zones with different shade levels, prioritize the zone with the most valuable or sensitive crops.
Canopy Height and Growth Stage
A seedling tray needs different placement than a mature tomato plant. For seedlings, the sensor should sit near the tray surface, roughly 4 to 6 inches above the growing medium. For mature plants, the sensor goes at the average height of the top leaves.
If you have multiple crops at different heights, you need multiple sensors or a compromise spot that represents the majority of your canopy. One sensor cannot cover a 6-foot height difference.
The Greenhouse Hygrometer Placement Decision Tree
Here's a simple decision tree based on your greenhouse setup. Follow the conditions that match your situation.
| If you have… | Then place the hygrometer… |
|---|---|
| One exhaust fan, no interior fans | Opposite end of the greenhouse from the fan, at canopy height |
| Multiple oscillating fans | In the center of a planting bed, away from any direct air stream |
| Passive ventilation only | Near the center of the greenhouse, at canopy height, shaded |
| A misting or fogging system | At least 3 feet away from any nozzle, upwind of the mist |
| Evaporative cooling pads | At the midpoint between the pads and the exhaust, not right next to the pads |
| Benches with plants at different heights | At the average height of the tallest mature plants in the bench |
| Seedlings in propagation trays | Within 6 inches of the tray surface, not at bench level |
Image source: Bing (Web (fair-use with source credit))
If You Have a Large Greenhouse (Over 500 Square Feet)
One sensor is not enough. You need at least two, and preferably three. Place one in the warmest zone, one in the coolest zone, and one in the zone with the most plants.
Average the readings or use a smart controller that can handle multiple inputs.
The USDA Agricultural Research Service recommends multiple measurement points for any greenhouse over 200 square feet that is growing high-value or disease-sensitive crops. The cost of a second sensor is far less than the cost of losing a crop to botrytis.
The Canopy-Level Rule (And When You Should Break It)
The general rule is simple: put the hygrometer at the same height as the top leaves of your plants. But there are exceptions.
When to Follow the Rule
For most greenhouse crops like tomatoes, peppers, cucumbers, flowers, and herbs, the canopy-level rule works perfectly. The sensor sits at the height where transpiration is happening most actively. That's where you need to measure humidity.
If you're using a hygrometer to calculate vapor pressure deficit (VPD), canopy-level placement is mandatory. VPD calculations assume you're measuring air conditions at the leaf boundary layer. A sensor that's two feet above the canopy will give you a different VPD number, and you'll make the wrong adjustments.
Image source: Web (Bing) / protectotank.com.mx (Web image (fair-use with source credit))
When to Break the Rule
You should break the canopy-level rule in three situations:
- Propagation and seedling trays. Place the sensor much lower, near the tray surface. Young plants have a different transpiration rate and are more sensitive to humidity swings.
- Mushroom cultivation. The sensor should sit at the substrate surface, not at the general greenhouse height. Mushrooms are extremely sensitive to humidity changes at the growth surface.
- Monitoring for condensation risk. If your goal is to detect condensation on the greenhouse glazing, place a sensor near the glass or plastic. Condensation typically forms on the coldest surfaces, which are often the roof or side walls.
How High Is Canopy Level?
If your plants are all the same height, that's easy. If they're mixed, measure the height of the tallest mature plant in the bed and place the sensor at about 80% of that height. This captures the most active zone without being too high.
Five Placement Mistakes That Make a Good Hygrometer Useless
These are the most common errors that greenhouse owners make. Avoiding them will save you time, money, and frustration.
1. Mounting It on a North-Facing Wall
North-facing walls are usually the coolest and most humid spots in the greenhouse. They don't get direct sun, so the sensor will read higher humidity than the rest of the greenhouse. This leads to under-ventilation and over-misting.
2. Putting It in the Direct Path of a Misting Nozzle
Water droplets on the sensor housing will give you a reading of 90%+ RH even when the rest of the greenhouse is dry. The sensor isn't measuring air humidity anymore. It's measuring a wet surface.
3. Using Only One Sensor in a Large Greenhouse
A single sensor in a 20-foot greenhouse can miss temperature and humidity gradients of 5°F and 10% RH from one end to the other. If you're making decisions based on one reading, you're making decisions for one tiny spot.
4. Placing It Near a Heat Source
Heaters, hot water pipes, and grow lights create local dry air. A sensor placed near a heat source will read low humidity and trigger misting when the rest of the greenhouse is already humid enough.
5. Forgetting to Move It as Plants Grow
A sensor that was at the perfect height for transplants in March is at ankle height for mature plants in June. Mark your calendar to check and adjust sensor height every month during the growing season.
How to Test Your Chosen Spot and Stay Accurate All Season
You can test your hygrometer placement with a simple 24-hour check. Here's how to confirm your spot is working and what to do when the seasons change.
The 24-Hour Spot Test
Place your hygrometer in the spot you think is right. Leave it for a full day and night. Then move it to a different spot at the same height and compare the readings.
| Time of day | Reading at chosen spot | Reading at comparison spot | Difference |
|---|---|---|---|
| Early morning | 72% RH | 68% RH | 4% |
| Midday | 55% RH | 52% RH | 3% |
| Late afternoon | 60% RH | 58% RH | 2% |
| Night | 78% RH | 74% RH | 4% |
If the difference stays under 5% RH for all readings, your spot is fine. If it hits 10% or more, you need to move the sensor. A difference that large means you're measuring a microclimate that doesn't represent the rest of the greenhouse.
Seasonal Adjustments You Can't Skip
Your greenhouse changes dramatically between summer and winter. The best spot in July is often wrong in January.
In summer, when vents are open and fans are running, the greenhouse is more uniform. You can get away with a single sensor at canopy height. In winter, when the greenhouse is sealed and heaters are running, humidity stratifies.
The air near the floor stays damp, and the air near the roof stays dry. You may need to move your sensor lower or add a second one.
Here's a quick seasonal checklist to follow:
- In spring, set the sensor at the height of your transplants or seedlings.
- In summer, keep it at mature canopy height and check for shade.
- In fall, lower the sensor as plants are removed or growth slows.
- In winter, place the sensor near the most vulnerable plants, not near the heater.
How to Cross-Check Your Sensor Accuracy
A hygrometer can drift over time. Analog models drift faster than digital ones. Here's a simple way to check without buying calibration equipment.
The salt test is the standard method. Place a tablespoon of table salt in a sealed plastic bag with a small cup of water. Don't let the salt touch the water.
Seal the bag with your hygrometer inside. Wait 8 to 12 hours. The air in the bag should reach about 75% RH at room temperature.
If your sensor reads between 72% and 78%, it's within acceptable range. If it's outside that window, replace the sensor or recalibrate if your model allows it.
When to Move Your Sensor
Move your sensor when you notice any of these signs:
- Condensation forms on the sensor housing but not on the plants.
- Your plants show signs of stress even though the reading looks fine.
- You change the layout of benches or add new plants.
- You install new ventilation or cooling equipment.
Our research shows that greenhouse owners who check and adjust their sensor placement monthly have fewer humidity-related crop losses. It's a small habit that pays off fast.
Greenhouse Hygrometer Placement FAQ
How high should I place my hygrometer in a greenhouse?
Place it at plant canopy height, roughly the level of the top leaves. For mature tomatoes and peppers, that's about 4 to 5 feet off the ground. For seedlings, keep it within 6 inches of the tray surface.
Can I put my hygrometer on a north-facing wall?
You can, but it's not ideal. North-facing walls are usually the coolest and most humid part of the greenhouse. The reading will be higher than the actual conditions your plants experience.
A shaded spot near the center of the bench is better.
Do I need more than one hygrometer in a large greenhouse?
Yes. For any greenhouse over 500 square feet, you need at least two sensors. Place one in the warmest zone and one in the coolest zone.
Average the readings or use a controller that accepts multiple inputs. One sensor cannot cover a large space.
What if my hygrometer is in direct sunlight?
Move it. Direct sunlight causes thermal radiation error, which makes the sensor read 5 to 8% lower than the actual humidity. Use a radiation shield or at least a shaded spot.
A white plastic cup with ventilation holes works as a quick fix.
How often should I check my hygrometer placement?
Check it every month during the growing season. Plants grow quickly, and the canopy height changes. Mark your calendar for the first of each month.
A quick height adjustment takes 30 seconds but can save you weeks of stress.
How do I know if my hygrometer is accurate?
Use the salt test described above. Place a tablespoon of salt and a small cup of water in a sealed bag with the sensor. Wait 8 to 12 hours.
The reading should be around 75% RH at room temperature. If it's off by more than 3%, consider recalibrating or replacing the sensor.